


A
A
A
A
A
A
A
A
D
D
D
D
D
D
D
D
E
E
E
E
E
E
E
E
M
M
M
M
M
M
M
M
C
C
C
C
C
C
C
C
O
O
O
O
O
O
O
O
6
6
6
6
6
6
6
6
2
2
2
2
2
2
2
2
7
7
7
7
7
7
7
7
1
1
1
1
1
1
1
1
S
S
S
S
S
S
S
S
e
e
e
e
e
e
e
e
rrrr
rrrr
iiii
iiii
e
e
e
e
e
e
e
e
s
s
s
s
s
s
s
s
T
T
T
T
T
T
T
T
o
o
o
o
o
o
o
o
u
u
u
u
u
u
u
u
cccc
cccc
h
h
h
h
h
h
h
h
C
C
C
C
C
C
C
C
e
ee
e
e
ee
e
n
n
n
n
n
n
n
n
tttt
tttt
e
ee
e
e
ee
e
rrrr
rrrr
K
K
K
K
K
K
K
K
e
ee
e
e
ee
e
yyyy
yyyy
p
p
p
p
p
p
p
p
aaaa
aaaa
d
d
d
d
d
d
d
d
s
ss
s
s
ss
s
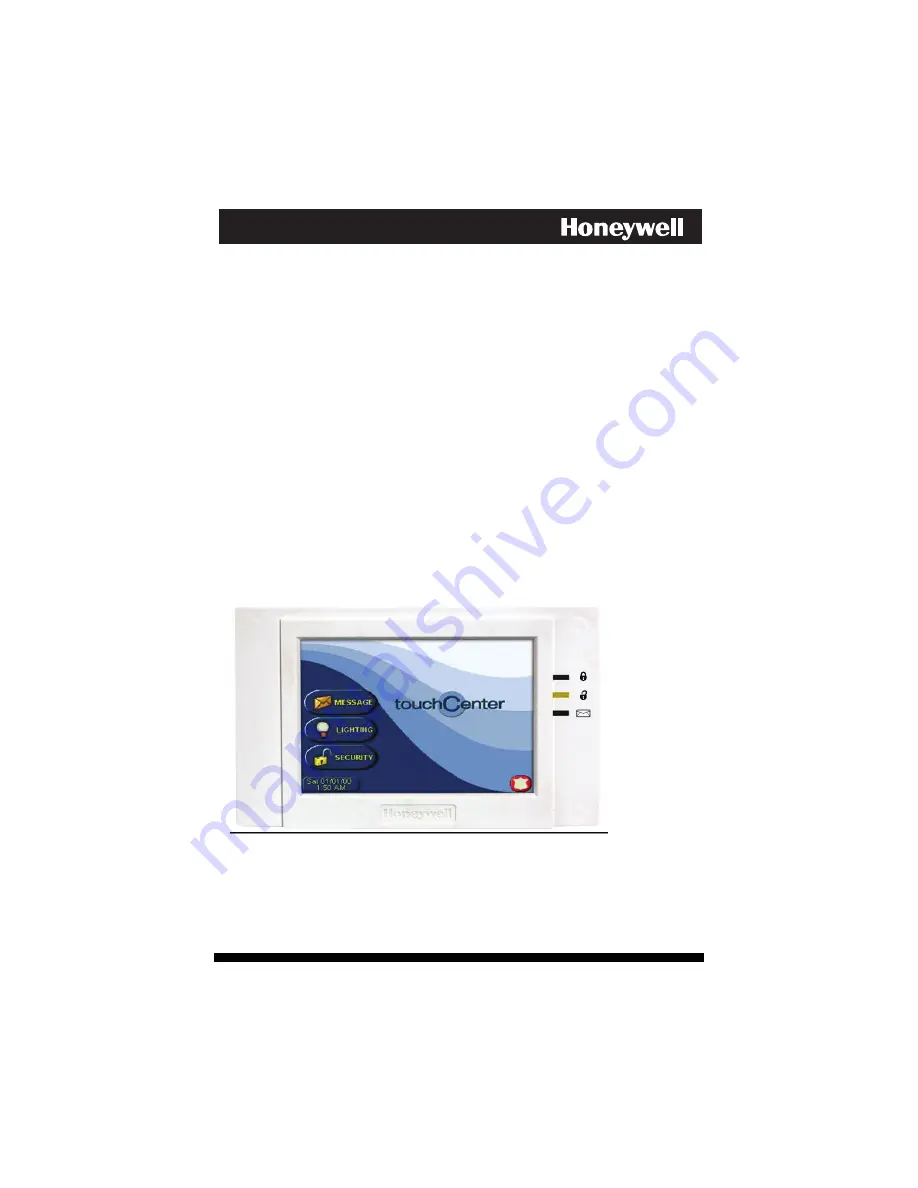
User Guide
K6249V3 3/09
Rev.
A


