


For Your Safety
- 1 -
Instruction Manual
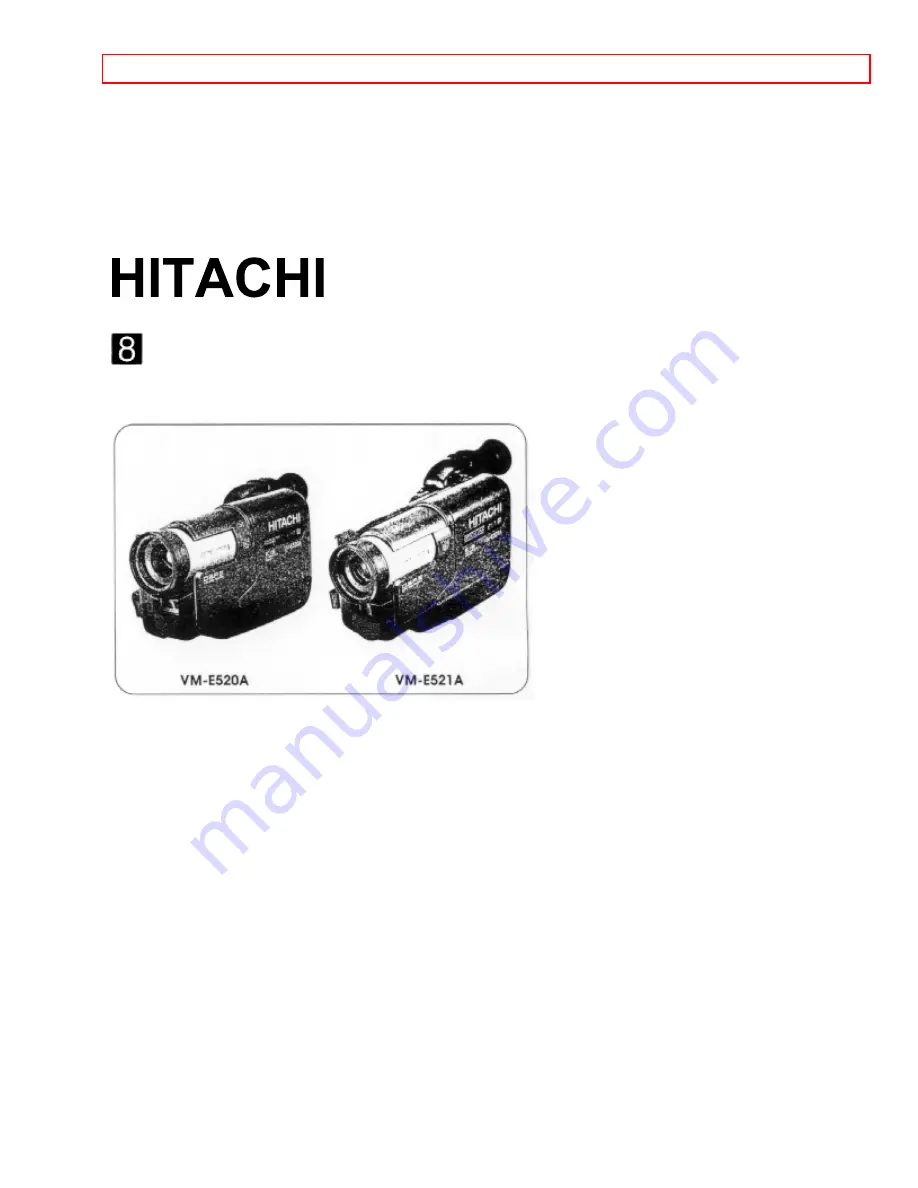
8mm Video Camcorder
VM-E520A / VM-E521A
Hitachi Home Electronics (America), Inc.
HITACHI (HSC) CANADA INC
3890 Steve Reynolds Blvd., Norcross, GA 30093
3300 Trans Canada Highway, Pointe Claire,
Tel. 770-279-5600
Quebec, H9R 1B1, CANADA
Tel. 514-697-9150
HITACHI SALES CORPORATION OF HAWAII, INC
3219 Koapaka Street, Honolulu, Hawaii 96819
Tel. 808-836-3621
Thank you for buying a Hitachi product. Please take time to become familiar with the manual and how it is set up.
Keep it handy for feature reference.
QR14542 © Hitachi, Ltd. 1995
Printed in Japan KG-T?


