


English
Deutsch
Français
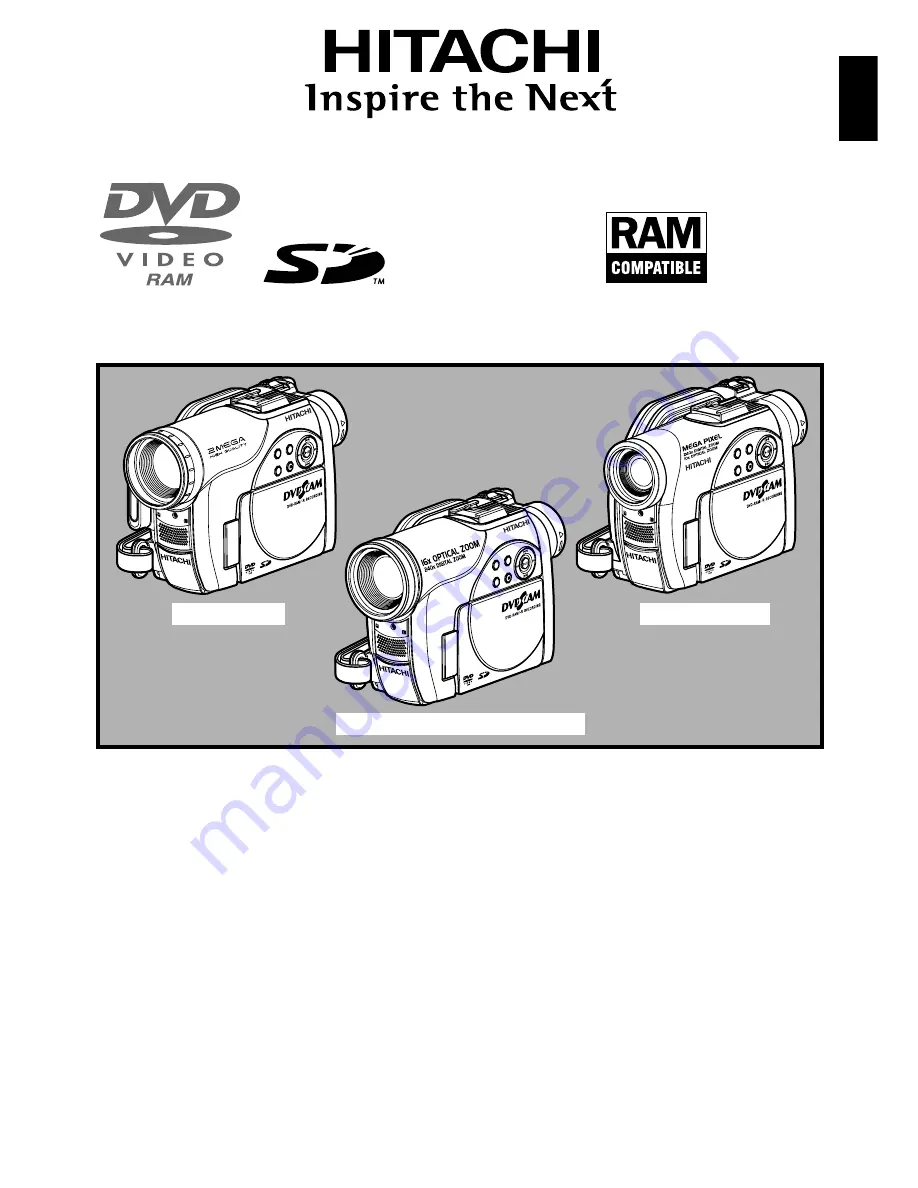
DZ-GX20E/DZ-MV780E
DZ-MV750E/DZ-MV730E
DZ-GX20E (UK)/DZ-MV780E (UK)
DZ-MV750E (UK)/DZ-MV730E (UK)
Instruction manual
To obtain the best performance and ensure years of
trouble-free use, please read this instruction
manual completely.
Mode d’emploi
Des performances optimales et un fonctionnement
à long terme seront assurés en appliquant les
présentes instructions après avoir entièrement lu
ce mode d’emploi.
Bedienungsanleitung
Bitte lesen Sie diese Bedienungsanleitung
aufmerksam durch, um durch richtige Bedienung
jahrelangen und störungsfreien Betrieb zu
gewährleisten.
DVDCAM PC Software Support Centre
URL http://dvdcam-pc.support.hitachi.ca/
DZ-GX20E
DZ-MV780E
DZ-MV750E/DZ-MV730E
SELECT
STOP/EXIT
DISC
NAVIGA
TION
MENU
SELECT
STOP/EXIT
DISC
NAVIGA
TION
MENU
SELECT
STOP/EXIT
DISC
NAVIGA
TION
MENU


