Hitachi DV-P455E, Instruction Manual
The Hitachi DV-P455E Instruction Manual is a comprehensive guide that allows you to maximize your device's functionality. Unlock its full potential with this detailed and easy-to-follow manual, available for free download from manualshive.com. Learn all the features and operations of your Hitachi DV-P455E at your own pace.
Share
Download


Reviews:
No comments
Related manuals for DV-P455E
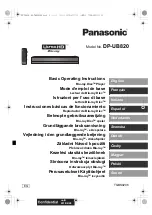
DP-UB820
Brand: Panasonic Pages: 12
DP-UB420
Brand: Panasonic Pages: 46
UltraHD DP-UB150
Brand: Panasonic Pages: 12
DP-UB154
Brand: Panasonic Pages: 28
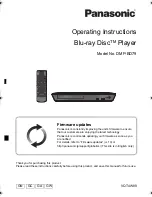
DMPBD79
Brand: Panasonic Pages: 40
DMP-DSB100
Brand: Panasonic Pages: 2
DMP-BDT570
Brand: Panasonic Pages: 44

DMP-MS10
Brand: Panasonic Pages: 12
DMP-BD903
Brand: Panasonic Pages: 2
DMP-BDT370
Brand: Panasonic Pages: 2
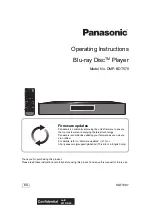
DMPBD79
Brand: Panasonic Pages: 68
DMP-BBT01
Brand: Panasonic Pages: 48
DMP-BD84
Brand: Panasonic Pages: 112
DP-UB820
Brand: Panasonic Pages: 4

CD-2000
Brand: Teac Pages: 64

XMP3T-F4G
Brand: X-Micro Pages: 23

Audio Steno AU581
Brand: Apacer Technology Pages: 1

SDVD7040-F
Brand: Sylvania Pages: 18


