


READ THE INSTRUCTIONS INSIDE CAREFULLY.
KEEP THIS USER'S MANUAL FOR FUTURE REFERENCE
For future reference, record the serial number of your television.
SERIAL NO.
This serial number is located on the rear of the television.
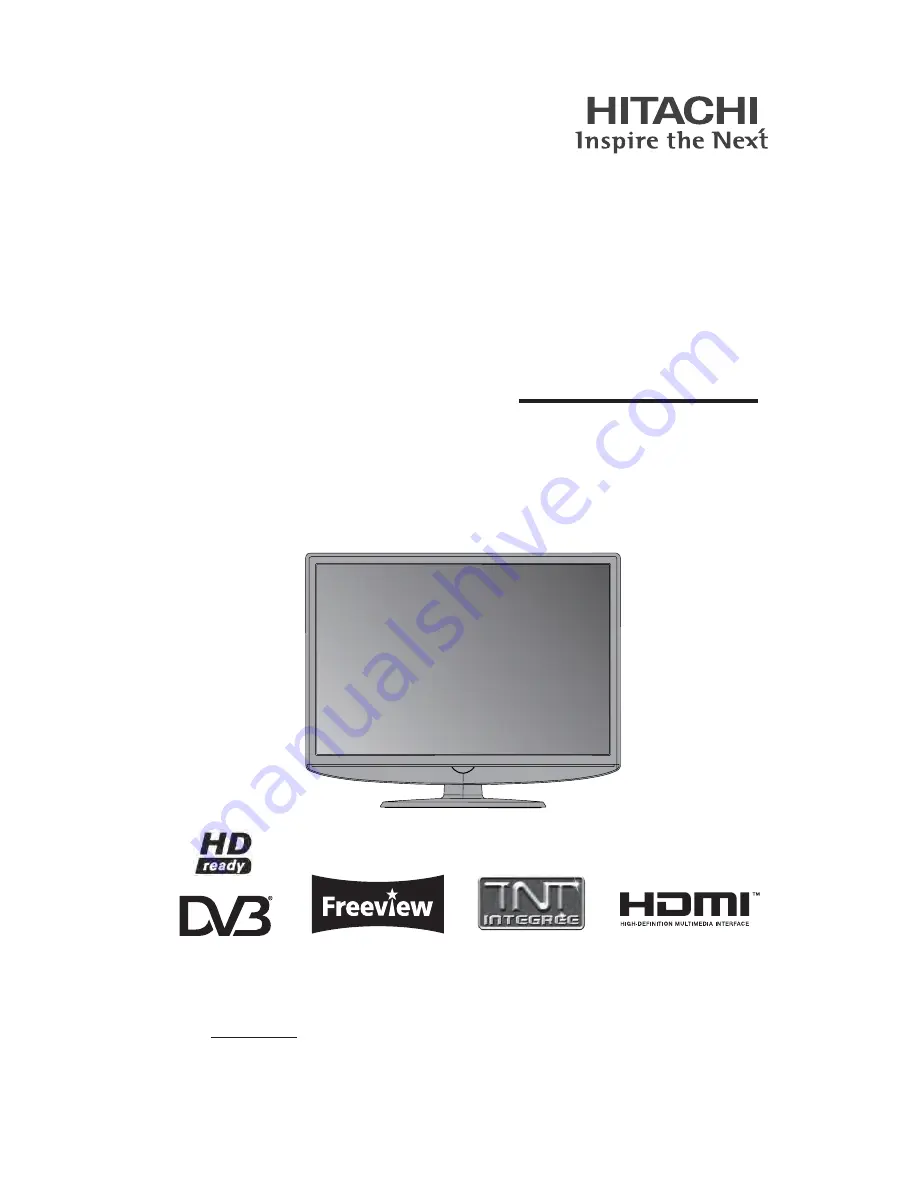
Colour LCD Television
Model Name
19LD4550C
19LD4550U
22LD4550C
22LD4550U
26LD4550C
26LD4550U
32LD4550C
32LD4550U
USER'S MANUAL
MANUEL UTILISATEUR
BEDIENUNGSANLEITUNG
MANUAL DEL USUARIO
MANUALE D'USO
BRUKSANVISNING
BRUKERHÅNDBOK
BRUGERVEJLEDNING
KÄYTTÖOPAS
ǼīȋǼǿȇǿǻǿȅ ȋȇǾȈȉǾ
GEBRUIKSAANWIJZING
Ver. 1


