background image

© 2014 Heli-Max, a Hobbico company.

HMXE0846 RTF with camera     HMXE0847 RTF without camera

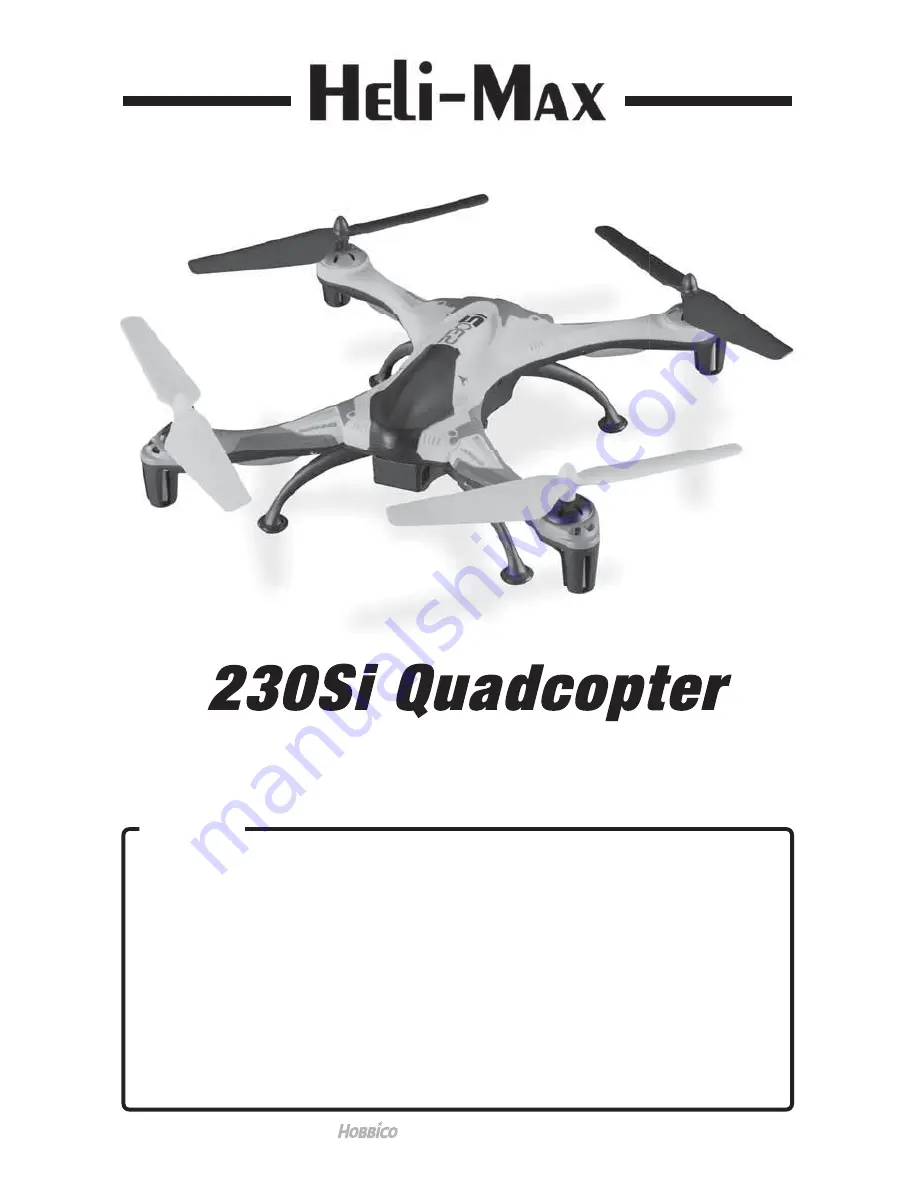
230Si Quadcopter

Instruction Manual

®

Please fully read and understand this manual and the operation and all 
safety aspects required of you for the safe operation of this product.  
Before use, if you feel this product is not for you please return it to your 
place of purchase.

Heli-Max products are to be used by ages 14 and over.

Manual Specifications and Description Changes

The instruction manual, warranties and other associated documentation 
are subject to change without notice. Hobbico assumes no responsibility 
for inadvertent errors to this manual.

WARNING

Summary of Contents for 230Si

Page 1: ...you for the safe operation of this product Before use if you feel this product is not for you please return it to your place of purchase Heli Max products are to be used by ages 14 and over Manual Specifications and Description Changes The instruction manual warranties and other associated documentation are subject to change without notice Hobbico assumes no responsibility for inadvertent errors t...

Page 2: ... of the following means When contacting us please include the name of the product you are referring to its stock number and as much information about your question or issue as possible For support outside the U S or Canada please contact the distributor in your country If unable to contact the appropriate distributor please contact us However we are unable to respond to emails in languages other t...

Page 3: ...iability associated with the use of this product the buyer is advised to return this kit immediately in new and unused condition to the place of purchase To make a warranty claim Hobby Services send the defective part 3002 N Apollo Dr Suite 1 or item to Hobby Services Champaign IL 61822 at this address USA Include a letter stating your name return shipping address as much contact information as po...

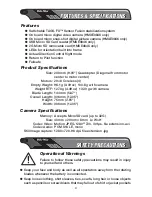
Page 4: ...ra Weight RTF 127 3g 4 49 oz 132 0 g with camera Blade Length 144 mm 5 67 Overall Length 306 mm 12 05 Height 75mm 2 95 Width 306 mm 12 05 Camera Specifications Memory Accepts MicroSD card up to 32G Size 40 mm 20 mm 8mm L W H Codec Video Motion JPEG 1280 720 30 fps file extension avi Codec Audio PCM S16 LE mono Still Image capture 1280 720 96 dpi file extension jpg SAFETY PRECAUTIONS SAFETY PRECAUT...

Page 5: ... found or if the blades have been damaged replace the blades before flying the model again After a crash you must inspect all plastic parts on the quadcopter for damage before attempting to fly the model again Battery Warnings and Usage Guidelines Please read and understand the following regarding the usage of LiPo batteries Through the use of the included LiPo battery you have assumed all risk an...

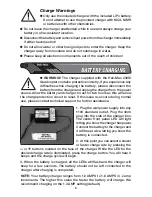
Page 6: ... rest for two hours as this will allow the charge protection circuit to reset If this issue re occurs during normal use please contact technical support for further assistance 1 Plug the wall power supply into any 110V standard outlet Plug the 4mm plug into the side of the charger box The center front panel LED will light letting you know the charger has power Connect the battery to the charger an...

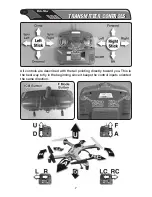
Page 7: ...TTER CONTROLS TRANSMITTER CONTROLS All controls are described with the tail pointing directly toward you This is the best way to fly in the beginning since it keeps the control inputs oriented the same direction ...

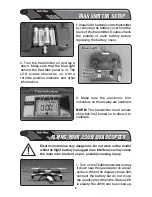
Page 8: ...3 Make sure the electronic trim indicators on the display are centered NOTE The transmitter must remain still when first turned on to allow it to calibrate FLYING YOUR 230Si QUADCOPTER FLYING YOUR 230Si QUADCOPTER Electric motors are very dangerous Do not work on the model while the flight battery is plugged in as interference may cause the main rotor blades to spin possibly causing injury 1 Turn ...

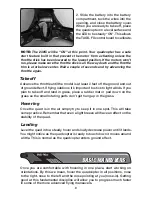
Page 9: ...doors it s important to stick to light winds If you plan to take off and land in grass place a rubber mat or pad down on the grass so the small rotating parts don t get hung up in the grass Hovering Once the quad is in the air simply try to keep it in one spot This will take some practice Remember that even a light breeze will have an effect on the stability of the quad Landing Level the quad into...

Page 10: ...low it to cool to room temperature and recharge it Do not leave the battery connected to the 230Si after the flight is completed If the model is to be stored for a long time period please remove the batteries from the transmitter to avoid damage to the contacts If storing the model for several weeks the batteries for the quadcopter should be charged to 50 of a full charge and checked after 3 to 4 ...

Page 11: ...ed The Expert mode disables the accelerometers to make the quadcopter more agile To toggle between these two modes move the throttle to the 0 position and hold the right stick to the left and down as far as possible for 5 seconds The Status LED will turn off and come back after two seconds to indicate that the quadcopter is in the Beginner flight mode When the Status LED stays off until the right ...

Page 12: ...ATURES OTHER FEATURES Actual Direction Control The Actual Direction Control mode uses the pilot s position as a reference point for any commands from the right stick instead of the orientation of the quadcopter In this mode it does not matter which direction the front of the 230Si is facing When the right stick is moved forward or backward the quadcopter will move closer to or farther from the pil...

Page 13: ...l NOT be saved on the card Before the camera can take a photo it must be in the Picture mode Press the PICTURE button one time to change the mode The LED on the camera will remain steady while the camera mode is changed Press the PICTURE button to take a photo You will notice that the LED will flash rapidly as the picture is recorded and stored on the micro SD card When the LED stops flashing the ...

Page 14: ... stick Control Board Sensor Calibration Press up on the throttle trim button to calibrate the control board sensors The Status LED should flash rapidly for about a minute When it stops flashing the calibration procedure is completed Return to Pilot Speed To adjust the speed that the 230Si returns to the pilot use the rudder trim button Pushing the button to the left will make the quadcopter return...

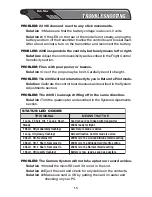
Page 15: ...ments section PROBLEM The 230Si is always drifting off in the same direction Solution Trim the quadcopter as described in the System Adjustments section STATUS LED CODES THIS SIGNAL MEANS THAT THE 1 Long 3 Short Off 1 Long 3 Short Steady 1 Short Off moderately flashing 1 Long Off slowly flashing 3 Short Off Remains ON 3 Short Off 1 Short Remains On 3 Short Off 2 Short Remains On 1 Short Off rapidl...

Page 16: ...row in the same direction When the blades are correctly installed they should look like the blades on the quadcopter in this photo Replacing a Motor 1 Remove the landing gear below the arm with the defective motor 2 Remove the five screws holding the upper and lower frames together and separate the frames 3 Remove the screw holding the LED board to the lower frame 4 Unplug the wire from the contro...

Page 17: ...17 ...

Page 18: ... Rear Motor CW 11 HMXE2329 Right Rear Motor CCW 12 HMXE2330 Right Front Motor CW 13 HMXE2331 Rear LED w Cover 14 HMXP1016 LIPO 1S 3 7v 1200mAH 15 HMXE2332 Landing Gear 16 HMXZ0001 Camera 17 HMXE2333 Battery Door 18 HMXE2334 Screw Set 19 HMXE2335 Front Right Motor Mount Arm 20 HMXE2336 Front Left Motor Mount Arm 21 HMXE2337 Rear Left Motor Mount Arm 22 HMXE2338 Rear Right Motor Mount Arm 23 HMXM205...

Page 19: ...19 EXPLODED VIEW EXPLODED VIEW ...

Page 20: ... ...

Reviews: