HDC Kurzweil MP20, User Manual
Get the most out of your HDC Kurzweil MP20 digital piano with our comprehensive User Manual. Designed to assist all skill levels, this manual is available for free download at manualshive.com. Discover the endless possibilities of the MP20 as you learn and explore its remarkable features and functionalities.
Share
Download


Reviews:
No comments
Related manuals for Kurzweil MP20
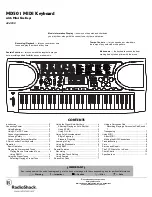
MD501
Brand: Radio Shack Pages: 12
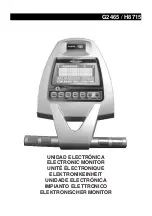
G2465
Brand: BH FITNESS Pages: 45

10.1& 8.0 Folio
Brand: Zagg Pages: 12

KM10CZ
Brand: X-Gamer Pages: 25

SoCool
Brand: Man & Machine Pages: 6

BTSOLARKEY
Brand: Macally Pages: 13

A87 Series
Brand: Dareu Pages: 8

Magic Watch MWE-850-4DSM
Brand: Waeco Pages: 204

Split Break
Brand: R-Go Pages: 9

F5L145
Brand: Belkin Pages: 8

LK-280
Brand: Casio Pages: 76

M221L
Brand: Medeli Pages: 32

KBX-SRMKM-937
Brand: Laser Gaming Pages: 9

WKB-3000UB
Brand: Adesso Pages: 9

KP400
Brand: Kensington Pages: 6

Comfort Type
Brand: Kensington Pages: 11

Road Ranger C201
Brand: Polaroid Pages: 34

MRB-UNO1
Brand: Intraphex Pages: 4


