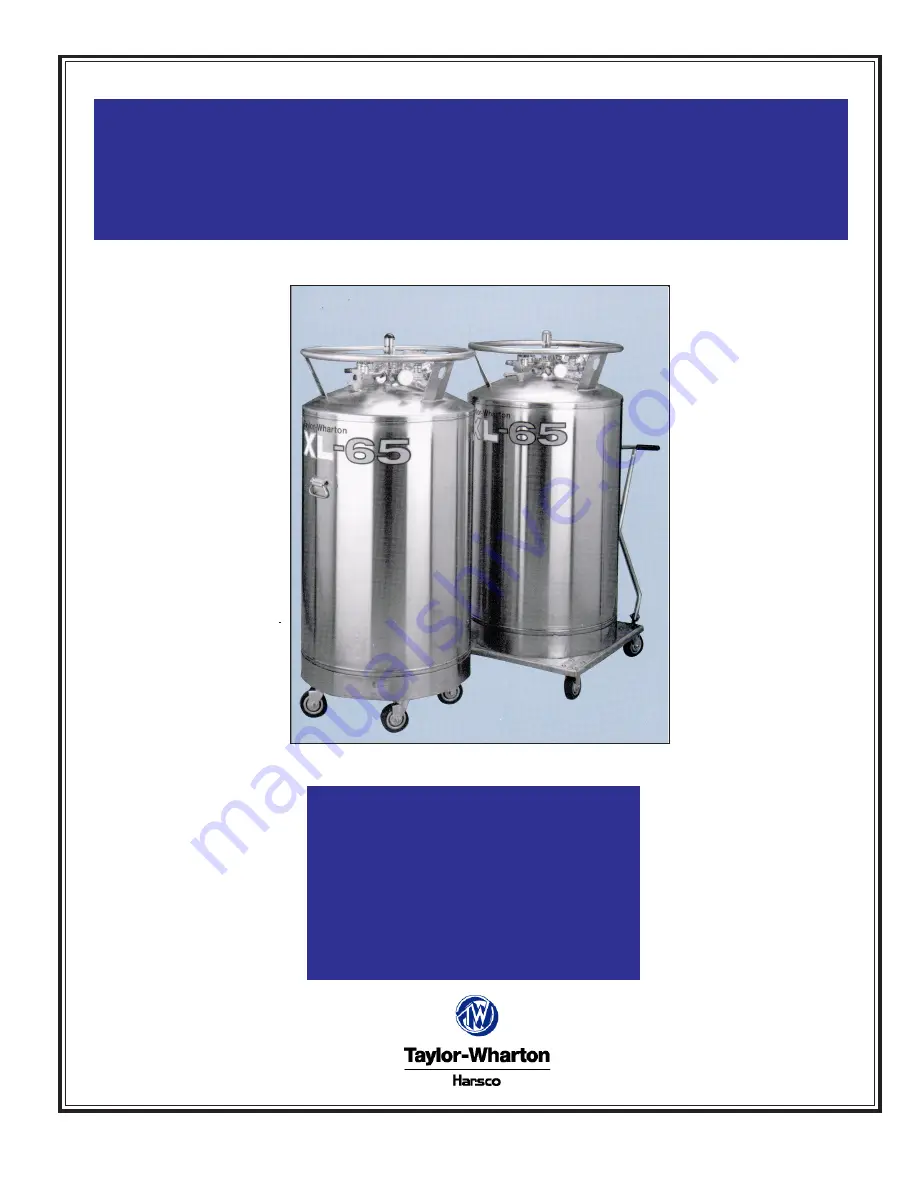
background image

Instructions for

XL-65 and XL-65HP

with Dual Regulator

Do not attempt to use or maintain this
unit until you read and understand these
instructions. Do not permit untrained
persons to use or maintain this unit. If
you do not fully understand these
instructions, contact your supplier for
further information.

TW-289

Summary of Contents for Taylor-Wharton XL-65

Page 1: ...Do not attempt to use or maintain this unit until you read and understand these instructions Do not permit untrained persons to use or maintain this unit If you do not fully understand these instructions contact your supplier for further information TW 289 ...

Page 2: ...a combustion hazard if used in oxygen or nitrous oxide service although they may be acceptable for use with other cryogenic liq uids Use only Taylor Wharton recommended spare parts and be certain parts used on oxygen or nitrous oxide equipment marked cleaned for oxygen service For information on cleaning consult the Compressed GasAssociation CGA pamphlet G 4 1 Cleaning for Oxygen Service or equiva...

Page 3: ... Oxide N A 110 cfh 2 9 cu m h Relief Valve Setting 230 psig 350 psig 16 bar 1586 kPa 24 bar 2413 kPa Inner Container Bursting Disc 380 psig 525 psig 26 bar 2620 kPa 36 bar 3620 kPa Dual Pressure Building Economizer Regulator Pressure Building Setting 125 psig 300 psig 8 6 bar 862 kPa 20 7 bar 2069 kPa Economizer Setting 145 psig 320 psig 10 bar 1000 kPa 22 bar 2206 kPa Design Specifications TC DOT...

Page 4: ...ly life the unit To move the container over rough surfaces or to lift the container attach an appropri ate sling to the lifting points cut into the welded supports posts and use a portable lifting device that will handle the weight of the container and its contents Never pull a cylinder downhill this may cause the handler to lose control of the con tainer and possibly cause personal injury FREIGHT...

Page 5: ...roduct is withdrawn The capacity of this circuit is sufficient to vaporize at flow rates up to 350 cfh NTP 9 2 cu m h STP If a greater continuous demand is put on the vaporizer an external vaporizer should be added to properly warm the gas and avoid malfunction or damage to gas regulators hoses and other downstream components Pressure Building APressure Building circuit is used to ensure sufficien...

Page 6: ... has the CGA fitting that is required for liquid line connec tions The valve is opened for fill or liquid withdrawal after connecting a transfer hose with compatible fittings to the LIQUID line connection The Pressure Building Valve This valve isolates the liquid in the bottom of the con tainer to the Dual Pressure Building Economizer Regulator This valve must be open to build pressure inside the ...

Page 7: ...GS Relief Pressure Normal Valve Building Economizer Operating Setting Setting Setting Range 22 psig N A N A 0 22 psig 1 5 bar N A N A 0 1 5 bar 152 kPa N A N A 0 152 kPa 230 psig 125 psig 145 psig 125 230 psig 16 bar 8 6 bar 10 bar 8 6 16 bar 1586 kPa 862 kPa 1000 kPa 862 1586 kPa 350 psig 300 psig 320 psig 300 350 psig 24 bar 20 7 bar 22 bar 20 7 24 kPa 2413 kPa 2069 kPa 2206 kPa 2069 2413 kPa Pa...

Page 8: ... the gas supplied will be at near ambient temperatures As the flow demand is increased the gas will become propor tionately colder If greater vaporizing capacity is required an accessory external vaporizer is available When an external vaporizer is used it must be connected to the USE valve and the regulator moved to the output of the external vaporizer WITHDRAWING LIQUID FROM THE CONTAINER Attach...

Page 9: ...h gaseous CO2 before beginning the fill If the pressure of the container is somehow lost the dry ice block that forms may be thawed by pressurizing the cylinder to 280 psig 19 3 bar 1931 kPa with carbon dioxide gas from an external source and allowing several day at this pressure to thaw the cylinder Pressure Transfer Filling Method Filing a liquid cylinder using the pressure transfer method is co...

Page 10: ... valve on the cylinder Both the fill line and the container should be pre cooled prior to beginning the fill process Proper full weight is determined by the previously explained method 1 Open the supply valve Then on the container being filled open only the VENT valve to begin the fill Start the pump at this time 2 Observe the container pressure closely If the pressure approaches the relief valve ...

Page 11: ... Service Hose Length Connections s Fittings Number Inert N2 Ar Service 4ft 1 2m StainlessSteel LIQUID or VENT Valve CGA 295 to 3 8 in NPT 1700 9C65 6ft 1 8m StainlessSteel LIQUID or VENT Valve CGA 295 to 3 8 in NPT 1600 9C66 6ft 1 8m StainlessSteel USE Valve CGA 580 to 3 8 in NPT GL50 8C51 Oxygen Service 6ft 1 8m StainlessSteel LIQUID or VENT Valve CGA 440 to 3 8 in NPT GL50 8C53 6ft 1 8m Stainles...

Page 12: ...cleaned for oxygen use Be certain your tools are free of oil and grease This is a good maintenance practice and helps ensure you do not create a combustion hazard when working on containers for oxygen or nitrous oxide service Leak test connections after every repair Pressurize the container with an appropriate inert gas for leak testing Use only approved leak test solutions and follow the manufact...

Page 13: ...reasing the setting the pressure building valve must be closed and the container vented to a lower pressure Then repeat step 2 to observe the change REGULATOR ADJUSTMENT RANGES Part No Normal Setting Range 6999 9018 300 psig 200 to 350 psig 20 7 bar 13 8 to 24 1 bar 2068 kPa 1379 to 2413 kPa 6999 9015 125 psig 75 to 175 psig 8 6 bar 5 to 12 bar 862 kPa 517 to 1207 kPa CAUTION When changing gas ser...

Page 14: ... be adjusted as shown in the accompanying illustration 1 Leak test joints between the high pressure cylinder regulator and the dump valve Joints must be leak free before proceeding 2 Close the On Off valve and then the Dump Valve 3 Slightly open the high pressure cylinder valve 4 Set the high pressure regulator above the desired set point for the Pressure Building setpoint 5 Slowly open the On Off...

Page 15: ...ner is empty 5 The container will hold pressure for several days but will not hold liquid NER Testing If a loss of vacuum integrity is suspected the container s Normal Evaporation Rate NER should be checked The test measures the actual product lost over time so you can compare the results obtained to the NER value in the SPECIFICATIONS table A test period of 48 hours is recommended after the conta...

Page 16: ...erse the aluminum float road below the water level as illustrated The gauge as sembly must be held vertically and the rode must not touch the side of bottom of the tube The yellow level indicator of the gauge should indicate a full level reading with the oxygen scale If the gauge fails to indicate a full liquid level the assembly is to be removed from the water calibrated and retested To change ca...

Page 17: ... clear cover portion of the gauge assembly with two fingers so that the assembly hangs free and plumb 3 Lower the assembly about 4 in 102 mm slowly and try to keep the rod in the center of the threaded entrance hole as you do If you are careful during this portion of inser tion you will drop the float rod straight through the guide ring inside the cylinder 4 To confirm that the rod is correctly po...

Page 18: ... to about 20 ft lbf 2 8 kgf m Leak check the connection of gauge body to the flange CAUTION When installing the gauge assembly care must be taken to ensure that the float rod is inserted through guide ring located on the liquid withdrawal line from inside the container If the gauge does not engage this ring the contents indication will be inaccurate or the gauge may be damaged in use Contents Gaug...

Page 19: ...Valve Disassembly Instructions 1 Open valve by turning Handwheel counterclockwise as far as it will go to release any trapped gas in the system 2 Using a screwdriver remove Handwheel Screw and Washer by turning counterclock wise to allow removal of Spring Retainer Washer Spring Seal Washer Handwheel and Bonnet Washers Discard these parts 3 Using the large adjustable wrench to hold valve body remov...

Page 20: ...et to 80 ft lbf 11 kgf m torque 6 Install Bonnet Washers over Stem on Bonnet 7 Place Handwheel over Stem and on Bonnet 8 Install Seal 6 over Stem into recess of Handwheel 9 Install Seal Washer 5 over Seal at the bottom of Handwheel recess as shown 10 With the flat side facing downward place Retainer Washer 3 on top of Seal 11 Align the holes of these parts and place Spring 4 over seat 12 Place Spr...

Page 21: ...ing bursting disc disc Pressurize container and check relief valve operation 5 3 Leaks in valves or 3 Leak test and repair leaks plumbing For valve repairs see Maintenance section 4 Cold liquid 4 Open pressure building circuit No pressure showing 1 Pressure drop to below 1 Re pressurize with C02 gas but container is full 70 psig 4 8 bar 483 kPa and check for leaks Repair by weight has caused conte...

Page 22: ...f valve Economizer Regulator set regulator when in use above relief valve setting Economizer side of regulator clogged or stuck open Container vents after This may be caused by Symptom should go away fill but quits after residual heat vaporizing once container reaches awhile some liquid inside operating temperature and container and is a normal the liquid reaches its condition saturation point at ...

Page 23: ...Hex Nut Nylon Insert 6331 1183 10 each 3 HandleXL 65 XL65 9C31 1 each 4 Spring Clip Holder Vinyl Coating 8958 0138 4 each 5 Screw Mach S S Hex Head in 6160 4752 10 each 6 Self Locking Hex Nut S S 6368 2024 10 each 7 Caster Swivel 5 in Dia Wheel C S 7300 8088 5 each Caster Swivel 5 in Dia Wheel S S 7300 8083 5 each Caster Swivel 4 in Dia Wheel C S 7300 9016 5 each Caster Swivel 4 in Dia Wheel S S 7...

Page 24: ...s Vaporizers adding up to 250 cfh Cryogenic Phase Separators 6 6 cu m h each Transfer Hoses O2 N2 AR CO2 and N2 0 Fill Tee Assemblies For additional information concerning the accessory of your choice please consult the separate manuals on accessories or call Taylor Wharton Component Locations for XL 65 and XL 65HP ACCESSORIES ...

Page 25: ...0 4137 kPa 7702 6197 2 Each 7 Relief Valve 350 psig 24 bar 2413 kPa not for C02 or N2 0 1705 9C39 5 Each 350 psig 24 bar 2413 kPa for C02 or N2 0 1706 9C12 5 Each 22 psig 1 5 bar 152 kPa not for C02 or N2 0 6913 6223 5 Each 230 psig 16 bar 1586 kPa not for C02 or N2 0 1700 9C39 5 Each 8 Safety Head 525 psig 36 bar 3620 kPa 1705 9C12 2 Each Safety Head 360 psig 24 8 bar 2482 kPa for XL 65 only 1190...

Page 26: ...ecal Argon GL55 9C53 A R Decal Nitrous Oxide GL55 9C55 A R Decal Warning 1700 9C07 4 Each Decal UN Number Nitrogen GL55 9C63 A R Decal UN Number Oxygen GL55 9C64 A R Decal UN Number Argon GL55 9C65 A R Decal UN Number Carbon Dioxide GL55 9C66 A R 18 Elbow 6814 3998 2 Each Not illustrated Optional Not illustrated For more information on Taylor Wharton Products Please contact Atmospheric Products an...

Reviews: