Summary of Contents for Stockton N1035P
Page 6: ......
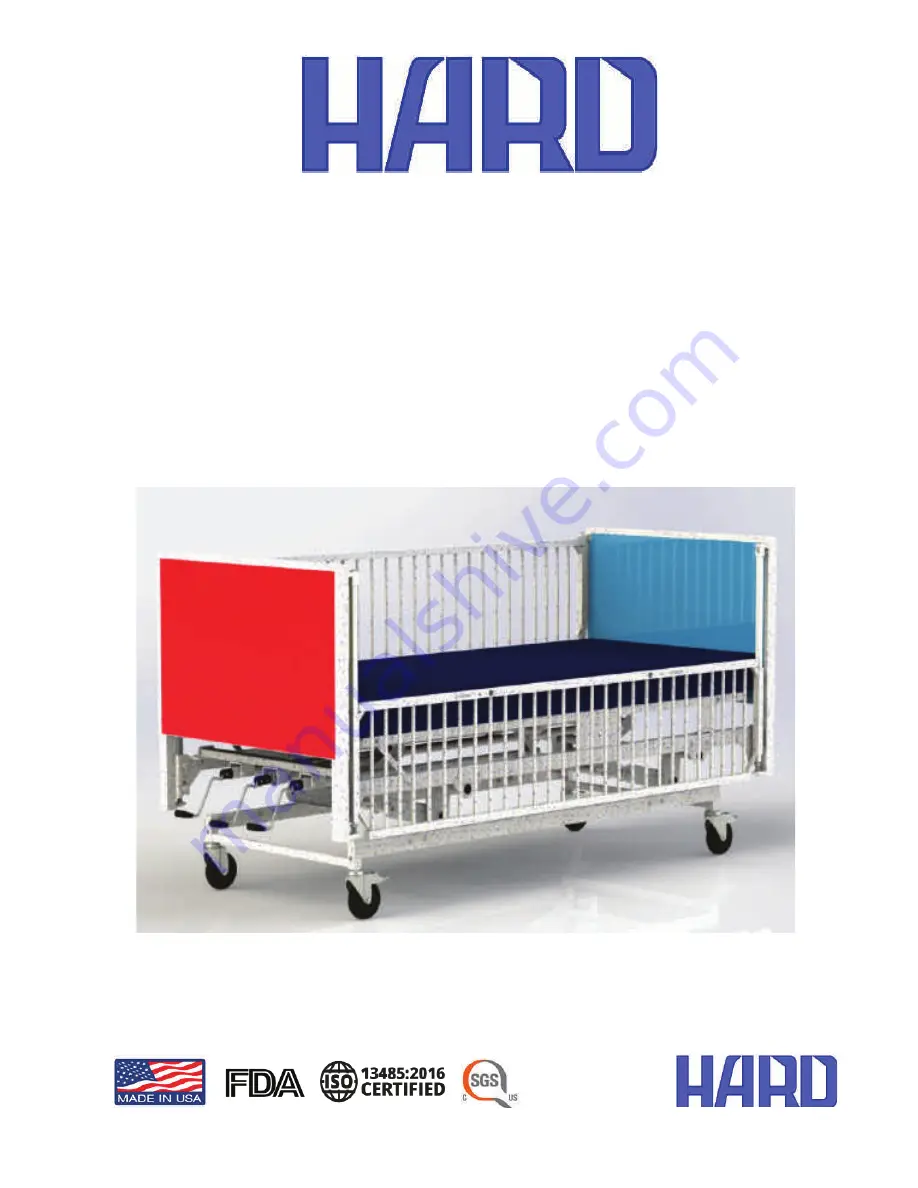
The HARD Stockton N1035P is a high-quality product designed for hassle-free assembly. With our comprehensive manual, you can easily assemble your Stockton N1035P without any difficulty. Download the user manual for free from manualshive.com, and get step-by-step instructions to ensure a seamless assembly experience.
Page 6: ......