Hanwha Techwin HCZ-6320N, User Manual
The Hanwha Techwin HCZ-6320N user manual is available for free download on our website. This comprehensive manual provides detailed instructions and guidelines for operating and maximizing the features of the HCZ-6320N. Get your manual from our website to unlock the full potential of this remarkable product.
Share
Download


Reviews:
No comments
Related manuals for HCZ-6320N

DXG-588V
Brand: DXG Pages: 1

FLCM-10-Q
Brand: Flycam Pages: 10

Multicam WF-10HD
Brand: Defender Pages: 22

ELI-ACVIT-PTZ-20X
Brand: e-Line Technology Pages: 17

Pocket 2
Brand: FEIYUTECH Pages: 19

PHD-1080
Brand: Patroleyes Pages: 4

SCD33, SCD34, SCD39
Brand: Samsung Pages: 107

8 SCA30
Brand: Samsung Pages: 57

HC-VXF990
Brand: Panasonic Pages: 40
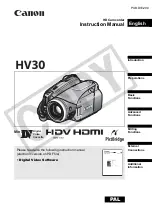
HV30E
Brand: Canon Pages: 104

ION RC-260
Brand: Canon Pages: 40

HV10 - Camcorder - 1080i
Brand: Canon Pages: 103

LEGRIA FS 46
Brand: Canon Pages: 125
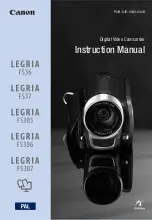
Legria FS305
Brand: Canon Pages: 111

LEGRIA GX10
Brand: Canon Pages: 6

legira HFG25
Brand: Canon Pages: 4

Legria HF G25
Brand: Canon Pages: 182

LEGRIA FS36
Brand: Canon Pages: 135


