


Operating instructions
Keep this manual to hand and in good condition for future reference!
Please read this operating manual carefully before using the machine!
Translation of the original operating instructions
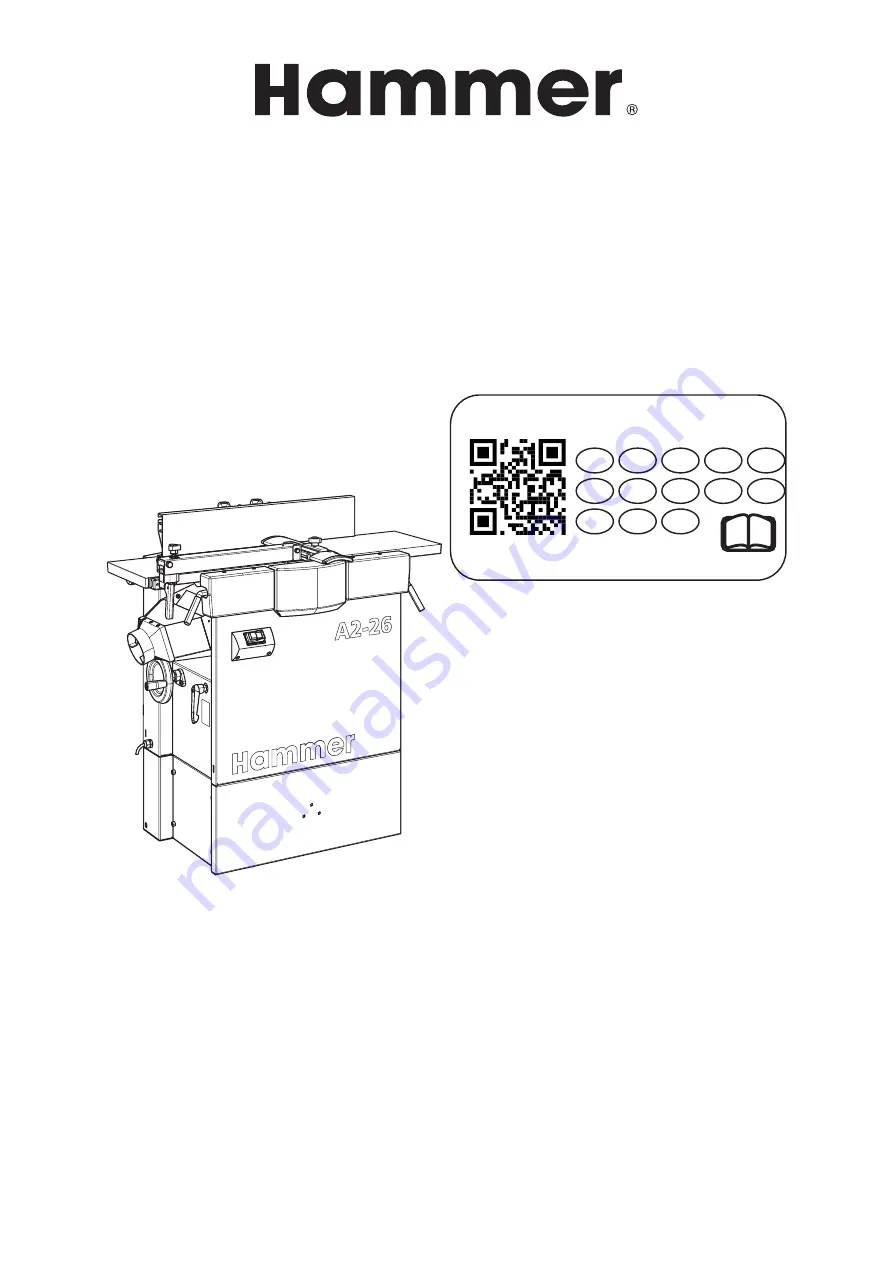
A2-26
Planer thicknesser
Download your local language
http://fg.am/ba-manuals
CZ
ES
DE
DA
EN
NL
HU
FR
PL
IT
SV
RO
RU
511010-901, 1, en_GB


