
Grandstream
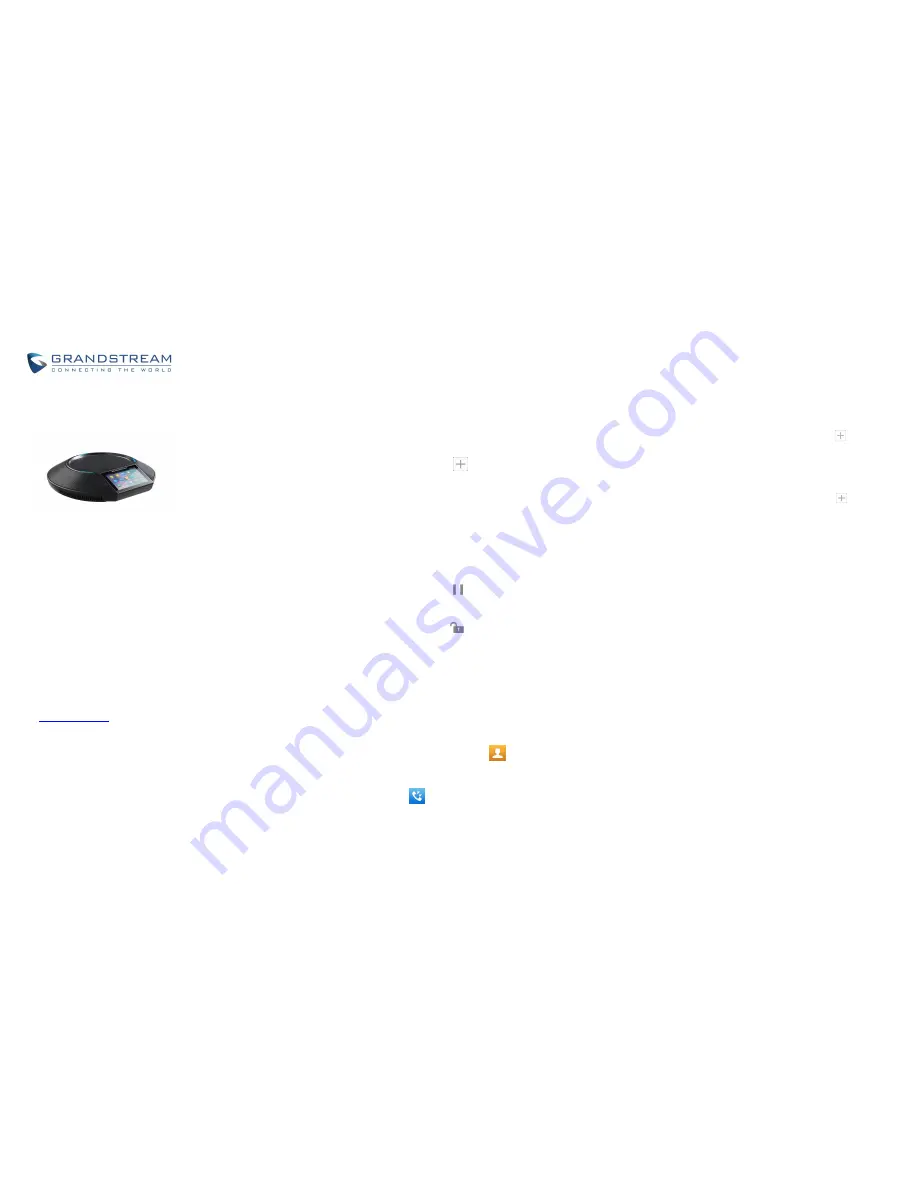
GAC2500
Audio Conference Phone for
Android
TM
Quick User Guide
For detailed information, please consult
the GAC2500 User Manual available at
www.grandstream.com
Reproduction or transmittal of the entire
or any part, in any form or by any
means, electronic or print, for any
purpose without the express written
permission of Grandstream Networks,
Inc. is not permitted. Information in this
document is subject to change without
notice.
M
AKE
A
C
ALL
1. Use the leftmost screen or click Phone app to en-
ter dial pad.
2. Select a call mode on the left panel.
3. Select account on the left panel.
4. Enter the number to dial out and tap on dial soft-
key .
R
EDIAL
When the phone has call history, click # key to redial.
Notice
:
Redial via # key needs configuration on web
UI
.
C
ALL
H
OLD
Hold:
During an active call, tap on softkey “Hold” on
the screen.
Resume
: When the call is on hold, tap on softkey
“Unhold” on the screen to resume the call.
C
ALL
T
RANSFER
Blind Transfer
1. During an active call, tap on “More” softkey and
select “Transfer” to bring up the transfer screen.
2. Select “Blind” on the upper left of the screen.
3. Enter the digits and tap on “Send” softkey.
Attended Transfer
1. In a call, click Home key to dial screen. Dial se-
cond number to establish another phone call. The
first call is on hold.
2. When second call is established, tap on “More”
softkey and select “Transfer” to bring up the trans-
fer screen. The first call would display on the left
panel.
3. Click the dropdown on upper left and choose
“Attended” mode. Then click the on hold call from
left panel.
4. The call is transferred, and it will hang up.
S
WITCH
L
INE
When there are multiple calls, tap to tag on the top of
LCD to switch current to another.
A
DD
TO
C
ONFERENCE
In a call, tap on “Add to conf” to bring all calls to a con-
ference.
E
ND
C
ALL
End a call by tapping on “End” softkey.
R
ECORD
C
ALL
1. Tap on “Start recording” in a call to start recording
.
2. Tap on “End recording” to end recording.
3. On LCD, open Recorder app to access the record-
ing.
A
NSWER
A
C
ALL
Account Incoming Call
Tap on “Answer” or “Reject” softkey to operate
the call.
Answer the second or later calls will hold all
the former calls.
Conference Incoming Call
During the conference, the participants will
hear a call waiting tone when there is an con-
ference incoming call. The caller’s name and
number would be shown on LCD.
Please choose the number first when there are
multiple incoming calls.
The new call will be added to the conference.
Missed Call
If a call is not answered, LCD would display
Missed Call list. LED becomes flashing red. Users
can open Call History app to check missed calls.
V
OICEMAIL
1. Swipe the LCD and tap on Voice Mail app.
2. Select the account to access voice mails.
Notice:
The voice mail for an account is in LCD
Settings -> Advanced settings -> Account
(
select
the account)
V
OLUME
A
DJUSTMENT
On LCD, drag up from bottom to display menu bar.
Tap on Volume Up or Volume Down to adjust the
volume.
C
ONFERENCE
S
CHEDULE
1. Login to GAC2500 web UI -> Contacts ->
Schedule, or tap on Schedule app.
2. On LCD, tap on the softkey on upper right, or
click “New Conference” to create a new sched-
ule.
3. Fill the conference name, conference mem-
bers, date, start time, duration, reminder, etc.
If “Auto Conference” is checked, GAC2500
would automatically call other participants to
initiate the conference.
M
IXED
C
ONFERENCE
(
T
HIRD
-
PARTY
APP
AND
SIP
ACCOUNT
LINES
C
ONFERENCE
)
Please make sure the device has installed and
logged in the third-party apps, such as Skype,
Skype for Business (Lync 2013), etc.
1. Use the SIP account to initiate a conference.
2. Use dial pad to call the third-party app num-
bers.
3. When the call with third-party app is estab-
lished, it will join the SIP account conference.
4. Tap on the third-party app participant to open
the app for more operations.
7-W
AY
C
ONFERENCE
Initiate Conference
1. Use the leftmost screen or click Phone app to en-
ter dial pad.
2. Select a call mode on the left panel.
3. Select account on the left panel.
4. Enter the number to dial out.
5. Tap on the number from the list on the left, or
choose a number from Contacts.
6. Repeat steps 4 and 5 to add up to 6 numbers.
7. Tap on dial softkey and initiate the conference.
Add Party
1. Tap on the “add” icon
in Conference app to
open a dial pad.
2. Choose the call mode, account, and enter the
number.
3. Tap on call softkey.
4. The callee will be added to the conference when
answers.
Participants Operation
Tap on participant icon to bring up more operations.
Host can mute, block, delete a participant and check
his information including whether to use SRTP or co-
dec.
Hold Conference
1. Tap on Hold softkey
to hold the conference.
2. Tap on Hold softkey again to resume conference.
Lock Conference
1. Tap on Lock softkey
to lock the conference.
When the conference is locked, others cannot join
it.
2. Tap on Lock softkey to unlock the conference.
More Operation
Tap on “More” on bottom left in a conference to bring
up more options. Host can record, mute, block the con-
ference, open the DTMF dial pad and MPK, etc.
End Conference
Tap on “End” on bottom right to end the conference.
C
ONTACTS
To open Contacts app, please tap on
icon.
C
ALL
H
ISTORY
To enter Call History, swipe the screen left and right
and tap on
icon.
C
ONFERENCE
A
SSISTANCE
(
B
LUETOOTH
/3.5
MM
AUX
AND
SIP
ACCOUNT
LINES
C
ONFERENCE
)
Please make sure the device has enabled
Bluetooth and connected with the cellphone. In
GAC2500 Bluetooth settings, please enable
headset mode.
1. Please use GAC2500 or cellphone to make a
call.
2. On GAC, open Conference app.
3. Tap on add member softkey , Choose a
SIP account and call the conference members.
4. Then SIP accounts and cell phone would join
the conference.
Or, please make sure the cellphone is connected
to GAC2500 via 3.5mm aux cable.
1. Use cellphone to make a call.
2. Tap on Conference app.
3. Tap on add member softkey , Choose a
SIP account and call the conference members.
4. Then SIP accounts and cell phone would join
the conference.
Notice:
During a conference, turning off Bluetooth or
unplugging 3.5mm AUX cable would cause
communication error.
Please choose the right line sequence when
using 3.5mm AUX cable, otherwise GAC
would not have audio.
When using the 3.5mm AUX cable with a
cellphone, GAC2500 cannot make a cellphone
call from LCD dial pad.
The audio quality may vary based on the
3.5mm AUX cable or the connecting device.
When connected via 3.5mm AUX cable, some
cellphone would be detected after the call is
established.
C
ASCADE
M
ODE
Two GAC2500 with cascade mode can be used in
a larger room.
1. Connect the 2 GAC2500 grey cascade
interface with the RJ48 cable.
2. Choose one device as a master from the
popup.
3. Use any device to operate the conference.
R
EQUIREMENTS
To make sure the best use of GAC2500, the
following requirements are necessary:
1. Please do not move the device during a call.
2. Please do not cover the device.
3. Please face to the device when speaking.
4. Please avoid an electric fan next to the device.
5. To avoid any possible noise, please do not put
the laptop, projector, etc. next to the device.
6. Unplug the power supply before cleaning. Do
not use spray or corrosive liquids.


