background image

 English  

1


I


mportant Notice:

Please install the driver first and then 
connect VideoCAM Messenger to the USB 
port. 

Please read the important notice before the installation.


1.


Installing VideoCAM Messenger software 

a.


Insert the VideoCAM Messenger software CD into CD-ROM drive. 

b.


After few seconds, the setup screen will show the picture of 
VideoCAM Messenger. Click the “

Utility Driver

” then simply 

follow the on-screen instructions. 

c.


Please remember to install 

DirectX 

of the CD-ROM. 

Notice: 

If the setup screen doesn’t show the picture of VideoCAM 
Messenger, please precede the following installation: 

z


Go to the taskbar and click Start then Execute. 

z


Type D

\SETUP.EXE , then click Enter key. 

(Suppose your CD-ROM is in Drive D) 
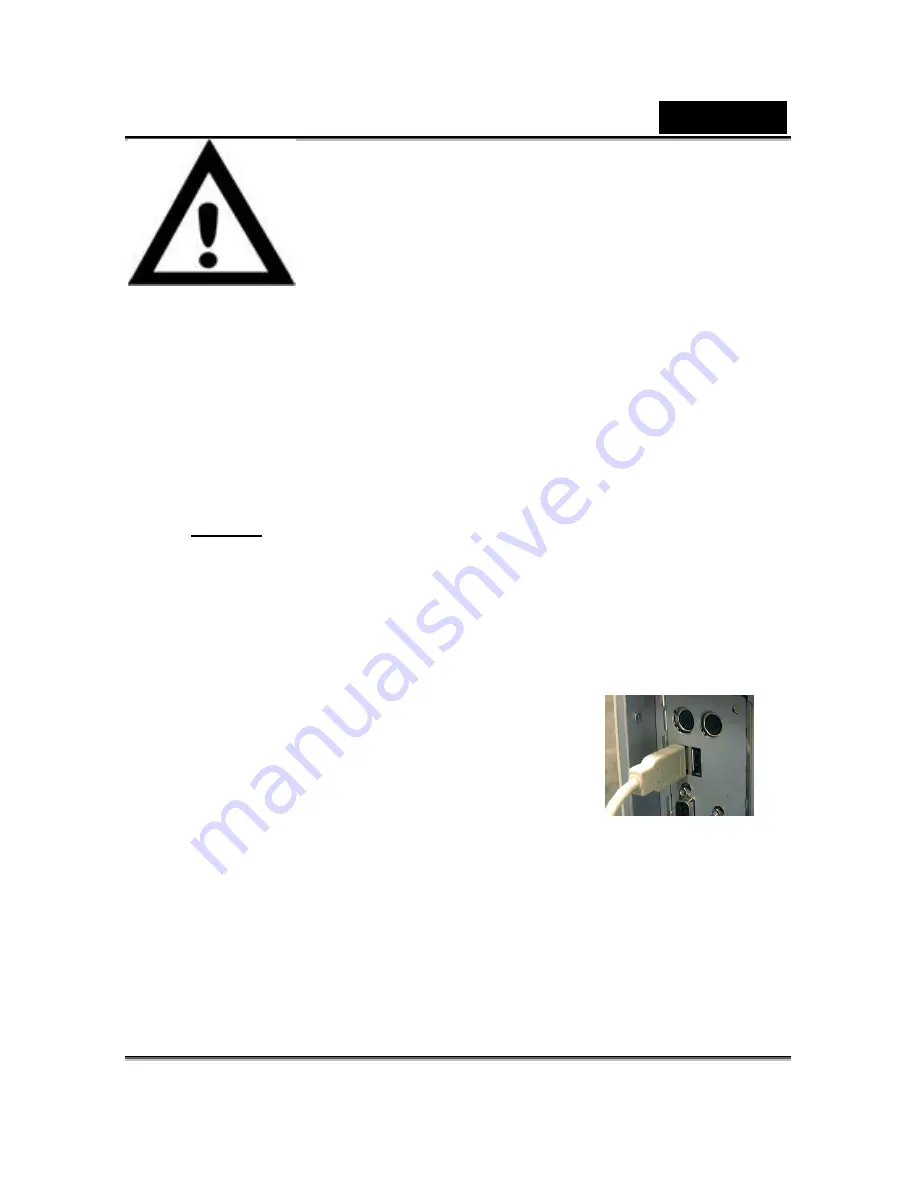
 

2.


Connect the VideoCAM Messenger to 
your computer. 

Connect the VideoCAM Messenger to the USB 
port as shown on the right drawing. 
 

3.


To get rid of driver installation, please 

go to the taskbar and follow “Start 

Æ


Program 

Æ

 VideoCAM Messenger 

Æ

 VideoCAM Messenger 

Uninstall, then follow the on-screen instruction to remove the 

installation. 


USB Port

4.


You can install the recognize software for video conferencing 

or chat with your friends. 

Summary of Contents for VIDEOCAM MESSENGER

Page 1: ...OM Notice If the setup screen doesn t show the picture of VideoCAM Messenger please precede the following installation z Go to the taskbar and click Start then Execute z Type D SETUP EXE then click Enter key Suppose your CD ROM is in Drive D 2 Connect the VideoCAM Messenger to your computer Connect the VideoCAM Messenger to the USB port as shown on the right drawing 3 To get rid of driver installa...

Page 2: ...5 Function description for the major icon 5 1 Main Menu A Preview mode B Snapshot shot C Video Clip Mode D Security monitoring system E Exit the Genius VideoCAM Series UI F Camera Control 5 2 Preview Mode You can use the functional buttons on the control panel to zoom in out and move upward downward left right ...

Page 3: ...English 3 A Zoom in B Zoom Out C Move the image upward D Move the image downward E Move the image to the left F Move the image to the right G Resolution selection ...

Page 4: ...he Snapshot button in the right of the circle to take a picture right away and share with your friends H Send photo through e mail I Continuously shot J Resolution selection 5 3 Video Clip Mode You can record real time image in this section ...

Page 5: ...Send photo through e mail B Making animation Press to start Press to stop Press to return to the video recording mode C Convert AVI files into MEPG 1 format D Start to record E Stop recording F Resolution selection ...

Page 6: ...record anytime until the HD is full If there s no movement it will shut down automatically after four seconds or until there is new movement It s a great security monitoring system and you can set the software so it works at times when you re not around G Start to record H Stop recording I Setup time of the security monitoring system ...

Page 7: ... MSN Messenger Guide Microsoft Windows Messenger has been included with Microsoft Windows XP or you can download from http www msnmessenger download com to provide videoconferencing service Using MSN Messenger as for Videoconferencing If you are using MSN Messenger included with Windows XP please follow the procedure as below Click the person s name you would like to connect withÆClick the Start c...

Page 8: ... Friend menu and choose Invite to View My Webcam z CUSeeMe for more detail please access http www cuworld com join_room asp Click Join a Group Video Chat and Meet CUWorld Members on the main CUSeeMe windowÆ The webpage of Join a CUworld Video Chatroom Æ Select a channels link under the icon on left of the webpageÆ Pick a Room from the list you want to joinÆ You will automatically be launched into ...

Reviews: