


English
-1- www.geniusnet.com
1.
Please install the driver first and then connect Slim 310NB
to the USB port.
2.
Installing the Slim 310NB driver
Windows Environment
a.
Insert the Slim 310NB Installation CD into the CD-ROM drive.
b.
The Autorun screen will bring up the installation screen. Click on
“
Driver
” then simply follow the on-screen instructions.
c.
Install “
DirectX”
from the CD.
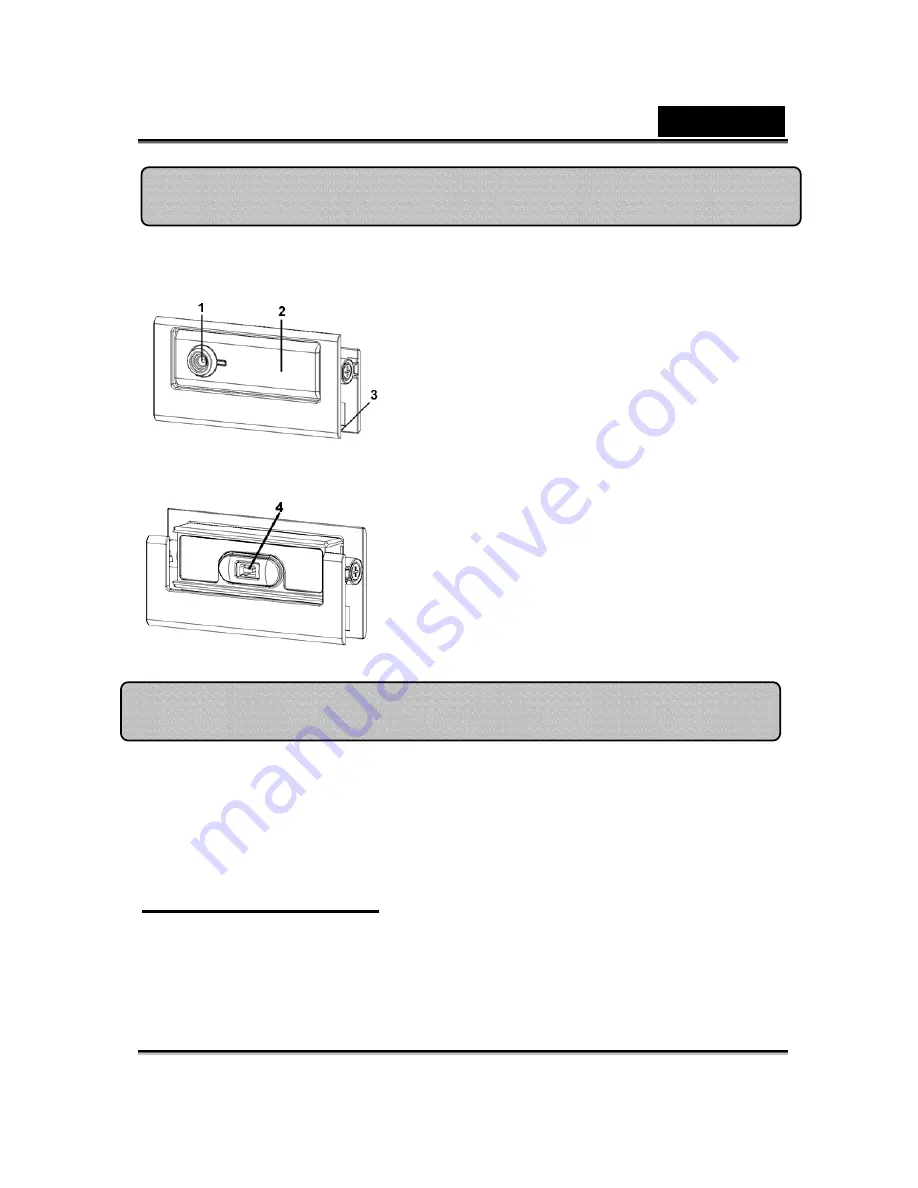
1
Fixed Lens
You don’t have to adjust the focus. The
effective image distance is from 60cm
to 300cm
2
Move upwards and downwards to adjust
the view angel.
3
Clipping Base
The adjustable clipping base can be up
to 14mm.
4
USB Connector
Connect the mini-B connector to the
Slim 310NB
Slim 310NB Features
Installing the Slim 310NB


