Geemarc CL7370, Manual
The Geemarc CL7370 is a feature-packed, easy-to-use cordless phone system. To get started seamlessly, simply download the free Quick Start Manual from manualshive.com to familiarize yourself with its functions and settings. The user manual, also available for free download, provides comprehensive instructions and troubleshooting tips.
Share
Download


Reviews:
No comments
Related manuals for CL7370
KX-UTG200
Brand: Panasonic Pages: 17
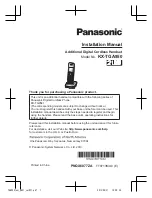
KX-UDT131
Brand: Panasonic Pages: 2
KX-TPA60
Brand: Panasonic Pages: 2
KX-TPA60
Brand: Panasonic Pages: 5
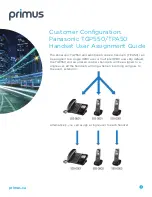
TGP 550
Brand: Panasonic Pages: 4
KX-TGA950B
Brand: Panasonic Pages: 16
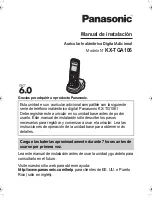
KX-TGA106M - Cordless Extension Handset
Brand: Panasonic Pages: 6

WH66 Mono
Brand: Yealink Pages: 12

WH62 Mono
Brand: Yealink Pages: 12

WH62 Mono
Brand: Yealink Pages: 8

T41
Brand: Yealink Pages: 24

AUR/21BTF
Brand: Innova Pages: 7

SH105
Brand: Southwing Pages: 2

Pro 930 Mono
Brand: Jabra Pages: 34

WH67 In Ear
Brand: Yealink Pages: 11

LIBERTY GAMER FORGE
Brand: Takstar Pages: 24

ZONE 2
Brand: Bluephonic Pages: 15

C300-XT
Brand: BlueParrott Pages: 20


