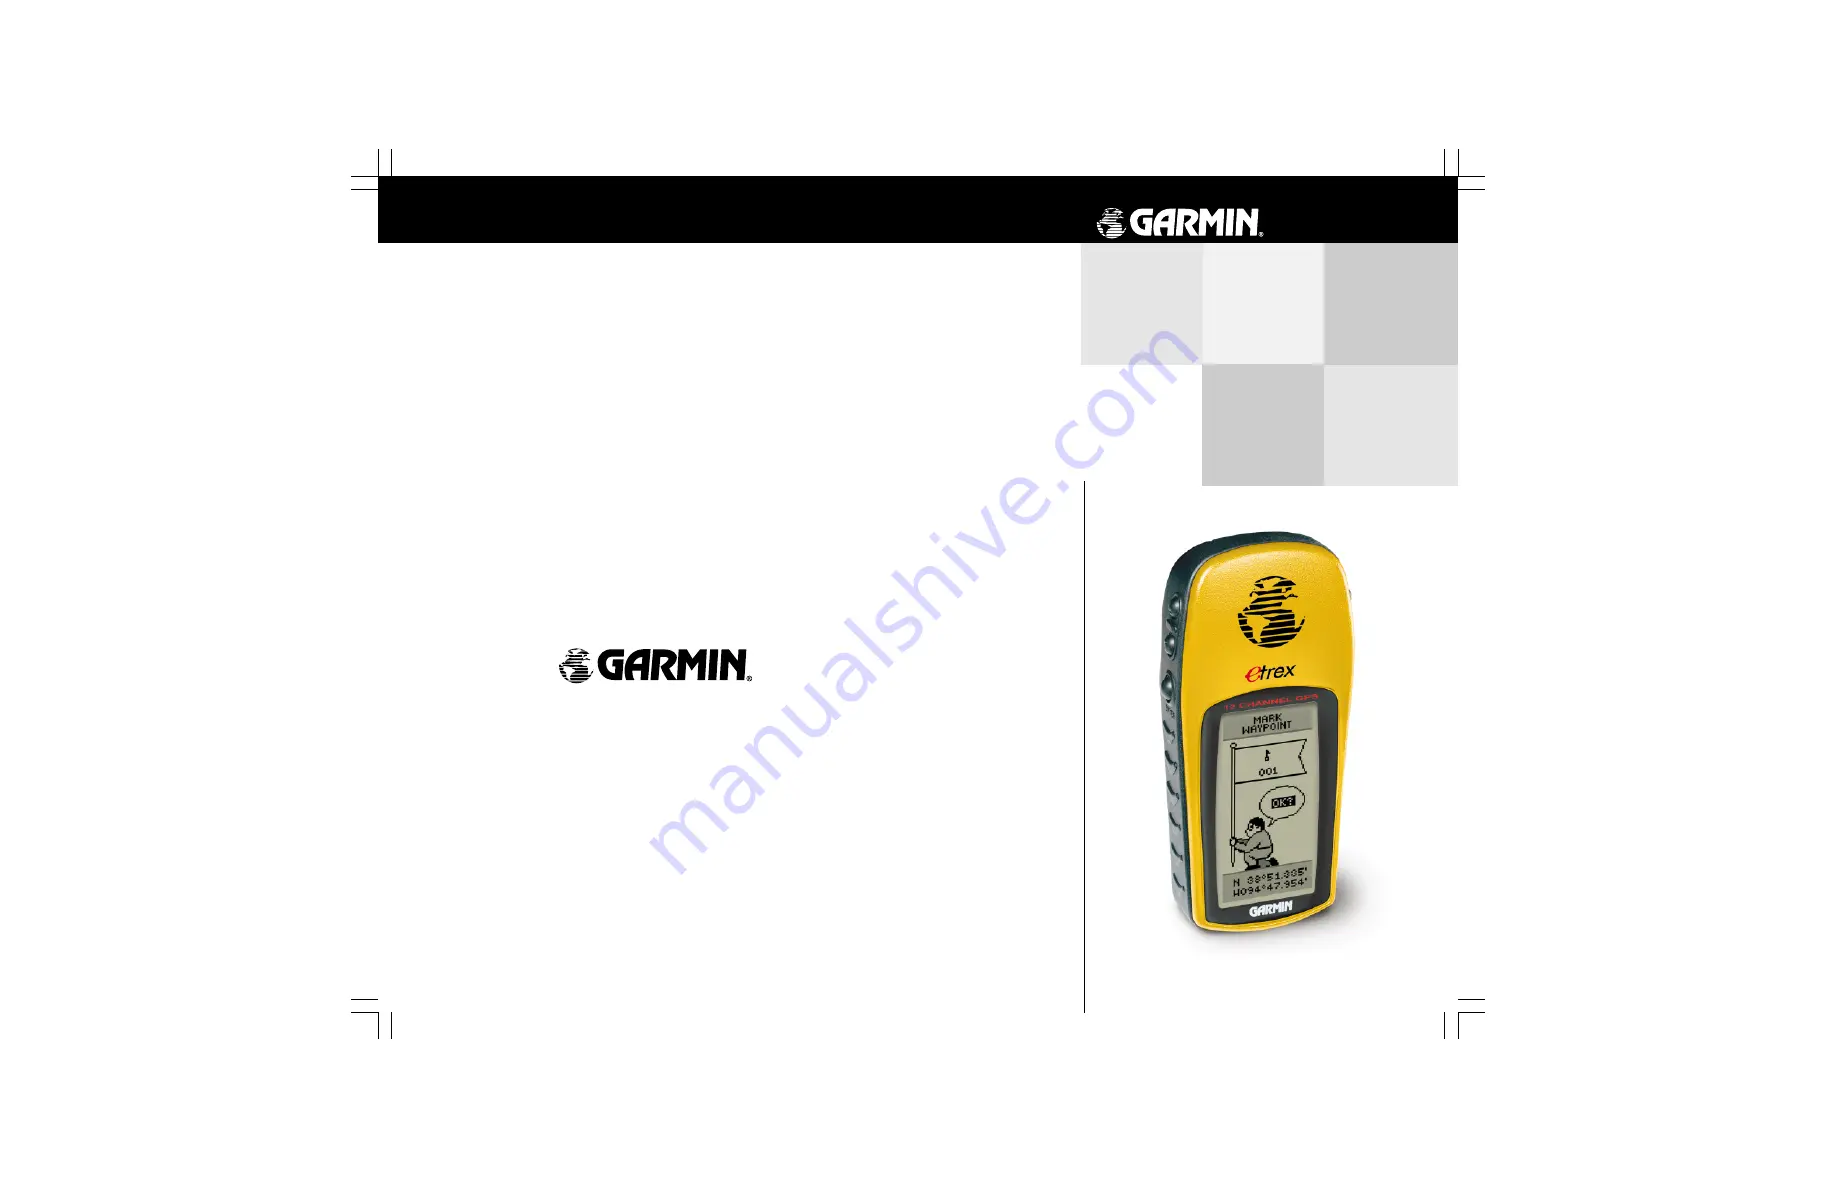
background image

owner’s

manual

eTrex

personal navigator

© 2000 GARMIN Corporation

GARMIN International, Inc.

1200 East 151

st

 Street, Olathe, Kansas  66062, U.S.A.

GARMIN (Europe) Ltd.

Unit 5, The Quadrangle, Abbey Park Industrial Estate, Romsey, SO51 9AQ, U.K.

GARMIN (Asia) Corporation

No. 68, Jangshu 2

nd

 Road., Shijr, Taipei County, Taiwan

www.garmin.com

Part Number 190-00205-00 Rev. A

Summary of Contents for GPS Kit

Page 1: ...nternational Inc 1200 East 151st Street Olathe Kansas 66062 U S A GARMIN Europe Ltd Unit 5 The Quadrangle Abbey Park Industrial Estate Romsey SO51 9AQ U K GARMIN Asia Corporation No 68 Jangshu 2nd Road Shijr Taipei County Taiwan www garmin com Part Number 190 00205 00 Rev A ...

Page 2: ...ive or other electronic storage medium to be viewed for personal use provided that such electronic or printed copy of this manual contains the complete text of this copyright notice and provided further that any unauthorized commercial distribution of this manual is strictly prohibited Information in this manual is subject to change without notice GARMIN Corporation reserves the right to change or...

Page 3: ...day Why should you register your eTrex Notification of Product Updates Notification of New Products Lost or Stolen unit tracking Connect to our website www garmin com and look for the Product Registration link on the home page Thanks for choosing the GARMIN eTrex If you have any questions or comments regarding the use of the eTrex you can visit our website or contact our Customer Service Departmen...

Page 4: ...rest Waypoints 23 Routes 24 26 Track Logs 27 28 Setup Page 29 30 Display and Units Pages 31 Map Datums 32 Units of Measure 33 34 Interface Page 35 System Page 36 Demo Mode 37 Appendix A Specifications 38 Appendix B What is GPS 39 Appendix C Reception Tips 40 41 Appendix D Time Offset Chart 42 Appendix E Wiring Diagram 43 Appendix F Troubleshooting 44 Appendix G FAQ s 45 46 Appendix H Index 47 49 W...

Page 5: ...road conditions while the vehicle is in motion could result in an accident or collision with property damage and personal injury CAUTION IT IS THE USER S RESPONSIBILITY TO USE THIS PRODUCT PRUDENTLY THIS PRODUCT IS INTENDED TO BE USED ONLY AS A TRAVEL AID AND MUST NOT BE USED FOR ANY PURPOSE REQUIRING PRECISE MEASUREMENT OF DIREC TION DISTANCE LOCATION OR TOPOGRAPHY CAUTION The Global Positioning ...

Page 6: ...uipment does cause harmful interference to other equipment try to correct the problem by relocating the equipment Consult an authorized GARMIN dealer or other qualified service technician if the problem cannot be corrected Operation is subject to the following condi tions 1 This device cannot cause harmful interference and 2 this device must accept any interference received including interference ...

Page 7: ...destination and more From these basic features your GARMIN GPS can provide one more critical benefit peace of mind because with GPS you ll know where you are where you ve been and where you re going And since you ll always know the way back home you can concentrate on what you set out to do and enjoy the great outdoors Other features include Waypoints 500 with name and graphic symbol Tracks Automa...

Page 8: ...nt to continue you can stop by pressing the PAGE Button The UP DOWN Buttons Select options on pages and menus Adjust Display Contrast on Satellite Page Zoom in and out on Map Page Cycle through trip data on Pointer Page The ENTER Button Confirms data entry or menu selections PAGE PAGE PWR PWR ENTER ENTER Owner s Manual The eTrex is ergonomically designed to be held in your left hand This symbol id...

Page 9: ...n eTrex Description DOWN Button UP Button ENTER Button External Power and Data Connector top rear Internal GPS Antenna LCD Display with backlight POWER Button PAGE Button Battery Compartment in rear Waterproof Case ...

Page 10: ...ts and routes from a PC to the eTrex and provides unit operation from an automobile cigarette lighter MapSource Map Data CD ROMs An excellent tool for creating waypoints and routes on your PC using a background map and downloading them to your eTrex See your GARMIN dealer for MapSource details Installing the Batteries The eTrex operates on 2 AA batteries not included which are installed at the bac...

Page 11: ...ites the strength of the satellite signals and the satellite tracking status The Satellite Page When you see the READY TO NAVIGATE message on the Satellite Page eTrex has found your location and you are ready to go Backlighting and Contrast If the lighting conditions make it hard for you to see the screen you can adjust the contrast or turn on the backlight Press and release the POWER Button from ...

Page 12: ...ormation in order to work It also shows you when the satellite signals are weak or when you need to move to a different location for better reception The shorter the signal strength bar the weaker the signals You Your Location Status Message Satellites The Satellite Page Satellite Signal Strength Bar Satellite Signals Location Accuracy estimated The READY TO NAVIGATE message must appear before you...

Page 13: ...as you move so that waypoints that are ahead of you are always displayed in front of the animated figure The North Pointer always shows you where north is To make sure you can see your entire trip you can change the map scale from 500 feet to 800 miles by pressing and holding the UP Button to view a larger area and the DOWN Button for viewing a smaller area The Map Page The Map Page showing differ...

Page 14: ...g direction heading bearing lat lon elevation time of sunrise sunset trip timer and trip odometer The eTrex is not a compass You must be moving in order for it to track your movement On the Pointer Page the UP and DOWN Buttons are used to cycle through different trip data Compass Ring Time to reach the Destination Straight Line Distance to the Destination Waypoint Location Name Direction Arrow fol...

Page 15: ...ne 1 Press the PAGE Button and switch to the MENU Page Press the UP or DOWN Button and highlight SETUP Press ENTER The SETUP Page appears 2 Press the UP or DOWN Button and highlight TIME and press ENTER 3 Press the UP or DOWN Button and select the TIME ZONE field and press ENTER 4 Press the UP or DOWN Button scroll through the selections and press ENTER when you have found the correct zone Press P...

Page 16: ...later To Mark a Waypoint 1 Press the PAGE Button and switch to the MENU Page 2 Press the UP or DOWN Button and highlight the MARK field 3 Press ENTER The MARK WAYPOINT Page appears with OK highlighted Before we actually mark the wayoint let s change the symbol to a house and the name 001 to something a little more meaningful such as HOME To change the waypoint symbol 1 On the MARK WAYPOINT page pr...

Page 17: ...and stored in memory Now that you ve marked your location it s time to go for a brisk walk Press the PAGE Button and switch to the MAP Page Walk in a straight line for 3 4 minutes at a fast pace and watch the Map Page Your location is shown by the figure in the middle of the screen As you move watch the animated figure walk and a line called a track appear along the path you have just covered Now ...

Page 18: ...ss Page appears and you re now ready for eTrex to guide you back to your starting location Heading in the Right Direction The eTrex will guide you back to where you started us ing the Pointer Page The pointer tells you the direction to the destination Walk in the direction the arrow is pointing until the arrow points to the top of the compass ring If the arrow points to the right you need to go to...

Page 19: ...Trex for a few trips the map display will become a bit messy from keeping track of your every move You can clean up the screen by clearing the track log the lines left on the Map Page To clear the track log 1 Press the PAGE Button and switch to the MENU Page 2 Press the UP or DOWN Button and highlight TRACKS 3 Press ENTER You are now on the TRACKS Page Use the UP Button and highlight CLEAR Press E...

Page 20: ...GATION stops any active navigation navigation means there is a destination waypoint page 16 This option cannot be selected if there is no active navigation To select a Map Page Option 1 Press the ENTER button on the Map Page 2 The Map Options Menu appears Press the UP or DOWN button and highlight the desired option and press ENTER Once you press ENTER the change is made and the Options Menu disapp...

Page 21: ... also change the fields at the bottom of the Pointer Page to display different data Speed like the speedometer in your car SPEED tells you how fast you are going regardless of whether or not you are on the right track Average Speed the average speed traveled since last trip reset Max Speed the maximum speed traveled since last reset Heading the direction you are traveling Bearing the compass direc...

Page 22: ...P or DOWN button and scroll through the available options stopping on the data you want the eTrex to display Menu Page Selections The Menu Page turns the eTrex into a powerful navigation tool With the Menu Page you can customize the display transfer information from a computer to eTrex and back again and manage and organize all of your waypoints Now let s take a look at each of the Menu Page selec...

Page 23: ... UP and DOWN button UP button to move right to left DOWN button to move left to right When you reach the position place you want to change stop and press ENTER Using the UP or DOWN button scroll through the choices and highlight the one you want Press ENTER The position place is now changed 4 Press the UP or DOWN button to highlight the OK field and press ENTER The MARK WAYPOINT Page appears 5 Pre...

Page 24: ... Page allows you to change the waypoint symbol name and location covered previously You can also delete the waypoint display the waypoint on the Map Page and start a GOTO To delete a waypoint 1 On the REVIEW WAYPOINT page press the UP or DOWN button and highlight DELETE Press the ENTER button A confirmation message box appears asking if you really want to delete the waypoint If you do press the UP...

Page 25: ...om your location You can select a waypoint from this list by pressing the UP or DOWN button and selecting the desired waypoint Once selected press ENTER The REVIEW WAYPOINT appears allowing you to edit the waypoint if you desire To delete all waypoints 1 On the WAYPOINT Page press the UP or DOWN button and highlight DELETE ALL Press the ENTER button A confirmation message box appears asking if you...

Page 26: ...tion waypoints However the route feature is more powerful because it is more automatic When you reach one waypoint the eTrex automatically guides you to the next waypoint on the route without needing to touch any button When you use the GOTO feature you have to stop and select the next waypoint before you start moving When you plan a trip you can select waypoints from a waypoint list and put them ...

Page 27: ...LAST END waypoint in the route The eTrex will guide you to the selected final destination following each waypoint in the route eTrex has one route There are two ways to insert a waypoint into a route One way is to insert the waypoint before an existing waypoint in a route The other way is to insert the waypoint at the end of the waypoint list in a route To insert a waypoint into a route 1 Press th...

Page 28: ...OWN button and highlight the waypoint you want to remove The INSERT REMOVE window appears Press the UP or DOWN button and highlight REMOVE Press ENTER The waypoint is removed from the list To clear all route waypoints 1 Press the PAGE button and switch to the MENU Page Press the UP or DOWN button and highlight ROUTE Press ENTER The ROUTE Page appears 2 Press the UP or DOWN button and highlight CLE...

Page 29: ...ro percent When the display shows 99 the most recent track points will start overwriting the least recent track points Thus in order to avoid losing any track points you should save the track log before it reaches 99 of memory usage To save a track for navigation later 1 Press the PAGE Button and switch to the MENU Page Press the UP or DOWN Button and highlight TRACKS Press ENTER The Track Log Pag...

Page 30: ...ress the UP or DOWN button and select NO Press ENTER or you can press PAGE to exit at any time The tracks remain in memory To start TracBack Navigation 1 On the Track Log Page press the UP or DOWN button and highlight the saved track from the SAVED TRACKS that you want to travel Press ENTER The track graphically appears 2 Press the UP or DOWN Button and highlight TRACBACK Press ENTER The direction...

Page 31: ...ge allows you to select a 12 hour or 24 hour time format enter the proper time zone and choose Daylight Savings Time When you select 12 hour time formatting the clock will read like a standard clock with 12 hour AM and 12 hour PM cycles The 24 hour option sets the eTrex to display a 24 hour cycle Military Time To change the time format 1 Press the PAGE Button and switch to the MENU Page Press the ...

Page 32: ... be set to Automatic using the built in almanac to automatically change the clock settings when daylight savings goes into or out of effect You can choose Yes to manually add daylight savings or No to remain on standard time To change the Daylight Savings Field 1 Press the PAGE Button and switch to the MENU Page Press the UP or DOWN Button and highlight SETUP Press ENTER The SETUP Page appears 2 P...

Page 33: ...WN Button and highlight DISPLAY and press ENTER Press the UP or DOWN Button and highlight the CONTRAST icon and press ENTER 3 Press the UP or DOWN Button and adjust the contrast and ENTER Press PAGE to get back to the SETUP page Units Page Using your eTrex with a paper map increases the navigation power of both If you are going to use a map in conjunction with the eTrex you must select the positio...

Page 34: ... map uses a map datum The map datum is usually listed in the title block of the map If you are comparing GPS coordinates to a paper map or other reference the map datum in the eTrex should match the horizontal map datum used to generate the chart or other reference The default datum in the eTrex is WGS 84 World Geodetic Survey 1984 You should only change the datum if you are using maps or charts t...

Page 35: ... metric units of measure for all speed and dis tance readouts To change the Units of Measure 1 Press the PAGE button and switch to the MENU page Use the UP and DOWN button and highlight the SETUP field Press ENTER The SETUP Page appears 2 Press the UP DOWN button to select UNITS Press ENTER The UNITS Page appears 3 Press the UP or DOWN Button and select the UNITS field Press ENTER 4 Press the UP o...

Page 36: ...le so the north indicated by the grid lines is called Grid North But the difference is usually small enough that Grid north can be considered the same as True North for travelling on land If necessary you can correct for the difference between Grid North and True North manually To change the North Reference 1 Press the PAGE button and switch to the MENU page Use the UP and DOWN button and highligh...

Page 37: ...XT OUT allows simple ASCII text output of location and velocity information without any input capabilities RTCM IN allows DGPS input using a standard RTCMSC 104formatwithoutanyoutputcapabilities RTCM NMEA allows DGPS input using a standard RTCM SC 104 format andsupports the output of standard NMEA 0183 version 2 0 data RTCM TEXT allows DGPS input using a standard RTCM SC 104 format and simple ASCI...

Page 38: ...the UP or DOWN button and select the INTERFACE field Press ENTER The INTERFACE Page appears 3 Press ENTER on the I O FORMAT field Press the UP or DOWN button to select the desired format Press ENTER Press PAGE to return to the page of your choice System Page The System Page shows you the current software version and allows you to choose from three modes of operation Normal Battery Save Demonstrati...

Page 39: ...to select BATTERY SAVE Press ENTER Press PAGE to return to the page of your choice Demo Mode The DEMO mode is designed for dealers to show the features and functions of the eTrex to potential customers inside a closed building where satellite reception is not possible There is no navigation possible in DEMO mode If you select the DEMO mode a window appears at the bottom of the screen asking you to...

Page 40: ...ilt In Power Input Two 1 5 volt AA batteries3 Battery Life Up to 22 hours in Battery Save mode4 Specifications subject to change without notice 1 With optional GARMIN Differential Beacon Receiver Input such as GARMIN GBR 21 2 Subject to accuracy degradation to 100m 2DRMS under the U S DOD imposed Selective Availability program 3 The temperature rating for the eTrex may exceed the usable range of s...

Page 41: ...racy and convenience of this amazing technology to hunt fish hike fly cruise and sail GPS consists of a constellation of 24 satellites orbiting some 12 000 miles above the earth These satellites transmit signals containing time and orbital data to calculate satellite position and almanac data Meanwhile receivers used on the ground sea and air search the sky for the satellites The GPS unit needs to...

Page 42: ...ds of miles km since you last used your eTrex 1 The message TROUBLE TRACKING SATELLITES ARE YOU INDOORS NOW will appear Press the UP or DOWN Button and highlight NO Press ENTER 2 eTrex then asks HAVE YOU MOVED HUNDREDS OF MILES KM SINCE LAST USE Press the UP or DOWN button and highlight NO Press ENTER 3 eTrex asks IS TODAY dd mmm yy If you answer YES the date matches the current date the eTrex wil...

Page 43: ... HAVE YOU MOVED HUNDREDS OF MILES KM SINCE LAST USE Press the UP or DOWN button and highlight YES Press ENTER 3 eTrex will do an AUTOLOCATE and switch to the Satellite Page This option is useful if you ve relocated a distance greater than 500 miles from the last location the eTrex was used The eTrex has a 12 parallel channel receiver for fast accurate position fixes even under heavy foliage and tr...

Page 44: ...W t e s f f O e n o Z l a n i d u t i g n o L 1 5 2 2 0 E o t 5 7 0 0 E 2 5 7 3 0 E o t 5 2 2 0 E 3 5 2 5 0 E o t 5 7 3 0 E 4 5 7 6 0 E o t 5 2 5 0 E 5 5 2 8 0 E o t 5 7 6 0 E 6 5 7 9 0 E o t 5 2 8 0 E 7 5 2 1 1 E o t 5 7 9 0 E 8 5 7 2 1 E o t 5 2 1 1 E 9 5 2 4 1 E o t 5 7 2 1 E 0 1 5 7 5 1 E o t 5 2 4 1 E 1 1 5 2 7 1 E o t 5 7 5 1 E 2 1 0 0 8 1 E o t 5 2 7 1 E A simple way to determine your local...

Page 45: ...Z altitude PSLIB beacon receiver control DGPS Differential GPS corrections are accepted in RTCM SC 104 version 2 0 format through the Data In line The GARMIN GBR 21 is the recommended beacon receiver for use with the eTrex Other beacon receivers with the correct RTCM format may be used but may not correctly display status or allow tuning control from the GPS unit The eTrex may be hard wired to a s...

Page 46: ...n is based on your movement If you are standing still the information is not updating Since the eTrex is not a compass it cannot show you which way you are facing while you are standing still eTrex coordinates do not match the location on your map 1 Check to make sure the eTrex is configured to use the same datum as your map See page 32 Appendix F Troubleshooting NOTE The Car Power Adapter part nu...

Page 47: ... meters under the DoD imposed Selective Availability S A Without S A the eTrex is accurate to within 15 meters Using differential techniques the eTrex can be as accurate as 1 5 meters Why can t I see the display in the daylight Adjust the contrast see page 9 Why can t I interface my computer with the eTrex Make sure that you have the correct INPUT OUTPUT format selected on your eTrex What Grid For...

Page 48: ...lows the U S DoD to degrade the accuracy of non military GPS system by as much as 100 meters At the present time the accuracy of all commercial GPS receivers can vary Between 15 to 100 meters depending on the level of degradation being imposed by the U S DoD Another factor that will effect the accuracy of the GPS receiver is the geometry of the satellites in view of the GPS receiver A poor geometr...

Page 49: ...aring 19 C Clear a Route Waypoint 26 Compass 12 D Data Formats 35 Delete a Waypoint 22 23 Demo Mode 37 DGPS 35 43 46 Display Page 31 E Edit Waypoints 22 23 eTrex Buttons 6 eTrex Description 7 eTrex Features 5 eTrex Registration 1 F FCC 4 Frequently Asked Questions 45 G Getting Started 9 GOTO 16 17 23 GPS 39 GPS Accuracy 46 Grid Formats 45 Appendices ...

Page 50: ...tion 18 Map Page 11 18 Map Scale 11 Map Source CD 34 Maps 31 Marine Autopilot 43 Mark a Waypoint 14 Max Speed 19 Menu Page Basics 13 MilitaryTime 29 N Navigation 5 18 Nearest Waypoints Page 23 NMEA 35 43 North reference 34 P Page Basics 11 13 Pointer Page 12 16 19 Position Format 32 R Ready to Navigate 10 ReviewaWaypoint 22 Routes 24 26 RTCM 35 Appendices ...

Page 51: ...9 System Page 36 T TimeFormat 29 TimeOffsetChart 42 Time Zones 13 42 Tracback Navigation 27 Track Logs 17 27 28 Tracklog 45 TripOdometer 20 Troubleshooting 44 U Units of Measure 33 Units Page 31 User Grid Format 32 UTC 30 W Warnings and Cautions 3 Warranty 50 Waypoint Page 22 Waypoint Symbol 14 Website 1 32 Welcome Page 9 WiringDiagram 43 Appendices ...

Page 52: ...HTS WHICH MAY VARY FROM STATE TO STATE IN NO EVENT SHALL GARMIN BE LIABLE FOR ANY INCIDENTAL SPECIAL INDIRECT OR CONSEQUENTIAL DAMAGES WHETHER RESULT ING FROM THE USE MISUSE OR INABILITY TO USE THIS PRODUCT OR FROM DEFECTS IN THE PRODUCT SOME STATES DO NOT ALLOW THE EXCLUSIONS OF INCIDENTAL OR CONSEQUENTIAL DAMAGES SO THE ABOVE LIMITATIONS MAY NOT APPLY TO YOU To obtain warranty service call the G...

Page 53: ...ive or other electronic storage medium to be viewed for personal use provided that such electronic or printed copy of this manual contains the complete text of this copyright notice and provided further that any unauthorized commercial distribution of this manual is strictly prohibited Information in this manual is subject to change without notice GARMIN Corporation reserves the right to change or...

Page 54: ...nternational Inc 1200 East 151st Street Olathe Kansas 66062 U S A GARMIN Europe Ltd Unit 5 The Quadrangle Abbey Park Industrial Estate Romsey SO51 9AQ U K GARMIN Asia Corporation No 68 Jangshu 2nd Road Shijr Taipei County Taiwan www garmin com Part Number 190 00205 00 Rev A ...

Reviews: