Garmin GMA 347, Installation Manual
The Garmin GMA 347 Pilot's Manual is a comprehensive guide for the operation and functionality of this exceptional aviation audio panel. Designed for pilots seeking high-quality audio and advanced features, this manual can be easily downloaded for free from our website, ensuring a seamless and reliable flight experience.
Share
Download


Reviews:
No comments
Related manuals for GMA 347

G5 Series
Brand: WayteQ Pages: 4

Trail 2
Brand: Ordnance survey Pages: 15
Blackbird Asset Tracker
Brand: Blackbird Technologies Pages: 12

300100
Brand: Blue Sky Network Pages: 21

G200
Brand: Cantrack Pages: 6
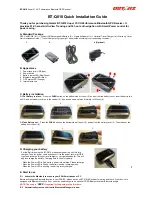
BT-Q818
Brand: Qstarz Pages: 2
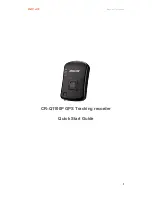
CR-Q1100P
Brand: Qstarz Pages: 4
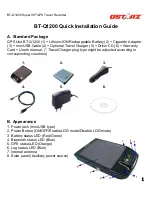
BT-Q1200 Super 99
Brand: Qstarz Pages: 7
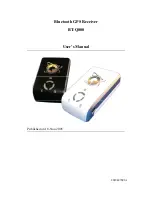
BT-Q800
Brand: Qstarz Pages: 20

BT-Q890
Brand: Qstarz Pages: 24

BT-Q1000XT
Brand: Qstarz Pages: 36

BT-Q1000X
Brand: Qstarz Pages: 42

BT-Q1000eX
Brand: Qstarz Pages: 43

BT-Q1000XT
Brand: Qstarz Pages: 81

C150
Brand: Cheetah Pages: 2

TK109
Brand: Fimto Pages: 16

Picotrack Endurance Primary
Brand: Telic Pages: 27

SBC AVL 4G
Brand: Telic Pages: 36


