


G-SATA Installation Guide
Page 1
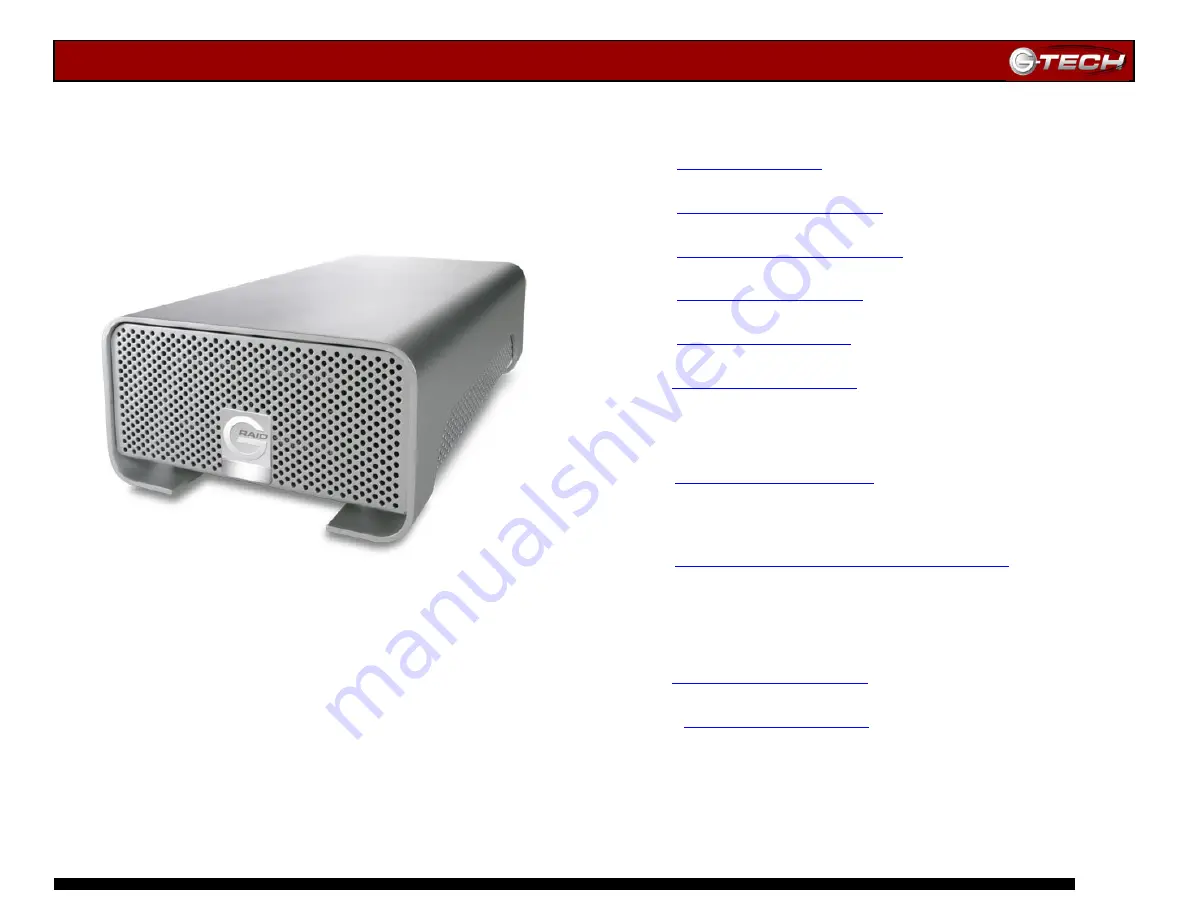
G-SATA™
Installation Guide
G-Technology Inc.
Tel: (310) 449-4599
Fax: (310) 449-4670
P/N GS0605 RevA
TABLE OF CONTENTS
1.
2.
3.
4.
5.
6.1 Installing the G-SATA PCI Adapter
6.2 Connecting G-SATA to your Computer
6.3 Attaching the SATA and Power Cables to G-SATA
7.
7.1 Mac OS X (10.4)
7.2 Windows 2000/XP
8.
8.1 Mac OS X Computers – Removing G-SATA
8.2 Mac OS X Computers – Reconnecting G-SATA
8.3 Windows 2000/XP Computers – Removing G-SATA
8.4 Windows 2000/XP Computers – Reconnecting G-SATA
10.


