


F U J I T S U P C C O R P O R A T I O N
F1
Help
ESC
Exit
Select Item
Select Menu
-/Space
Change Values
Enter
Select Sub-Menu
F9
Setup Defaults
F10
Save and Exit
▲
Item Specific Help
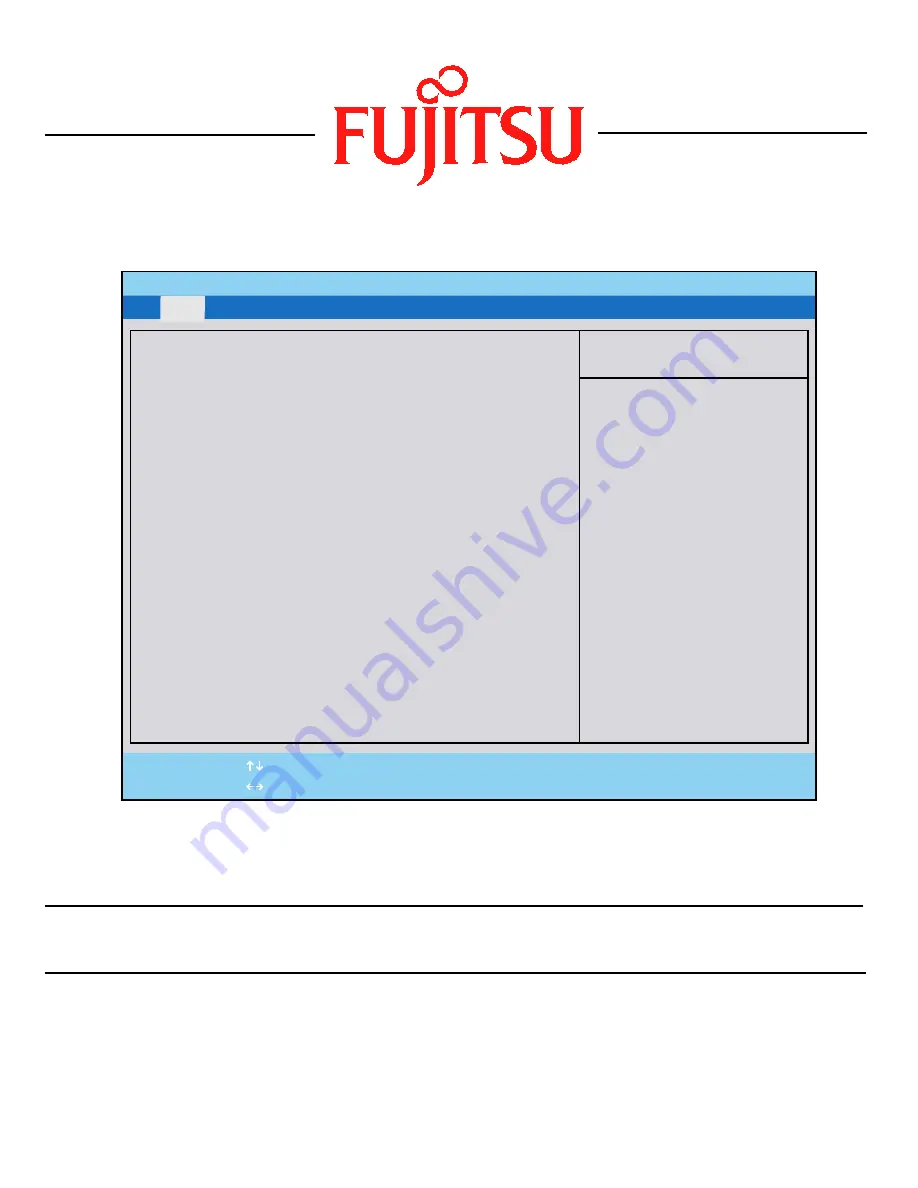
Main
Advanced Security Power
Boot
Info Exit
Fujitsu LifeBook
i Series
BIOS Guide
LifeBook Series:
i Series
Model Numbers:
i-4187,
i-4190
Document Date:
10/26/2000
This document is
designed to provide
Fujitsu LifeBook
developers and
users with an
understanding of
the system's
Basic Input-Output
System (BIOS)


