CONTENTS
1 NAMES AND FUNCTIONS OF PARTS
3 SCANNING VARIOUS TYPES OF DOCUMENTS
8 DOCUMENT SPECIFICATION OF ADF
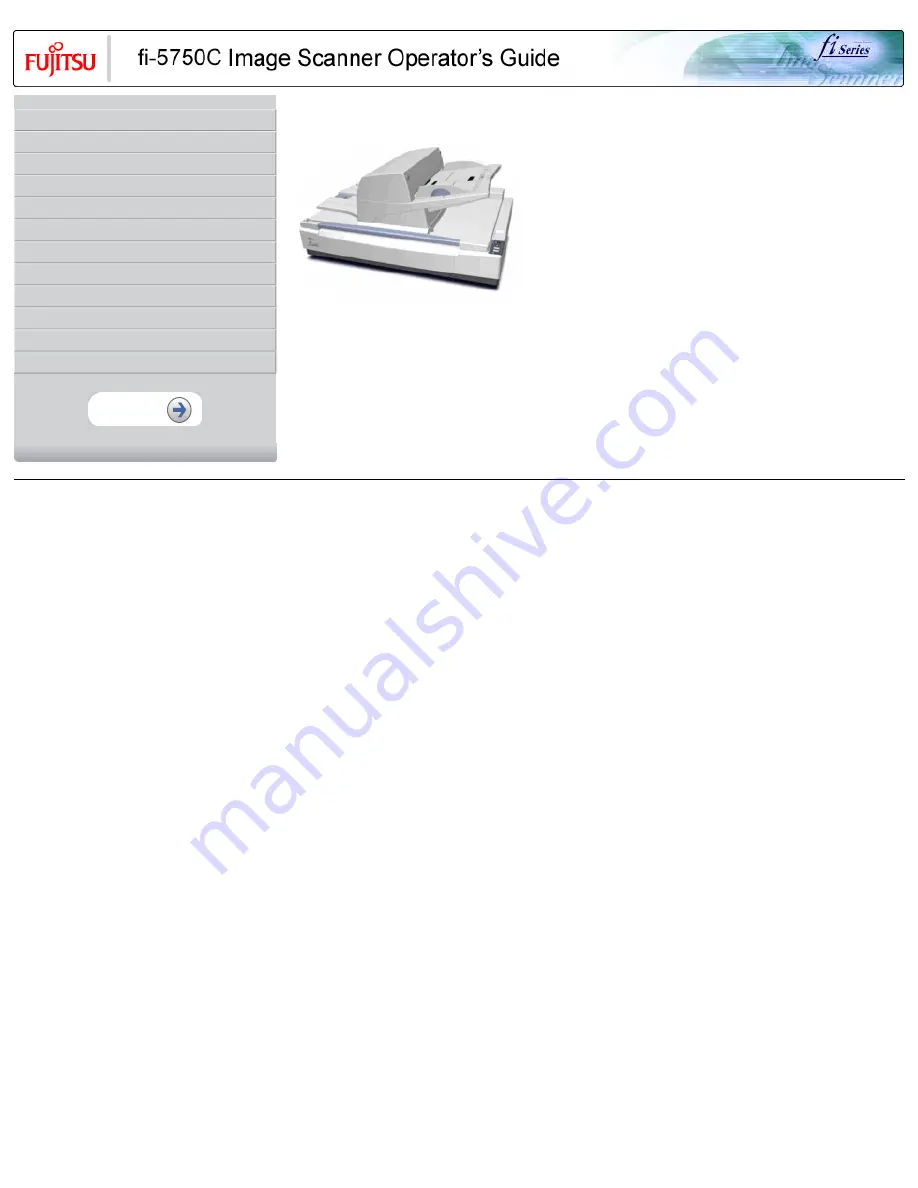
fi-5750C Image Scanner Operator's Guide P3PC-E747-01EN
All Rights Reserved, Copyright (C) PFU LIMITED 2003
Introducing the Fujitsu 5750C - fi HVRS, a versatile scanner designed for high-volume scanning needs. Unlock the full potential of your device with our comprehensive Operator's Manual, available for free download at manualshive.com. Discover seamless functionality and optimize your scanning experience with our detailed manual.
CONTENTS
1 NAMES AND FUNCTIONS OF PARTS
3 SCANNING VARIOUS TYPES OF DOCUMENTS
8 DOCUMENT SPECIFICATION OF ADF
fi-5750C Image Scanner Operator's Guide P3PC-E747-01EN
All Rights Reserved, Copyright (C) PFU LIMITED 2003