


CONTENTS
Introduction
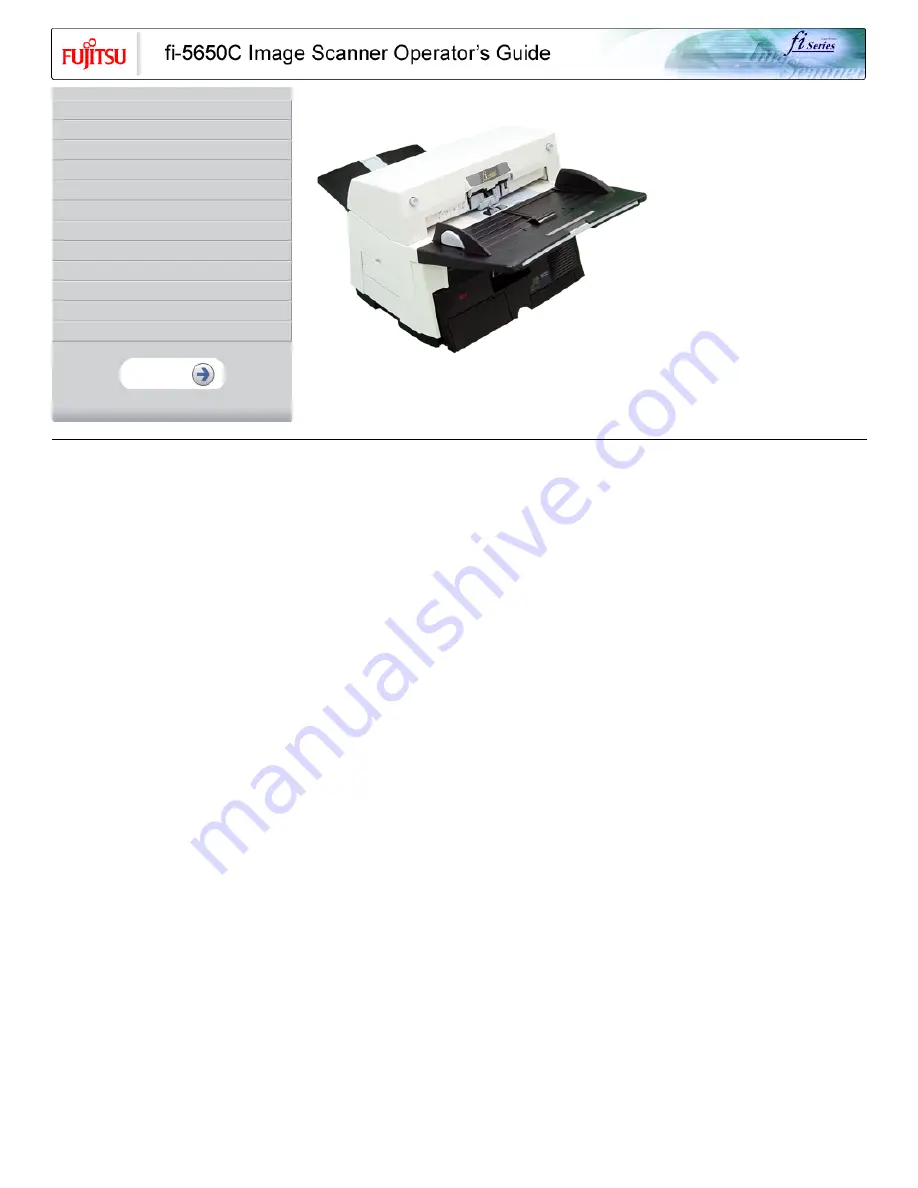
1 NAMES AND FUNCTIONS OF PARTS
2 BASIC SCANNER OPERATION
3 SCANNING VARIOUS TYPES OF DOCUMENTS
4 DAILY CARE
5 REPLACING CONSUMABLES
6 TROUBLESHOOTING
7 ONLINE SETUP
8 DOCUMENT SPECIFICATION OF ADF
9 OPTIONS
10 SCANNER SPECIFICATIONS
Appendix
fi-5650C Image Scanner Operator's Guide P3PC-E957-01EN
All Rights Reserved, Copyright (C) PFU LIMITED 2004


