


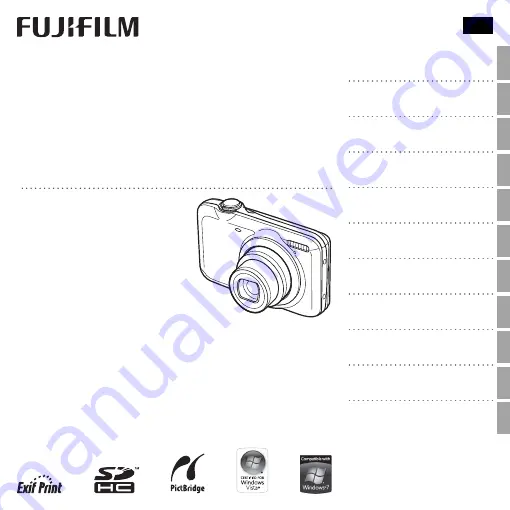
FINEPIX JX400 Series
FINEPIX JX300 Series
DIGITAL CAMERA
Owner’s Manual
Thank you for your purchase
of this product. This manual
describes how to use your
FUJIFILM digital camera and
the supplied software. Be sure
that you have read and un-
derstood its contents and the
warnings in “For Your Safety”
(
P
ii) before using the camera.
For information on related products, visit our website at
http://www.fujifilm.com/products/digital_cameras/index.html
EN
Before You Begin
First Steps
Basic Photography and Playback
More on Photography
More on Playback
Movies
Connections
Menus
Technical Notes
Troubleshooting
Appendix
BL01281-200


