background image


Operating Manual  

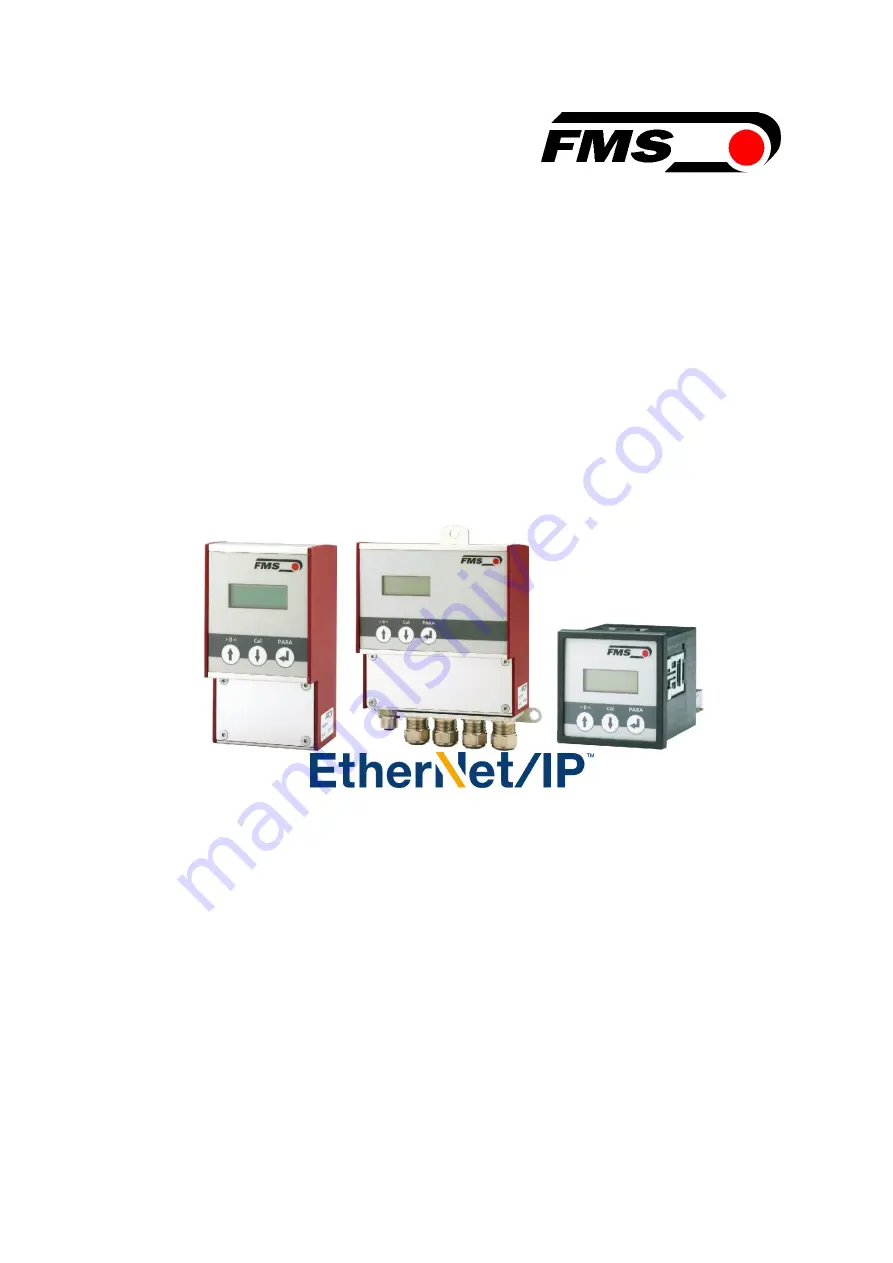
EMGZ309._.EIP 

Tension Measuring Amplifier with EtherNET/IP Interface 


Version 

2.15  12/2018  NS 

 Firmware 

Version 

V2.20EIP 


Diese Bedienungsanleitung ist auch in Deutsch erhältlich. 

Bitte kontaktieren Sie Ihre nächstgelegene FMS Vertretung. 


© by FMS Force Measuring Systems AG, CH-8154 Oberglatt – All rights reserved. 

Summary of Contents for EMGZ309

Page 1: ...ith EtherNET IP Interface Version 2 15 12 2018 NS Firmware Version V2 20EIP Diese Bedienungsanleitung ist auch in Deutsch erhältlich Bitte kontaktieren Sie Ihre nächstgelegene FMS Vertretung by FMS Force Measuring Systems AG CH 8154 Oberglatt All rights reserved ...

Page 2: ...ensation over the Operating Panel 11 4 7 Calibration 12 4 8 Calibration over the Operating Panel 13 4 9 Analytic Calibration Method 13 5 Network Connection over EtherNet IP 16 5 1 EtherNet IP Specification 16 5 2 Amplifier Functionality over EtherNet IP 16 5 3 Integration of EMGZ309 _ EIP in an Ethernet Network 16 5 4 Configuration of the Amplifier via EtherNet IP 16 5 5 Calibration over EtherNet ...

Page 3: ...a a PC 32 9 1 Parameterization in an Ethernet Network via Web Browser 32 9 2 Offsetkompensation via the web browser 35 9 3 Calibration via the web browser 35 9 4 Connecting the EMGZ309 Amplifier with a PC Peer to Peer 37 10 Dimensions 41 11 Technical Specification 43 ...

Page 4: ...of the components In case of other arrangement heavy malfunction can be the result Therefore the installation instructions on the following pages must be followed strictly Local installation regulations are to preserve safety of electric equipment They are not taken into consideration by this operating manual However they have to be followed strictly Bad earth connection may cause electric shock t...

Page 5: ...ion Measuring Amplifier E309011e 2 3 System Description EMGZ309 The digital tension measuring amplifiers EMGZ309 are suitable for tension measurement with all FMS force sensors The amplifier can handle 1 or 2 force sensors Three different analogue output modes can be selected 0 20mA 4 20mA or 0 10 VDC As a plug play unit the setup through the operating panel is straightforward and quickly accompli...

Page 6: ...es on the Ethernet TCP IP and the UDP technology as well as on the CIP Common Industrial Protocol The amplifier can be embedded in a standard Ethernet infrastructure The EMGZ309 EIP offers a EtherNET IP data transfer rate with 2ms It allows the measurement of web tension and its transmission over Ethernet to a controller in real time Configuration of the amplifier takes place either over the Ether...

Page 7: ...meters ref to 8 2 Parameter List 3 2 Installation Procedure 1 Mount your force maesuring sensors to the machine frame 2 Wire the Force Measuring Sensor s ref to Fig 4 3 Connect the amplifier to the power supply The power supply voltage must be in the range 18 to 36V DC 4 Perform offset compensation and calibration ref to chapter 4 5 to 4 9 5 If required do additional settings ref to 8 Parameteriza...

Page 8: ...ration by this operating manual However they have to be followed strictly 3 4 Mounting the Force Sensors Mounting of the force sensors is done according to the FMS Installation manual which is delivered together with the force sensors 3 5 Wiring the Amplifier One or two force sensors can be connected to the measuring amplifier When using two force sensors the sensors are internally connected in pa...

Page 9: ...earth ground connection may cause electric shock to persons malfunction of the total system or damage of the electronic unit It is vital to ensure that proper earth connection is done The cable must be installed separate from power lines Note The shield should be connected only to the electronic unit On the force sensor side the shield should stay open ...

Page 10: ...nsor terminals 12 13 3 If applicable connect the second force sensor 4 Check whether applying a force in measuring direction on the second sensor results in a positive output signal If not exchange the two signal wires of the corresponding force sensor in the terminal block terminals 22 23 4 2 Operating Panel Fig 5 Operating Panel EMGZ309 W EIP E309007e The keys on the operating panel have the fol...

Page 11: ... 4 Change the Device Mode The EMGZ309 amplifiers have two Device Modes Display of Force Gauge Tension data are displayed in a force unit Display of Voltage Gauge Tension data are displayed in Volt V 1 Go to Parameter Selection Mode press PARA key longer than 3 sec 2 Go to Parameter DevicMod 3 With the key select desired Device Mode ForcGaug or VoltGaug and confirm selection with the key Note Each ...

Page 12: ... the system The first method uses a defined weight see Fig 7 This method is the preferred one since it delivers the most accurate results The second method is based on a calculation method in conjunction with the FMS Calculator This Calculator can be down loaded from the FMS web page Please consult the factory for this option Note If the Device Mode is set to VoltGaug the force corresponding to th...

Page 13: ...n now be changed Use keys to enter the system force 4 Press the key to confirm your input Display will change to 5 Enter the force corresponding to your calibration weight with the keys 6 Press the key to confirm your input Display will change to 7 With the parameter F OutMax the force corresponding to the maximum amplifier output 10V or 20mA can be assigned see 6 3 Descriptions of Parameter F Max...

Page 14: ...he gain factor for easy weightless calibration of FMS amplifiers 1 First the application related parameters must be entered in the FMS calculator e g min max force values wrap angle and other sensor specifications Follow the instructions of the FMS calculator manual 2 Choose the appropriate sensor type 3 If the sensor evaluation is correct the gain calculation tool can be started with a click on t...

Page 15: ... to entered the parametrisation mode 3 Scroll up or down the parameter menu with the keys until the display show Gain 4 Confirm the parameter with the key 5 The display will start flashing indicating that the gain factor can now be entered 6 Use the keys to enter the calculated value 7 Press the key to confirm the input Or if no action is taken after 30 seconds the value will be stored in the syst...

Page 16: ...ons must be fulfilled An EMGZ309 amplifier with the option EtherNet IP EIP must be used The IP Address must be assigned in the fix address block and must be unambiguously It may only exist once in the network The network mask must correspond with the used device configuration If these prerequisites are given the controller will recognise the amplifier as an EtherNet IP device in the network and be...

Page 17: ...e lifetime of the device 5 5 Calibration over EtherNet IP Usually the calibration procedure for amplifier and load cells is carried out at the commissioning of the machine The two commands Offset and Calibration are available for the calibration of the amplifier over EtherNet IP From case to case it is to consider whether a calibration via web interface or operation panel is more favourable With d...

Page 18: ...integrated in a network This is done over the operation panel or over the web interface The procedures are described in the state diagrams chapter 8 Fig 18 19 and chapter 9 Fig 31 6 3 Integration in a Project Before starting the development system RSLogix5000 the PLC and amplifier need to be connected to the network and powered up Now a new project or an existing project can be opened in RSLogix50...

Page 19: ...erent hardware is used one may find the listing Ethernet in another place However the principal approach is always the same After a right mouse click on Ethernet a dialog window will open up Left mouse click on New Module and a new window will open up see Fig 11 Fig 10 Controller Organisation E309021 ...

Page 20: ...K Following window opens up in which the Name EMGZ309_91 the Comm Format Input Data DINT and the IP Address eg 192 168 0 91 need to be entered On the Connection Parameters side the values Input 100 with Size 5 Output 101 and Configuration 102 with Size 48 must be entered Confirm with OK Fig 11 Module Selection E309022 Fig 12 Module Selection open E309023 Fig 13 New Module E309024 ...

Page 21: ... be set so that the maximum speed requirements of the system are fulfilled A fast cycle time leads to more data traffic in the network That can create communication bottlenecks Especially when using several EMGZ309 amplifiers and other EIP devices in the same network a well balanced data speed is important Fig 14 Module Properties Note Untick the box Use Unicast Connection over EtherNet IP The use...

Page 22: ...e the values are assigned to the indices as follows Index Value 0 inActualValueInADC Raw digital actual value not filtered 1 inActualValueInN That is the actual value in Newton This value utilizes the output low pass filter 2 inActualValueInLb That is the actual value in lb This value utilizes the output low pass filter 3 inActualValueInUnit That is the actual value in the configured unit This val...

Page 23: ...et or change parameters When using the front panel the user can toggle between these modes by pressing a key or a combination of keys Fig 16 provides an overview about the different Operation States and how to move from one state to the other Fig 16 Top level view of operation control E309013e 255 The display shows the unit of measure that was previously selected 7 2 Display Value Selection State ...

Page 24: ... overload will be B If the display was set to show the amplifier output following messages will be displayed At overflow or At underflow or Note An overflow messages is caused by the maximum output value 10V or 20mA being overshot An underflow message is caused by the minimum value 0V or 4mA being undershot The parameter F OutMax can influence the overflow messages If the actual tension value over...

Page 25: ...2 Parameter List Parameter Unit Min Max Default Remarks Dis Filt Hz 0 1 10 0 1 0 Out Filt Hz 0 1 200 0 10 0 Unit 4 N kN lb g kg N SysForce 4 N 1 1 100 000 1000 F OutMax 4 N 1 1 100 000 1000 Curr Out mA 0 20 or 4 20 4 20 Offset Digit 8000 8000 0 Gain 0 100 20 000 1 000 DevicMod ForcGaug or VoltGaug ForcGaug Each parameter change requires re calibration Language English or German English Contrast 1 ...

Page 26: ...e parameter Out Filt see below Unit Parameter Range Selection Default Min Max Hz 0 1 10 0 1 0 Filter Amplifier Output LCD Out Filt Use The EMGZ309 contains a lowpass filter to prevent noise overlaying to the output signal This parameter stores the cut off frequency of the filter The lower the cut off frequency the more sluggish the output signal will be The filter stabilizes the output signal in c...

Page 27: ...tered If the Device Mode VoltGauge is set this parameter is deactivated Unit Parameter Range Selection Default Min Max N kN g kg lb 1 1 100 000 1000 257 The display shows the unit of measure that was previously selected Force at max Amplifier Output LCD F OutMax Use This parameter defines what force value N kN lb g kg corresponds to the maximum output of the amplifier 10V or 20mA If the Device Mod...

Page 28: ...tion Manual EMGZ 309 EIP 20 12 2018 28 Current Output Selection LCD Curr Out Use This parameter selects the output signal of the amplifier Unit Parameter Range Selection Default Min Max 4 20mA 0 20mA 4 20mA ...

Page 29: ...e Procedure Calibration see 4 7 Calibration over the Operating Panel Alternatively you can input a calculated value using the FMS Calculator described in chapter 4 8 if the material tension cannot be simulated Unit Parameter Range Selection Default Min Max 0 100 20 000 1 0 Device Mode LCD DevicMod Use The Device Mode determines the functionality of the amplifier If VoltGaug is set force values wil...

Page 30: ...rnet Use The Ethernet interface of EMGZ309 can be switched on and off with this parameter The deactivation of this interface reduces the power consumption by 25 and lowers heat generation in the device considerably FMS recommends to activated the Ethernet interface only when needed Unit Parameter Range Selection Default Min Max On Off On Ethernet IP Address LCD IP Addr Use The parameter assigns an...

Page 31: ...ask must be entered in 4 separate blocks Sub Bl 1 Sub Bl 2 Sub Bl 3 and Sub Bl 4 Unit Parameter Range Selection Default Min Max 000 000 000 000 255 255 255 255 255 255 255 000 Default Settings LCD Default Use This menu point is a command It resets the parameters to the factory settings If No is chosen all parameters stay as set by the user If Yes is chosen the factory settings are reset Unit Param...

Page 32: ...er the user interface The IP address is not automatically assigned over DHCP Fig 22 EMG309 embedded in a LAN EMGZ309001e The parameter setting can be carried out with a desktop or laptop computer via a peer to peer connection see chapter 9 4 Fig 23 Connection EMG309 EIP PC via RJ 45 cable E309002e 9 1 Parameterization in an Ethernet Network via Web Browser First of all it must be certain that the ...

Page 33: ...fter establishing the link screen Fig 24 will open up Fig 24 Home Page with Serial number and device information E309_Home EIP With the menu on the left side of the screen you can navigate through the web page Fig 25 Current Reading for Device Mode Force Gauge Current Reading Force Fig 26 Current Reading for Device Mode Volt Gauge Current Reading Volt ...

Page 34: ...Operation Manual EMGZ 309 EIP 20 12 2018 34 Fig 27 Parameter list for Device Mode Force Gauge Parameters Force Fig 28 Parameter list for Device Mode Volt Gauge Parameters Volt ...

Page 35: ... unloaded 2 On the web page Offset Calibration Fig 29 or 30 klick the field Adjust Offset 3 The field Tension or Output in the Offset box and in the Calibration box changes to 0 4 With that the offset compensation procedure is completed 9 3 Calibration via the web browser A For Devise Mode Force Gauge 1 Load a rope with a defined weight corresponding to your calibration force on the roller The rol...

Page 36: ... start the calibration procedure 6 The Gain value will be calculated indicated in the box Gain and stored in the parameter Gain The calibration procedure has been completed successfully B For Devise Mode Volt Gauge 1 Load a rope with a defined weight corresponding to your calibration force on the roller The roller configuration must correspond to the real configuration in the machine wrap angle di...

Page 37: ...IP In this case the PC is connected via a Peer to Peer connection to the amplifier This chapter describes the procedure for setting up a computer to communicate with EMGZ309 EIP Setup for OS Window 7 1 Connect PC and EMGZ309 EIP with a RJ 45 patch cable 2 Power up PC and EMGZ309 EIP 3 In order to recognize the EMGZ309 EIP amplifier your PC must be configured with a static IP address Click on the W...

Page 38: ...Operation Manual EMGZ 309 EIP 20 12 2018 38 6 Double click on Local Area Network The dialog box Status of LAN connection will open up ...

Page 39: ...ternet protocol version 4 TCP IP 9 Click on Properties The following dialog box Internet protocol Version 4 TCP Ipv4 Properties will appear 10 Select the radio button Use the following IP address 11 Enter the IP address for the computer that could be 192 168 0 1 12 In the Subnet mask enter 255 255 255 000 as shown above 13 Click the OK button 14 Close all windows ...

Page 40: ...Enter the IP address e g with http 192 168 000 090 in the address bar and hit the Enter key The screen Device information Fig 24 will open up 3 Then proceed as described in chapter 9 1 Parameterization in a Network Using a Web Browser 4 If a different IP address and subnet mask is configured at the EMGZ309 make sure that the computer is setup appropriate 5 Once you return to your office don t forg...

Page 41: ... 41 10 Dimensions The EMGZ309 series is available in three different housing options The mechanical dimensions can be seen in the following pages Fig 33 Outline Drawing EMGZ309 R rail mount housing E309006e Ethernet connection RJ 45 connector ...

Page 42: ...ation Manual EMGZ 309 EIP 20 12 2018 42 Fig 34 Outline Drawing EMGZ309 W wall mount housing E309004 Ethernet connection M12 4 pole D coded Fig 35 Outline Drawing EMGZ309 S panel mount housing RJ 45 E309005e ...

Page 43: ... time 2ms Operation Parameter Setting 3 keys and LCD 2x8 characters size 8mm Interface optional EtherNet IP Bus Standard CIP über IEE 802 3 Tension output 0 10V min 1 2kΩ Current output 0 4 20mA max 500Ω Power supply 24VDC 18 36VDC max 0 3A Power consumption max 6 0W Temperature range 10 60 C 14 140 F Protection class EMGZ309R and S IP50 EMGZ309W IP65 Weight EMGZ309R 0 38kg 0 84 lbs EMGZ309S 0 2kg...

Page 44: ...ogy com FMS Italy Via Baranzate 67 I 20026 Novate Milanese Tel 39 02 39487035 Fax 39 02 39487035 fmsit fms technology com FMS USA Inc 2155 Stonington Ave Suite 119 Hoffman Estates IL 60169 USA Tel 1 847 519 4400 Fax 1 847 519 4401 fmsusa fms technology com FMS UK Highfield Atch Lench Road Church Lench Evesham WR11 4UG Great Britain Tel 44 1386 871023 Fax 44 1386 871021 fmsuk fms technology com ...

Reviews: