Fluke PLS 180G, User Manual
The Fluke PLS 180G is a reliable and accurate green laser level designed for professionals. Ensure proper use and maintenance by downloading the user manual for free from our website. This manual will guide you on how to utilize the features of this product effectively for precise results.
Share
Download


Reviews:
No comments
Related manuals for PLS 180G
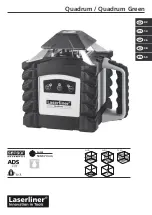
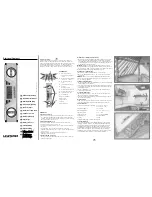
Quadrum
Brand: LaserLiner Pages: 16
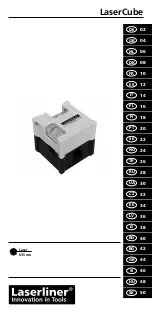
LaserCube
Brand: LaserLiner Pages: 52
DigiLevel Compact
Brand: LaserLine Pages: 8

SmartVision-Laser
Brand: LaserLiner Pages: 60

RB-1115
Brand: Rebel Pages: 9

40-6560
Brand: Johnson Level & Tool Pages: 24

LDB56
Brand: LIMIT Pages: 36

70091
Brand: General Pages: 20

SKD-40S
Brand: SANKOE Pages: 10

AccuMASTER
Brand: Calculated Industries Pages: 2

F070-A
Brand: Fluidwell Pages: 36


