Please Note:
This document contains confidential and proprietary information owned by Epygi Technologies, LTD. Any copying, use or disclosure of the document or the information
contained herein without the written permission of Epygi Technologies, LTD. is strictly prohibited.
Copyright © 2003-2015 Epygi Technologies, LTD. All Rights Reserved.
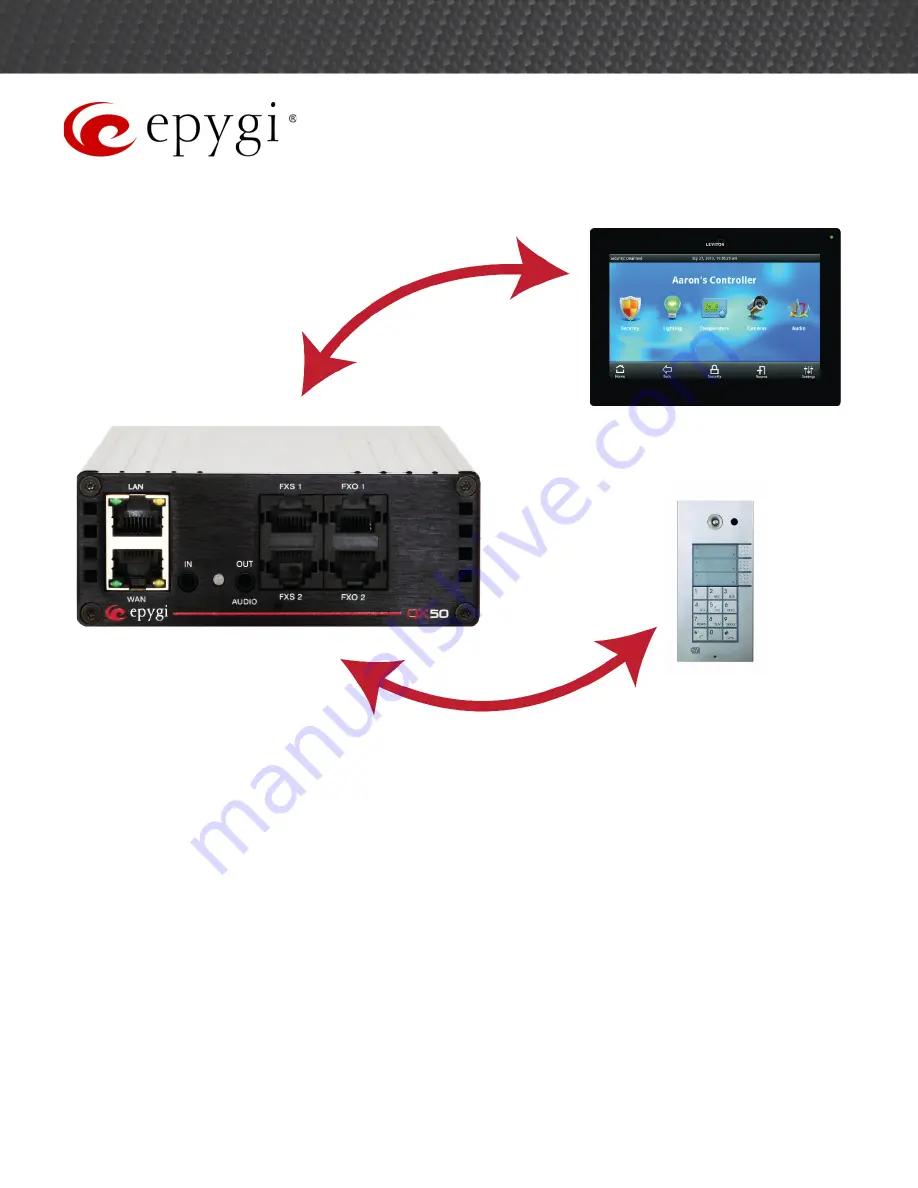
Configuring Leviton OmniTouch 7 Touchscreens
& Helios 2N door stations with the Epygi QX IP
PBX
Abstract:
This document describes how to Configure Leviton OmniTouch 7 Touchscreen & Helios 2N door
station with the Epygi QX IP PBX