


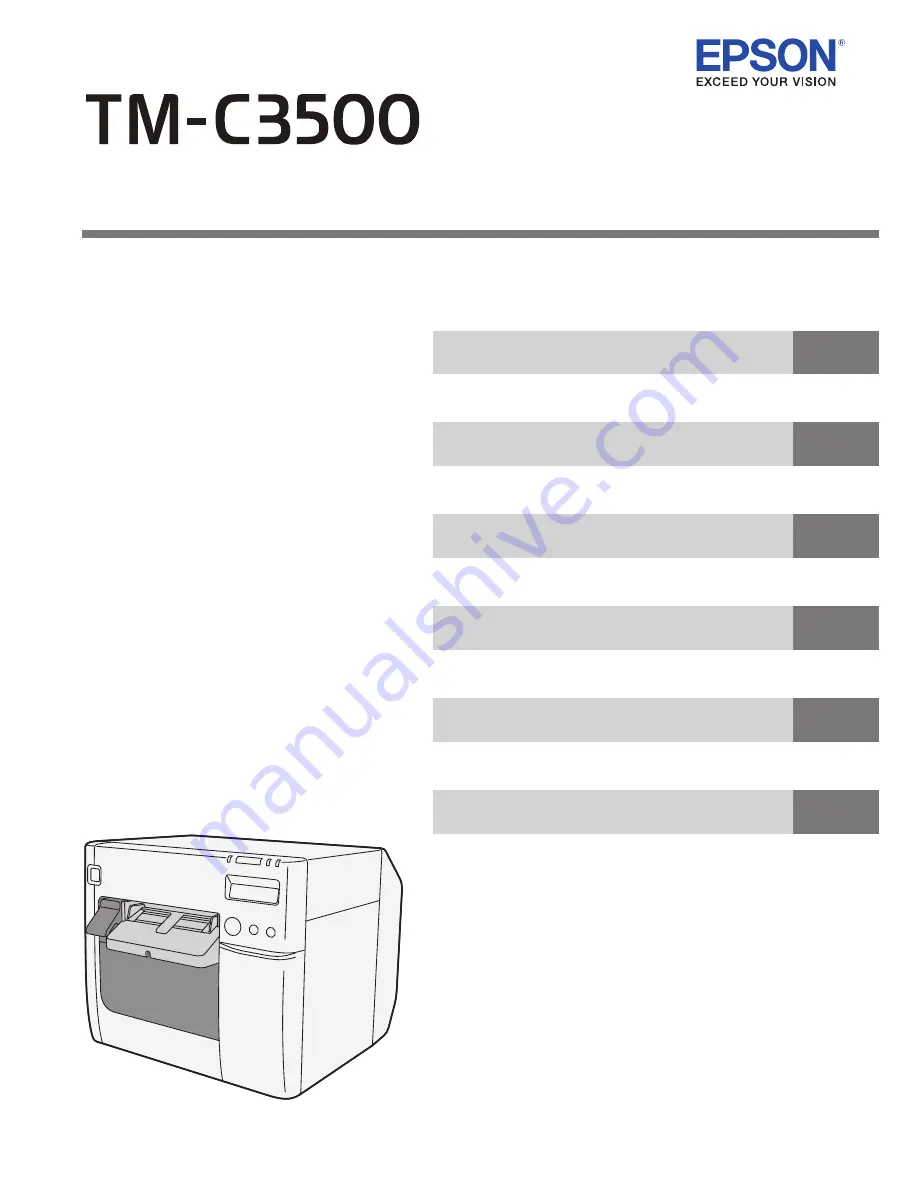
Technical Reference Guide
Describes features for the product.
Describes setup and installation of the product and peripherals.
Describes how to control the printer and necessary information
when you develop applications.
Describes how to handle the product.
Describes the efficient management method of multiple printers
and client computers, targeted at the administrators.
Series
Describes general specifications for the product.
M00066603
Rev.D
Setup
Handling
Application Development Information
Product Overview
Maintenance
Appendix
Summary of Contents for TM-C3500 Series
Page 41: ...Chapter 2 Setup 41 2 4 Close the roll paper cover ...
Page 52: ...52 TM C3500 PrinterSetting TM C3500 PrinterSetting is used to change various printer settings ...
Page 158: ...158 4 Error Recovery to LCD Display appears ...
Page 182: ...182 ...
Page 188: ...188 Barcode Font List Barcode Font Replacement List ...


