Epson B11B263401, User Manual
The Epson B11B263401 user manual is a comprehensive guide that provides detailed instructions and troubleshooting tips to enhance your experience with this exceptional product. You can easily download the manual for free from manualshive.com, ensuring you have all the information you need at your fingertips.
Share
Download


Reviews:
No comments
Related manuals for B11B263401

ST61-S
Brand: Atlas Copco Pages: 44

Contex SD4400 Series
Brand: BERTL Pages: 29

GVS011
Brand: THORLABS Pages: 40

BulletScan S300
Brand: iVina Pages: 108

799667
Brand: Brookstone Pages: 24

IRISPEN AIR 7
Brand: IRIS Pages: 9

IRIScan Book Executive 2
Brand: IRIS Pages: 6

IRIScan Pro 5
Brand: IRIS Pages: 21

IRISNotes Express 2.0
Brand: IRIS Pages: 56

FISC3650BK
Brand: nedis Pages: 3

MST-100
Brand: Shenzhen Zeus Technology Pages: 16

iSense
Brand: 3D Systems Pages: 14

CR Pro
Brand: Radlink Pages: 67
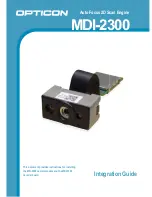
MDI-2300
Brand: Opticon Pages: 13

OPC-3301i
Brand: Opticon Pages: 28

OPT-6125 Series
Brand: Opticon Pages: 65

DocuMate 6710
Brand: Xerox Pages: 6

SE2L-H05LPC
Brand: IDEC Pages: 152


