


This quick start guide provides first time setup instructions and other useful
instructions for the
epoc
®
Host
2
(Motorola MC55A0). For complete user
instructions, please refer to the
epoc
System Manual.
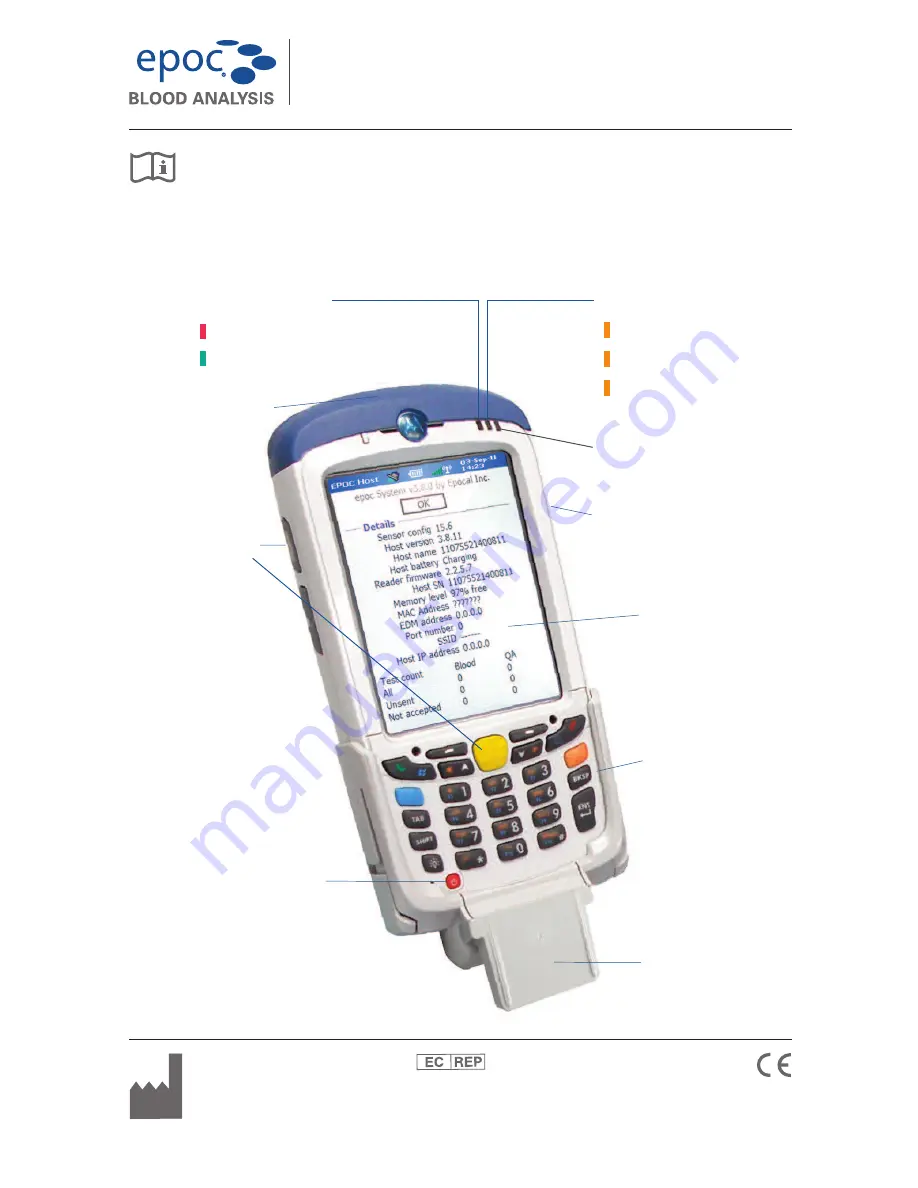
epoc
Host
2
Components
epoc
Host
2
Quick Start Guide
Scan Button(s)
Scan Button
(on side)
Barcode Scanner
Cradle Blade
Keypad
Barcode Scan LED
Barcode scanning active
Successful scan/capture (blinking)
Radio Status LED
(NOT USED!)
Touch Screen
(with screen protector)
51005527-04
Epocal, Inc.
2060 Walkley Road
Ottawa, ON K1G 3P5
CANADA
Emergo Europe
Molenstraat 15
2513 BH, The Hague
The Netherlands
Phone: +31.70.345.8570
Fax: +31.70.346.7299
Power Button
Charging/Battery LED
Battery fully charged
Battery charging (blinking)
Charging error (fast blink)


