By
INSTALLATION
STARTUP
ADJUSTMENT
MAINTENANCE
Do not store or use gasoline or other
flammable vapors and liquids in the
vicinity of this or any other appliance.
WHAT TO DO IF YOU SMELL GAS
Do not try to light any appliance.
Do not touch any electrical switch; do
not use any phone in your building.
Immediately call your gas supplier
from a neighbor’s phone. Follow the
gas supplier’s instructions.
If you cannot reach your gas supplier,
call the fire department.
Installation and service must be performed
by a qualified installer, service agency or
the gas supplier.
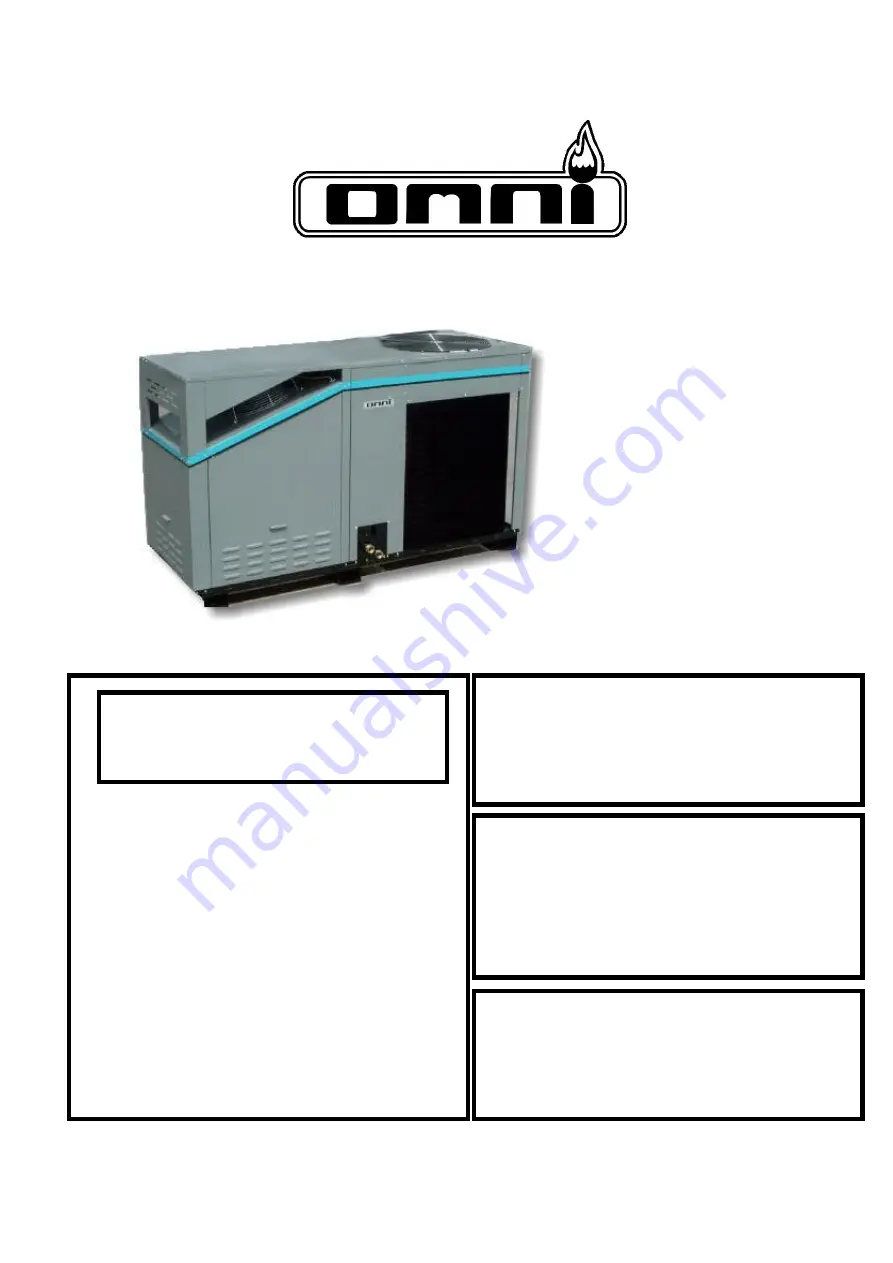
USED OIL or
GAS/PROPANE
FIRED AIR COOLED
ABSORPTION
WATER CHILLER
OWC-5 Series
WARNING:
If the information in this
manual is not followed exactly, a fire or
explosion may result causing property
damage, personal injury or loss of life
.
IF UNIT OV
ERHEATS OR UNIT’S
GAS VALVE FAILS TO SHUT OFF:
DO
NOT
SHUT OFF ELECTRICAL
SUPPLY TO UNIT.
INSTEAD
, SHUT “OFF” GAS
SUPPLY TO UNIT.
CALL SERVICE COMPANY.
Enviro
Heat
5714 1st Avenue
Spokane Washington 99212.
(509)534-1022 - Rev 4/2013
WARNING:
Never burn chlorinated solvents mixed
with oils or otherwise rapid corrosion to
internal metals will occur. An optional
chlorine test kit is available from the
factory upon request.
NOTE:
The power supply line must not be used
to turn the unit “ON” or “OFF”. The
dedicated control switch in the R-Y line is
for this purpose.
EnviroHeat