EOC1650
Quick Start
Guide
Wireless Access Point & Client Bridge
Quick Start Guide v.1.0
Refer to User’s Manual for complete instructions
1
E
OC1650 is a revolutionary product consists of conciseness, quality,
and flexibility. It comes with 7dBi internal antenna and upgradable
SMA interface provides a customizable interface for enhanced
network coverage. Attached suction cup allows quick installation on
window or smooth surface.
Operation mode provides Access Point / Client Bridge /Client Router
and high bandwidth up to 54Mbps. It features high transmitted
output power and high receivable sensitivity. High output power and
high sensitivity extends range and coverage to reduce the roaming
between Access Points to ensure a stable wireless connection and
reduce the expense of equipment.
IP Address Configuration
The default IP address of the device is
192.168.1.1
.
In order to log into this
device, you must first configure the
TCP/IP settings of your PC/Notebook.
1. In the control panel, double click
Network Connections and then
double click on the connection of
your Network Interface Card (NIC).
You will then see the following
screen.
2. Select
Internet Protocol (TCP/IP)
and
then click on the
Properties
button.
This will allow you to configure the
TCP/IP settings of your PC/Notebook.
3. Select
Use the following IP Address
radio button and then enter the IP
address (192.168.1.21) and subnet
mask (255.255.255.0). Ensure that the
IP address and subnet mask are on
the same subnet as the device.
4. Click on the
OK
button to close this
window, and once again to close
LAN properties window.
Logging In
1. To configure the device through the
web-browser, enter the IP address of
the Bridge
(default: 192.168.1.1)
into the address bar of the
web-browser and press
Enter
.
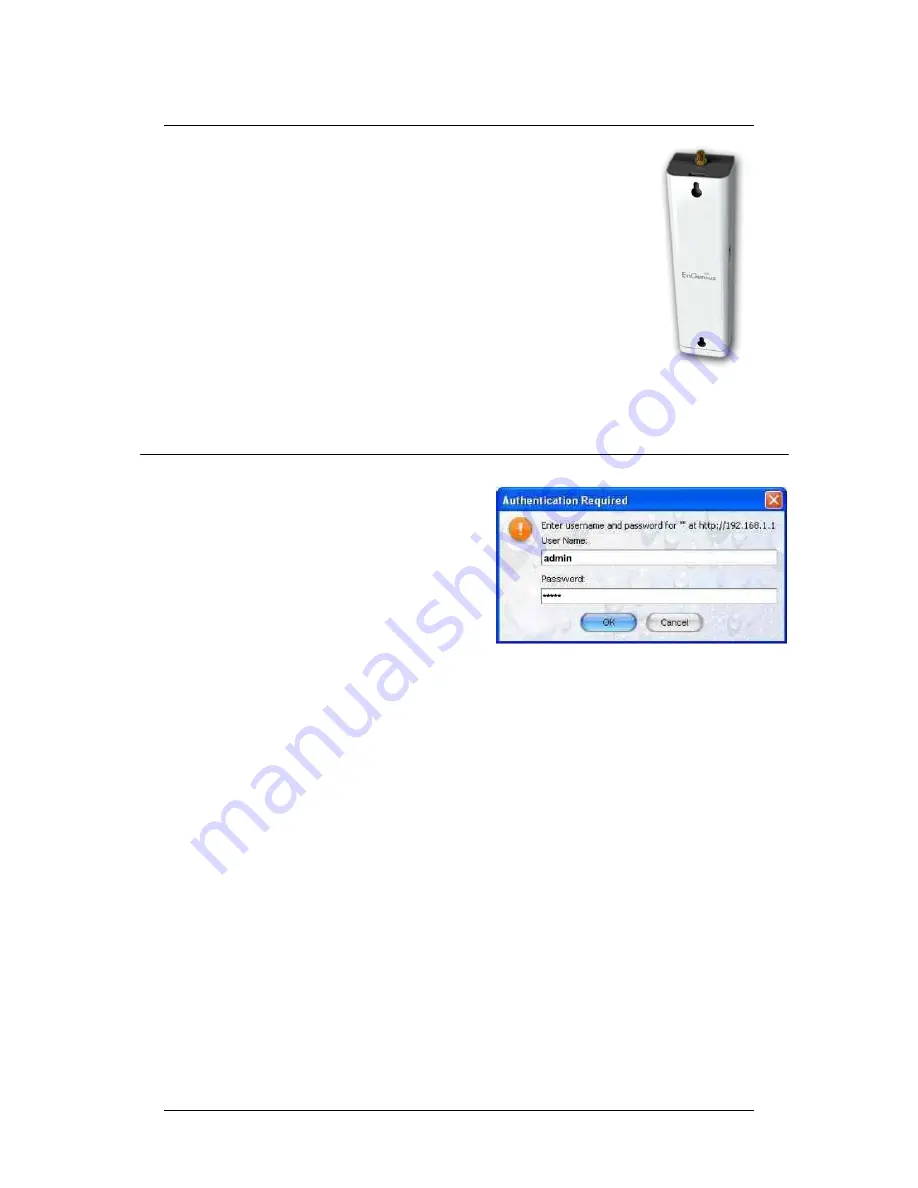
2. After connecting to the IP address,
the web-browser will display the login
page. Specify
admin
as the default
User Name
and
Password
, and then
click on the
Login
button.
Administration
1. Click
on
the
Administration
link under
the
Management
section
. This option
allows you to create a new user
name and password for the device.
For security it is highly recommended
for security reasons.
2.
Name
: Specify a user name into the
first field.
3.
Password
: Specify a password into
this field and then re-type the
password into the
Confirm Password
field. Then click on the
Apply
button.
4. Click
on the
Apply
button to save
the changes.
System Properties