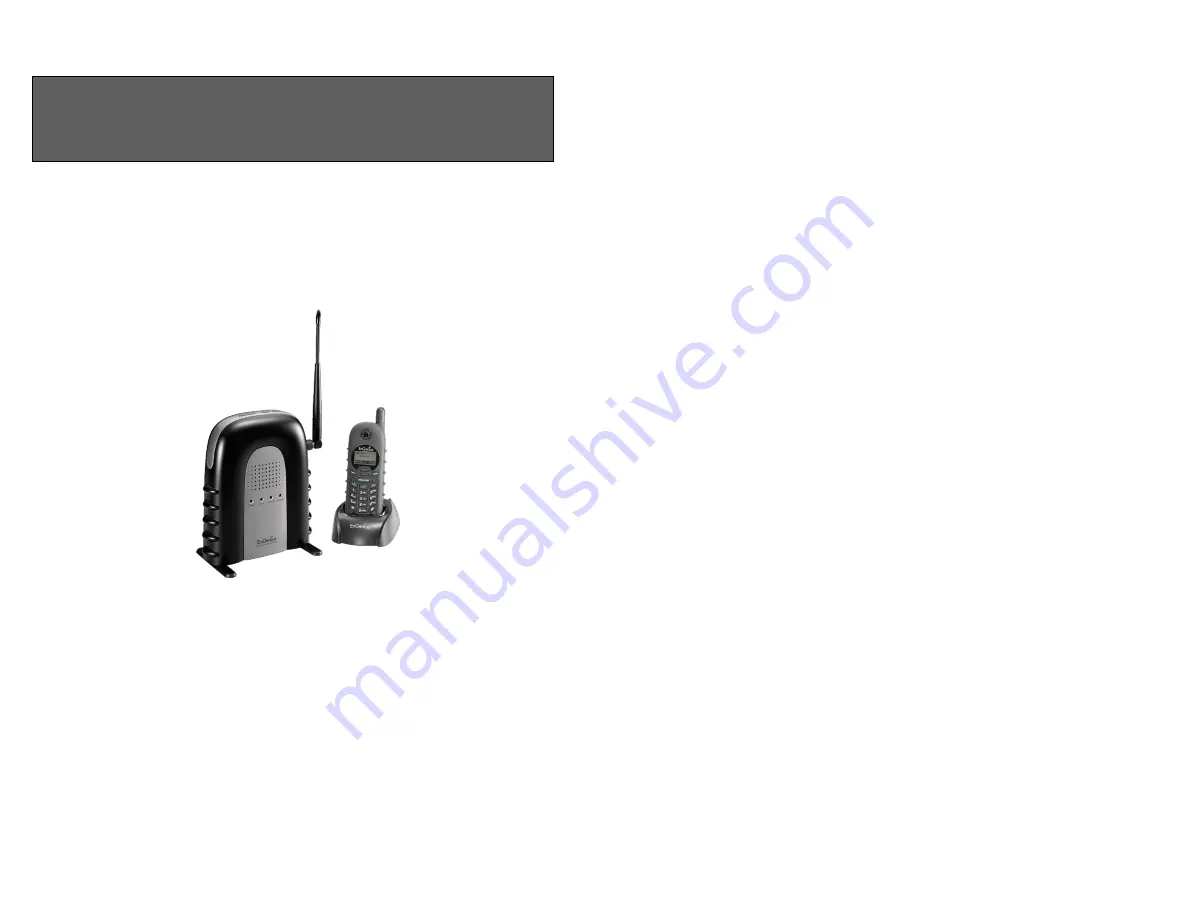
background image


User   Manual   


DuraFon-­‐SIP   System   

Durable,   Long-­‐Range   Cordless   Phone


EnGenius   Customer   Service   

   http://www.engeniustech.com/   


~2~ 

Table   of   Contents   


Safety   Instructions   .......................................................................................   5   

General   Safety   Instructions   .....................................................................   5   
Product   Safety   Instructions   .....................................................................   5   
Battery   Safety   Instructions   ......................................................................   7   

Regulatory   Information   ................................................................................   8   
Equipment   Checklist   ..................................................................................   11   
Handset   Illustration   ....................................................................................   12   

Basic   Handset   Features   ..........................................................................   13   
Additional   Handset   Features   .................................................................   15   
Base   Illustration   .....................................................................................   21   

Base   Features   .............................................................................................   22   

Basic   Base   Station   Features   ...................................................................   22   

Charger   Illustration   ....................................................................................   23   
Charger   Features   ........................................................................................   24   
Getting   Started   ...........................................................................................   25   

Base   Station   Installation   ........................................................................   25   
Handset   and   Charger   Installation   ..........................................................   26   

Basic   Operations   ........................................................................................   27   

Operation   Modes   ...................................................................................   27   

A.   Base   Operation   Modes

   ..................................................................   27   

B.   Handset   Operation   Modes

   ............................................................   27   

Making   a   Telephone   Call   .......................................................................   29   
Making   a   2-­‐Way/   Intercom   Call   .............................................................   30   
Making   a   Broadcast   ...............................................................................   30   

Handset-­‐to-­‐Handset   Calls

   ..................................................................   30   

Redial   .....................................................................................................   31   
Receiving   a   Telephone   Call   ....................................................................   32   
Receiving   an   Intercom   Call   ....................................................................   32   
Ending   a   Call   ..........................................................................................   33   
Adjusting   Handset   Receiver   (Earpiece)   Voice   Volume   ..........................   33   
Adjusting   Handset   Speakerphone   Voice   Volume   ..................................   33   
Placing   a   Call   On   Hold   ............................................................................   34   
Mute   ......................................................................................................   34   
Do   Not   Disturb   (Silent   Ring)   ...................................................................   34   
Key   Guard   ..............................................................................................   35   
Battery   Recharge   and   Replacement   ......................................................   35   

Summary of Contents for DURAFON-SIP SYSTEM

Page 1: ...atures 22 Charger Illustration 23 Charger Features 24 Getting Started 25 Base Station Installation 25 Handset and Charger Installation 26 Basic Operations 27 Operation Modes 27 A Base Operation Modes 27 B Handset Operation Modes 27 Making a Telephone Call 29 Making a 2 Way Intercom Call 30 Making a Broadcast 30 Handset to Handset Calls 30 Redial 31 Receiving a Telephone Call 32 Receiving an Interc...

Page 2: ...Gain 49 Adjust Headset Ring 50 SIP Configuration 51 Introduction 51 Application 51 VoIP Features 51 Registration Handsets 51 Default Settings 52 Web Configuration 52 LAN Configuration 53 Base Settings 53 Phone Book 54 SIP Configuration 55 SIP Server 55 SIP Account 55 Individual Account 56 Group Account 57 Audio Setting 58 Tools 59 Admin 59 Time 60 Ping Test 60 Firmware 61 Back up 61 Reset Reboot R...

Page 3: ...id of any kind on this product 5 Unplug the product from the wall telephone jack and power outlet before cleaning Do not use liquid or aerosol cleaners Use damp cloth for cleaning 6 Do not place this product on an unstable cart stand or table The product may fall and cause personal injury or damage to the product or other property 7 Power Outage In the event of a power outage your handset charger ...

Page 4: ... the battery heats up This is normal and is not dangerous 8 Regulatory Information DuraFon SIP System FCC ID A8J SP935 IC 10103A SP935 This device complies with Part 15 of the FCC Rules Operation is subject to the following two conditions 1 This device may not cause harmful interference and 2 This device must accept any interference received including interference that may cause undesired operatio...

Page 5: ...he interference by one of the following measures Reorient or relocate the receiving antenna Increase the separation between the equipment and receiver 10 Connect the equipment into an outlet on a circuit different from that to which the receiver is connected Consult the dealer or an experienced radio TV technician for help FCC Caution Any changes or modifications not expressly approved by the part...

Page 6: ...In a Handset package please find the following components a Handset x 1 antenna installed b Handset Antenna x 1 Long 1 c 1700mA Li Ion Battery Pack x 1 d Desktop Charger x 1 e Charger AC DC Adapter x 1 f Quick Guide 3 Optional Accessory a Outdoor Antenna Kit including antenna and cable b High Gain Handset Antenna c Headset 12 Handset Illustration Antenna Receiver Belt Clip Holder Volume control Sc...

Page 7: ...t of battery time remaining d The 2 nd and 3 rd lines of the LCD maximum 16 characters each display status message menu selections or user editable alphanumerical characters 14 e The last line displays the left and right soft keys 2 Ringer a Rings to an incoming call and intercom call b Distinctive alert sounds indicating various events 1 Single beep successful key entry 2 Double beep indicates po...

Page 8: ...Do Not Disturb i e Silent Ring 7 Call Logs a Redial Stores 10 phone numbers up to 26 digits each dialed most recently Can perform last number redial on all 10 numbers b Received and New Call Log Total 50 entries 16 digit phone number 16 character names and Date Time stamp needs Caller ID service from local telephone company c Phone numbers and names can be saved into phone book while in display 8 ...

Page 9: ... d During the stand by mode you can enter the phone book by pressing 18 the scrolling key e Phone Book transfer via air i Transfer a specific Phone Book to one handset or all registered handsets ii Transfer all Phone Books to one handset or all registered handsets 15 Key Tone a Four level Key Tone volume selections Off Low Medium High b Four Key Tone type selections 16 Call Timers a Displays call ...

Page 10: ...00 27 Change PIN To change the base PIN enter the Base Settings MENU 6 3 a Use a registered handset to change the PIN from MENU 6 3 b The default PIN is 0000 c When entering the Base Settings the PIN is required The default PIN is 0000 28 Auto Hang Up Feature from web a From Web System Base Settings Auto Hang up to turn On Off this auto hang up feature b If turning On the feature the handset will ...

Page 11: ...nnecting the ground cable 6 REG button for Registration and Page a Press and hold this REG button until the INTERCOM LED flashes status to enter registration mode b To search for a misplaced handset press REG button all registered handsets will beep for 30 seconds Press REG again or any key on the handset to stop 7 RESET Button a Restores base station to factory settings b Reset button is intended...

Page 12: ...splays Charge Complete 3 Charge Fail If an error occurs during charging mode the LCD screen will display Charge Fail 3 It is impossible to overcharge the battery using this charger 4 The charging station adapter can also be used as a travel charger However you cannot turn off the power while you charge the handset via the travel charger A warning message Unplug Travel Charger then OFF will be show...

Page 13: ...In jack on the back of the Charger 2 Install the battery pack onto the handset 3 Install the handset antenna 4 Place the handset onto the charger slot 5 Fully charge the battery for three hours before use 6 The phone system is now ready to perform basic functions such as making and receiving phone calls and intercom calls No base station or handset programming is needed for basic operations Note 1...

Page 14: ...ding down the key for 3 seconds c The standby screen display custom name can be edited d The 2 dight number represents the handset ID 2 MENU mode a Press the Right soft function key to activate Menu mode Main Menu 1 KeyGuard SELECT BACK b In Menu mode the handset settings and information contained in the memory can be changed c The functions available through the Menu selection are covered in grea...

Page 15: ...P Cordless Phone System offers private Intercom 2 Way Radio calls independent of the base station Intercom 2 Way communication can be placed between handsets 1 Press key followed by a two digit handset ID or Group ID Enter Ext PHBOOK BASE 2 Press key to end the call Notes 1 Intercom calls can be made regardless of the Base Station being present 2 If a Group ID is entered the first handset belongin...

Page 16: ...eceiving a Telephone Call 1 When an incoming call arrives the LCD will show the Caller ID message and the ringer will ring or vibrate unless the ringer has been turned off Joe 033289289 SILENT 11 1 L1 2 If the handset is on the charger cradle ringer will be temporarily switched to Ring if it has been set to Vibrate lift the handset and press key to start a conversation Re You can turn on the Any K...

Page 17: ... will remain effective for all future calls until changed 34 Placing a Call On Hold 1 When a call is in progress it can be put on hold by pressing OPTION Right soft key and the key You have a call on hold UNHOLD OPTION 2 To return to the conversation press UNHOLD Left soft key Notes 1 Handset LCD displays when a call is on hold An alert tone a beep every 30 seconds will remind the handset that a c...

Page 18: ...stem it has been pre registered with the base station at the factory 2 If the Handset ID is 00 this means it is a new handset or the ID has been erased You will need to register the handset with the base station 3 Registration a Press MENU 7 to enter the registration mode Main Menu 7 Registration SELECT BACK b Press and hold the base s REG button for 3 seconds until the INTERCOM LED lights up and ...

Page 19: ... key followed by 2 to Unsubscribe the group Enter group to unsubscribe BACK 38 Notes 1 The handset can change group affiliations at any time 2 The base station is not responsible for group assignments Consequently it cannot de subscribe a handset from a group 3 When an intercom caller enters a group ID all handsets subscribed to this group will ring The first handset to answer will establish a lin...

Page 20: ... To enter the name press the corresponding keypad number one or more times according to the order of the character on the key See table below for a list of available characters and their orders For example press 2 once for the character A twice for B etc Notes 1 When entering a phone number the cursor automatically advances to the next digit field Use or scrolling key to move the cursor backward o...

Page 21: ...entry Delete entry Tom 12345678 YES NO d LCD shown Delete entry Press YES Left soft key to confirm your change 8 To edit phone book a Use or scrolling key or the alphabetical search method to locate the record to be erased or edited Joe 033289289 ADD OPTION b Press OPTION Right soft key to enter the option menu Name _ Caps SAVE DELETE c Press 2 to edit the designated phone entry 9 Dial from displa...

Page 22: ...y used feature call codes can be pre programmed 3 Name and enter feature call codes Call Settings 4 Feature Call SELECT BACK a Press MENU Right soft key while the handset is in the standby mode b Press 4 followed by 4 to enter the Feature Call menu c Press ADD Left soft key to add a new feature call entry Empty ADD d Key in the name of the feature call like editing a phone book entry i e PBX Trans...

Page 23: ...e or clear all Option Save SELECT BACK a Save call log 1 Press SELECT Right soft key you can use or key to scroll the name and press DELETE to edit the name Then press SAVE Left soft key to save the name Name Johnson_ Cap SAVE DELETE 46 2 Use or key to scroll the number and press DELETE to edit the number Then press SAVE Left soft key to save the number Number 4231234_ SAVE DELETE 3 After the abov...

Page 24: ...Press 2 to Manual When pressing key in standby mode the handset LCD will show the available line Press or to scroll the options 1 SIP 2 Line Press 1 you can select the SIP line 1 to make a call c Press 3 to Off The hanset is disabled from making any outgoing calls Call Barring 1 Press MENU Right soft key followed by 4 to enter the Call Settings mode Press 3 to select Call Manager and enter handset...

Page 25: ...kplaces or environments you can adjust the handset microphone gain to obtain a better voice quality that is suitable for various locations a Press MENU Right soft key while the handset is in the standby mode b Press 5 Phone Settings followed by 1 to enter the Mic Gain menu c Use or key to scroll the Standard Medium and Low options d If you are using the handset in quiet environments like an office...

Page 26: ... from web configuration Internet interface 10 100base T LAN port x1 Registration Handsets Before setting the SIP configuration the available handset s of the DuraFon SIP must register to the base Register handset 52 1 Press and hold the register key on the base until the INTERCOM LED changes to a flashing status The base can perform the handset registration while the LED is flashing 2 On handset e...

Page 27: ... You can store up to 50 entries in the phone book on the DuraFon SIP base Click the Add phone book button to add entries Click the Export phone book button to export this phone book to a specific file in csv format If you have this contact list file in advance you can click the Browse button to select it and click the Import phone book button to import the contact list Note After you edit all entr...

Page 28: ...green light is used for on line The gray light is used for off line 56 Individual Account Note You should register every handset on the DuraFon SIP base before you start setting the SIP configuration The default SIP number is set according to handset ID which means SIP number 10 is set for handset ID 10 and accordingly You will need to enter the Edit button for each account Click the Apply button ...

Page 29: ...Handsets should subscribe from the handset menu to group s before performing a group SIP call 58 Click the Apply button to save the setting as the screen shows After you finish these account settings you need to click the Apply button as shown in red to activate the setting Audio Setting In Audio Setting after you change the setting and click Apply you will need to power cycle the base in order fo...

Page 30: ...ord for confirmation Apply Cancel Click Apply to apply the changes or Cancel to return to previous settings Time This page allows you to set the internal clock Time Time Setup Select to sync with a NTP server or with the PC s internal clock Time Zone Select a time zone from the drop down list and check whether you want to enter the IP address of an NTP server or use the default NTP server to have ...

Page 31: ...u save the configurations you can also reload the saved configurations into the device through the Restore Settings from A File section If extreme problems occur or if you have set up the DuraFon SIP wrong you can use the Reset button in the Restore to factory default section to restore all the configurations of the DuraFon SIP to the original default settings Back up Restore to factory default Cl...

Page 32: ...e 2 Press 1 to select Key Guard see Key Guard operation on page 35 3 Press 2 to add delete edit view and edit the phone book see Phone book instruction on page 39 4 Press 3 to set Sounds settings a Press 1 to select Ring Volume Two options for ring volume Line for incoming call and Intercom for intercom call Set each option respectively When setting each option use or to scroll through 6 options O...

Page 33: ...se CHANGE Left soft key to select and confirm On or Off Default is Off 66 2 Press SAVE Left soft key to confirm selection Re When Set On the handset match the Caller ID with the phone book entries once matched the LCD screen will display the name or nickname instead of pure Caller ID info needs Caller ID service from local telephone company f Press 6 to set Language 1 Use or to scroll through opti...

Page 34: ...ions Base Station Portable Handset Frequency 902 928 MHz 902 928 MHz RF Power Peak 708 mW Average 354 mW Peak 708 mW Average 88 5 mW Channel Spacing 200 kHz 200 kHz Number of Channels 128 128 Modulation MSK MSK Multiple Access Frequency Hopping TDMA Frequency Hopping TDMA Frequency Hopping Rate 100 per second 100 per second TDMA Frame Length 10 ms 10 ms Number of Slots Frame 8 8 Number of Users Ca...

Page 35: ...into an outlet on a circuit different from that to which the receiver is connected Consult the dealer or an experienced radio TV technician for help FCC Caution Any changes or modifications not expressly approved by the party responsible for compliance could void the user s authority to operate this equipment This device complies with Part 15 of the FCC Rules Operation is subject to the following ...

Page 36: ...ble IMPORTANT NOTE 72 Radiation Exposure Statement This equipment complies with IC radiation exposure limits set forth for an uncontrolled environment This equipment should be installed and operated with minimum distance 20cm between the radiator your body This device has been designed to operate with an antenna having a maximum gain of 2dBi Antenna having a higher gain is strictly prohibited per ...

Page 37: ...s not imply that Industry Canada approved the equipment NOTICE The Ringer Equivalence Number REN for this terminal equipment is 0 1 The REN assigned to each terminal equipment provides an indication of the maximum number of terminals allowed to be connected to a telephone interface The termination on an interface may consist of any combination of devices subject only to the requirement that the su...

Page 38: ...with Caller ID 15 Caller ID 15 16 32 45 46 49 66 Change PIN 19 67 Charger Features 24 Charger Illustration 23 D De registration 36 Direct transfer 38 DND 16 Do Not Disturb Silent Ring 34 76 DTMF Duration 19 E Equipment Checklist 11 F Feature Call 18 43 65 Flash 14 44 FCC 8 68 G Group ID 15 30 Group Selections 37 Group Setting 18 H Handset and Charger Installation 26 Handset Charging Slot 24 Handse...

Page 39: ...ble Flash 19 R Receiving a Telephone Call 32 Receiving an Intercom Call 32 Redial 16 31 REG 27 registration mode 22 36 37 62 RESET Button 22 Ring Volume 64 Ringer 13 14 15 RSSI 13 Regulatory Information 8 S SILENT 17 32 33 34 65 speakerphone 14 30 31 33 Speed dial 29 T Talk mode 15 TALK FLASH 14 transformer 25 26 V Vibrator 15 View Call Log 45 Visual Message Waiting Indicator 49 W warning message ...

Reviews: