

ETBAC Installation Guide
The ETBAC module must be configured before use!
Requirements:
•
PC with web browser
•
CAT5 Crossover cable
or
Ethernet HUB or Switch
Access the ETBAC configuration screen using your internet browser as follows:
1.
Connect the crossover cable to the ETBAC, or plug it directly into the Ethernet HUB or
switch.
2.
Connect the ETBAC to a 12-30VAC/VDC power supply.
3.
Plug in the PC or laptop to the hub (or directly to the ETBAC if using a crossover cable).
NOTE: Many modern Ethernet ports on PCs have auto-crossover detection and it may be
possible to use a standard CAT5 cable in this case, although it is not guaranteed.
4.
Ensure that there is only one PC attached the the HUB in this small LAN.
5.
Observe the lights on the hub and ETBAC to ensure that a link is made. The upper-left
LED on the RJ-485 connector will light green when a link is made. This may take a few
seconds after power up, as the device needs to boot up.
6.
Set your PC’s IP Address to
192.168.88.90
, with a subnet mask of
255.255.255.252.
Refer to your operating system specifics as to how to set a static IP Address. A good
reference is available here:
http://www.elkor.net/articles/static_ip
7.
Open your web browser to the following URL:
http://192.168.88.89
8.
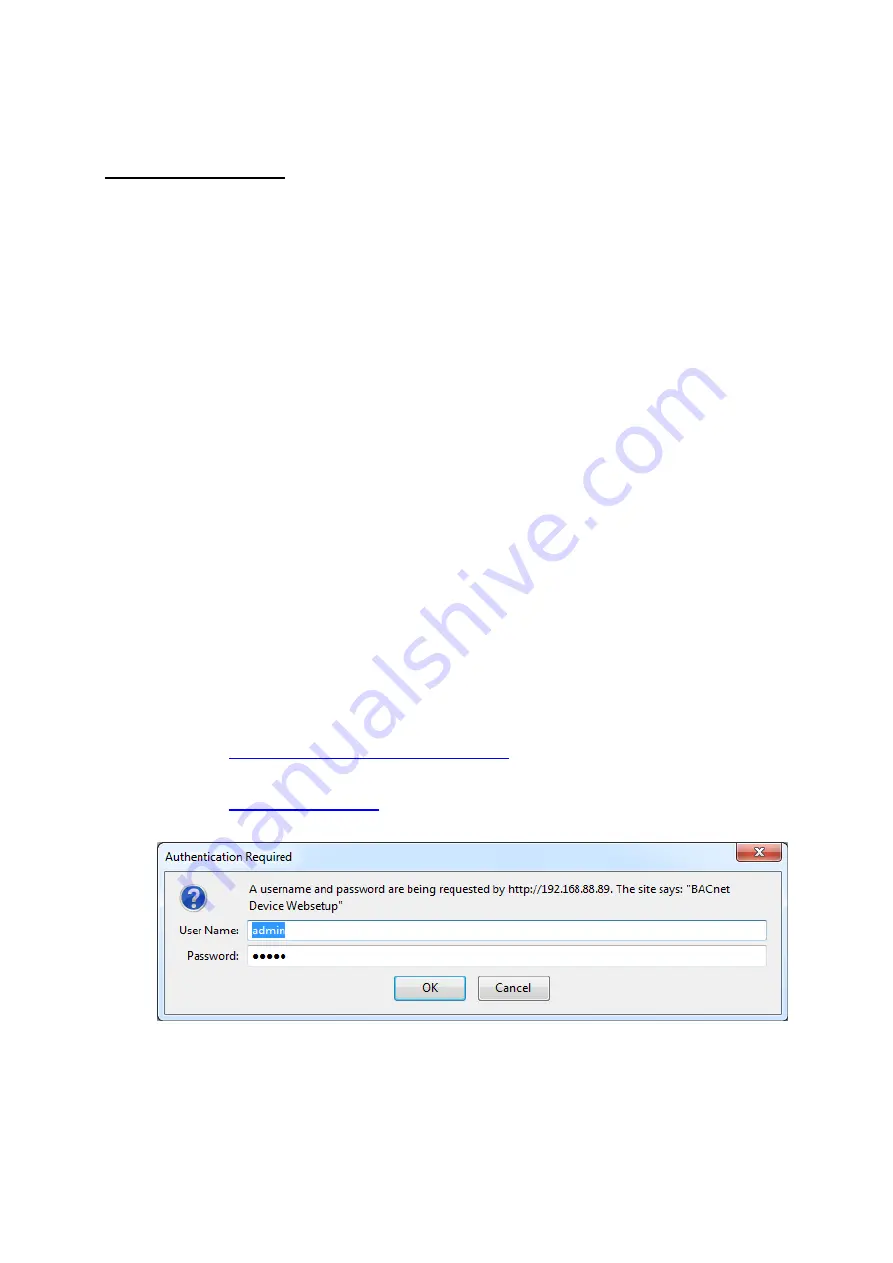
You will be prompted to login to the device “BACnet Device Websetup”
9.
The default user is
admin
and the default password is
admin
10.
From the browser interface, you can change the IP configuration using the “BACnet/IP
Settings” menu.


