


Network Supported
□ Wireless LAN
IEEE802.11b/g/n
□ Wired LAN
100-Base-TX/10-Base-T
Memory Viewer
□
USB Memory Viewer
* Refer to the owner’s manuals below for
details about network and memory viewer
function.
■
Network Set-up and Operation
■
Memory viewer function
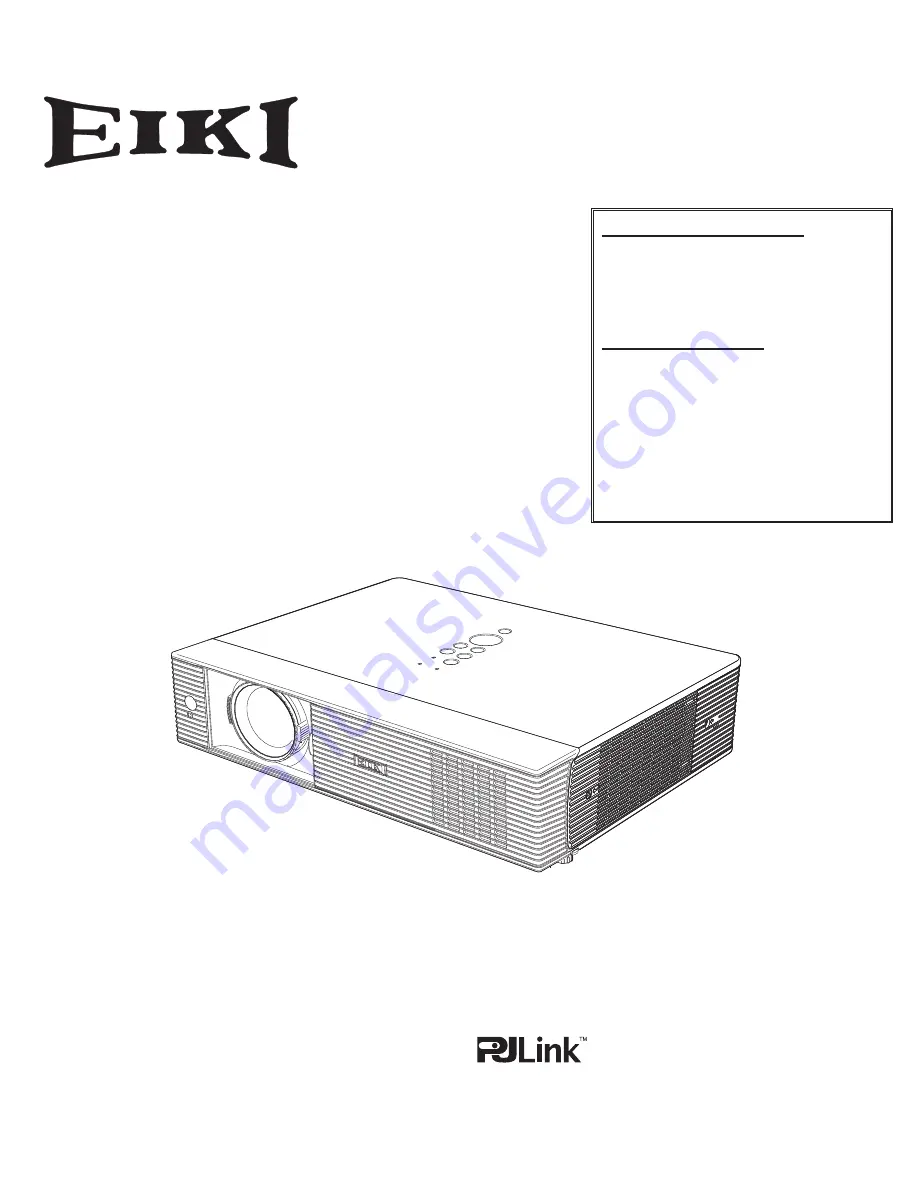
Multimedia Projector
Owner's Manual
LC-XB43N
MODEL


