Drija Alemania 90, User Manual
Looking for an Instruction Manual or Installation Manual for your Drija Alemania 90? Look no further! Download the comprehensive and user-friendly manual for free from manualshive.com. Get detailed instructions and information to ensure a seamless setup and operation of your product.
Share
Download


Reviews:
No comments
Related manuals for Alemania 90

RC90
Brand: Rangemaster Pages: 20

he 9547 ts
Brand: Defy Pages: 28

CookTop V4000 I704
Brand: V-ZUG Pages: 32

PVA 60 CREAZIONE
Brand: Fornelli Pages: 32

DTT48M976
Brand: Dacor Pages: 28

FCH SLIM 94 BK KL
Brand: FABER S.p.A. Pages: 176

Heritage HRTP486
Brand: Dacor Pages: 20

RB-3002H-CB
Brand: Rinnai Pages: 14
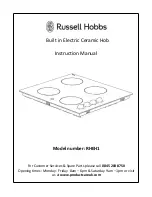
RHEH1
Brand: Russell Hobbs Pages: 15

CI262115
Brand: Gaggenau Pages: 32

KTi1 4000
Brand: Adventys Pages: 39

Monogram 36 inch
Brand: GEAppliances Pages: 60

EHG 682
Brand: Electrolux Pages: 16

EHB30100
Brand: Electrolux Pages: 12

EHC 641
Brand: Electrolux Pages: 15

EHC 010 X
Brand: Electrolux Pages: 12

EHC 660 X
Brand: Electrolux Pages: 16

EHED 63 CS
Brand: Electrolux Pages: 38


