Dillenger LEGACY, User Manual
"Dillenger LEGACY User Manual" is a comprehensive guide for users to maximize their experience with the innovative Dillenger LEGACY product. This detailed manual is available for convenient download, free of charge, from manualshive.com. Unlock the full potential of your Dillenger LEGACY with this user-friendly manual.
Share
Download


Reviews:
No comments
Related manuals for LEGACY

PT-515-120
Brand: Protemp Pages: 30

IEP-1524
Brand: infrasave Pages: 18

RM-LTX7000
Brand: Hitachi Pages: 29

RM-180
Brand: Hitachi Pages: 40

BM-530
Brand: Hitachi Pages: 9

BP300311K
Brand: AEG Pages: 36

HR 5636 BK
Brand: AEG Pages: 6

BE731410HM
Brand: AEG Pages: 40

BHT 5615
Brand: AEG Pages: 50
229951
Brand: AEG Pages: 36

HR 5626
Brand: AEG Pages: 86

HR 5654
Brand: AEG Pages: 82

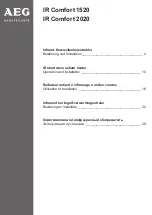
IR Premium 1650
Brand: AEG Pages: 60

HR 5655
Brand: AEG Pages: 82

BHT 5640
Brand: AEG Pages: 54
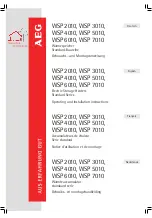
WSP 2010
Brand: AEG Pages: 58
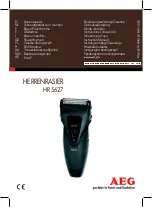
HR 5627
Brand: AEG Pages: 82

HR 5636
Brand: AEG Pages: 2


