background image

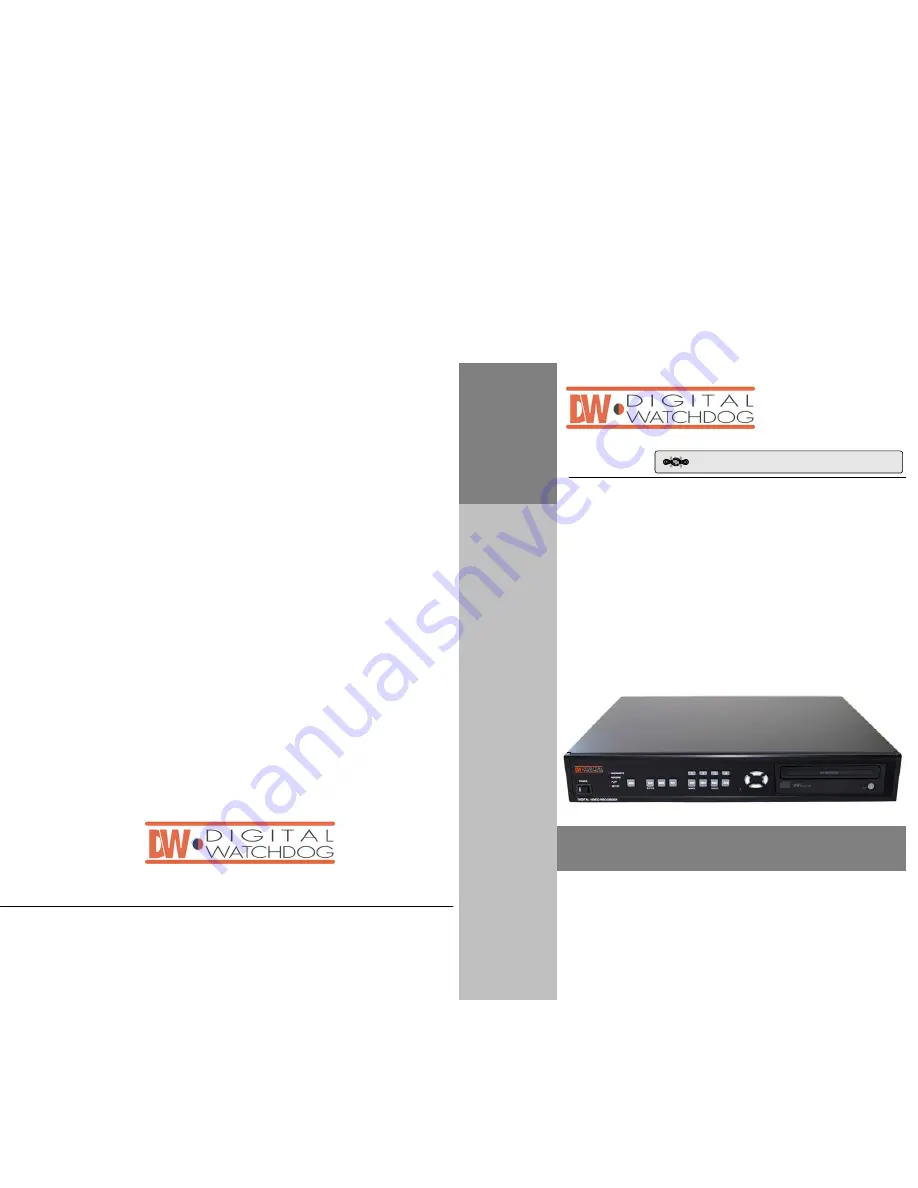
4 Channel Digital Video Multiplex Recorder

DIGITAL VIDEO RECORDER

The most stable and reliable real stand-alone Digital Video Multiplex Recorder

User’s Manual

VER 2.0

STAND-ALONE DVMR

DIGITAL VI

DEO

RECORDER

Stand-alone DVMR

ALL ABOUT IMAGE RECOGNITION & PROCESSING

ALL ABOUT IMAGE RECOGNITION & PROCESSING

Summary of Contents for Stand alone DVMR

Page 1: ... VIDEO RECORDER The most stable and reliable real stand alone Digital Video Multiplex Recorder User s Manual VER 2 0 STAND ALONE DVMR DIGITAL VIDEO RECORDER Stand alone DVMR ALL ABOUT IMAGE RECOGNITION PROCESSING ALL ABOUT IMAGE RECOGNITION PROCESSING ...

Page 2: ... risk of electric shock to persons The exclamation point within an equilateral triangle is intended to alert the user to presence of important operating and maintenance Servicing instructions in the literature accompanying the appliance WARNING TO PREVENT FIRE OR SHOCK HAZARD DO NOT EXPOSE UNITS NOT SPECIFICALLY DESIGNED FOR OUTDOOR USE TO RAIN OR MOISTURE Attention installation should be performe...

Page 3: ...indows XP Notice To see continuous live view we recommend not to select motion recording in RECORD SETUP menu of DVMR If it is set at motion recording in SETUP menu of DVMR image transmission is done only there is motions detected Notice While you search recorded data using client software in client PC DVMR unit to which you access via IP network is in playback mode and no recording is done as far...

Page 4: ...all be increased or decreased Further you can drag enlargement scale you adjusted to the position to see enlarged picture of corresponding part Channel selection button Press any one from 1 to 4 to see picture of corresponding channel if you first chose full screen button Time displayed in green color is the time picture recorded Time selection button You can set time to search pictures recorded a...

Page 5: ...work for details PTZ control You can control Zoom Focus and Pan Tilt of PTZ camera while you see live pictures via IP network Of course you must input PTZ command for a specific PTZ camera you connected to your DVMR unit into your DVMR unit When you press corresponding buttons for Pan Tilt control press a couple of second every time you press to take care of data transmission speed through IP netw...

Page 6: ...ion when disconnection button is activated Set button 3 different set buttons a Rotate Press rotate button to see live pictures from channel 1 to 4 in rotation Screen division must be set at 1 to see live pictures one after another in rotation Speed of rotation shall be as per settings of circular monitoring interval b Setting It is in the middle of 3 buttons Press this button to input IP Address ...

Page 7: ...shown on the right side of POWER switch in live window and scan window respectively if you do not assign blogo and slogo no logo will be shown on the right side of POWER switch 5 Live view via IP network Click Remote Viewer icon to view live pictures via IP network You will see then following window Now hit the Release button and then hit R enew If all goes well you ll get new informat ion and it ...

Page 8: ...you have to get IP information of DVMR unit as following process in the client PC from which you want to access to DVMR unit via IP network If you connect DVMR unit to leased line with static IP already known it is not necessary to follow following process to get IP informaiton 1 Camera Connection Connect the camera to the CAMERA INPUT on the Rear Panel of the system Rear part of CAMERA Notice Thi...

Page 9: ...1 150 8000 211 100 16 8 4 VCR VIDEO PRINTER Connection Connect VCR or VIDEO PRINTER to VCR OUT on the Rear Panel of the system In this configuration accessing to DVMR unit via Internet line form client PC not in the same intranet is not possible and it is just possible in the same Intranet ⓓ Direct connection between DVMR unit and client PC using cross over cable DVMR Client PC Cross over cable 3 ...

Page 10: ...SETUP in DVMR unit Before you install Remote Viewer software be sure to input IP address and others in TCP IP SETUP of DVMR unit Then execute SETUP exe on Remote Viewer software CD included in the package of stand alone DVMR with TCP IP option Relay output COM NC COM NO OR COM NC NO Alarm input Short circuit between Alarm1 Alarm2 Alarm3 or Alarm4 and GND is recognized as alarm NOTICE Sensor input ...

Page 11: ...tion of HDD first set at FACTORY DEFAULT in setup menu and then do HDD CLEAR in SETUP menu of DVMR system 8 Power Connection Connect the power to the POWER CONNECTION on the Rear Panel of the system and turn on the switch DVMR unit Other device PC D SUB 9 cable twisted RS 232C cable 2 RxD 2 RxD 3 TxD 5 GND 3 TxD 5 GND Notice To turn off DC power switch on the front panel of DVMR case be sure to pr...

Page 12: ...URENT PW INPUT ERROR message appears 3 RS 232C Hex codes table Following ASCII codes are for programmers who want to control the DVMR via RS 232C port RS 232C specification baud rate parity data length stop bit 57600 N 8 1 Factory default password set by manufaturer is as below The system is equipped with two passwords 1 Byte ASCII code ADMIN Administrator 1 USER User 2 MENU M PIP MARK I CH1 1 UP ...

Page 13: ... MODE REAL TIME TIME LAPSE EVENT TRACK PLAY SEARCH STILL WEB INTERFACE TCP IP with client software POST ALARM FUNCTION 1 59SEC CONTINUOUS TIMING ESTABLISHMENT POSSIBILITY BACK UP CONVENTIONAL VCR TIME LAPS VCR VCR OUTPUT PROVIDED REMOTE BACK UP USING TCP IPINTERNAL BACK UP MARK IMAGE OTHERS RS232C RS485 MAX 4 ALARM INPUT CAMERA CONTROL PAN TILT ZOOM AND FOCUS REMOTE CONTROL EXTERNAL EQUIPMENT WIPE...

Page 14: ...utton is pressed 2 To pause quarterly split screen press button and with button select channel On the right of the camera name FRZ message appears and the LIVE screen of that channel will pause When pressed once more it will come back to LIVE screen Pause Screen NOTICE When selected button or button do not work To move to full screen of each camera press button once more to end Freeze mode 3 Press...

Page 15: ...n press P T button and set CAM Ranges from 001 to 004 at any one from 001 to 004 CAM number must be the same as CH number which you set when you input protocol of PTZ camera in USER DEFINE Using LEFT and RIGHT button select command you want to execute and press PLAY button to execute selected command While you press PLAY button command you selected is executed HDD INFORMATION 5 1 HDD DATA LIST Sho...

Page 16: ...o the date by pressing button and press to delete ALL deletes all recording schedule 1 Press ENTER button to enter into SCHEDULE REC SETUP menu In the sub menu you are requested to select MODE or RESET To first set up select DATE or WEEK by pressing button 2 Press button to be ready for editing Then move to the location for change using direction button 3 Set recording time for START and END with ...

Page 17: ...ill enlarge by 200 4 Use direction button to move the area enlarged 5 Press to go back to Playback or FRZ mode NOTICE Execute in FULL SCREEN of each channel When button is pressed ZOOM does not work 6 MARK IMAGE Internal backup SETUP During Playback press button and choose pictures using LEFT RIGHT button to protect selected pictures from being overwritten when hard disk is full Refer to MISCELLAN...

Page 18: ...of accessing to DVMR unit via IP network 2 DHCP SETUP according to condition of IP network a Accessing to DVMR unit in the same Intranet LAN b Accessing to DVMR unit via Internet line For details of TCP IP SETUP in DVMR unit and PC refer to Remote Viewer manual included in the package 1 Basic Operation Display of SYSTEM SETUP 1 Press button 2 Log into the system by entering the password with butto...

Page 19: ...s not have priority 2 1 Gives priority to 1 camera and records in the sequence of 1 2 1 3 1 4 1 2 3 1 2 Gives priority to 1 and 2 cameras and records in the sequence of 1 2 3 1 2 4 1 2 3 2 DISPLAY SETUP This is about the contents displayed on the display screen 1 TIME DATE Date and time is indicated on LIVE screen 2 CAMERA TITLE Camera TITLE is indicated on LIVE screen 3 PB TIME DATE On Playback s...

Page 20: ...2 31 32 Right adjustment of each element in COLOR setup will increase picture quarterly displayed We recommend you to adjust each element of COLOR SETUP for cameras and monitor to be connected to the DVMR unit for better appearance Setup is possible only on the Full screen SELECT VER LINE Select all in a vertical line CLEAR VER LINE Clear all in a vertical line SELECT HOR LINE Select all in a hori...

Page 21: ...w LIVE screen image or not 3 REC Decides whether to record relevant channel or not CHANNEL NUM Selected camera number SENSITIVITY Adjusts motion Detection Sensitivity Not Sensitive Sensitive DETECT WINDOW NUM Detects moving objects bigger than DETECT WINDOW NUM Can choose from 1 to 20 If DETECT WINDOW NUM value is 5 motion detections is activated only in case 5 cells are simultaneously detected AU...

Page 22: ...en of image from relevant channel and a color of camera number is changed to red If an alarm is activated from 2 channels display screen is changed to quarterly split screen Quad screen and a color of camera number of relevant channel is change to red 2 ALARM LIST SETUP Shows list of alarms up to 400 If total alarm exceeds 400 it overwrites from the beginning Alarm list is very helpful to manage D...

Reviews: