


Shenzhen Dericam Technology Co.,LTD
H501W User Manual
www.dericam.net
Copyright @ Shenzhen Dericam Technology Co., Limited
1
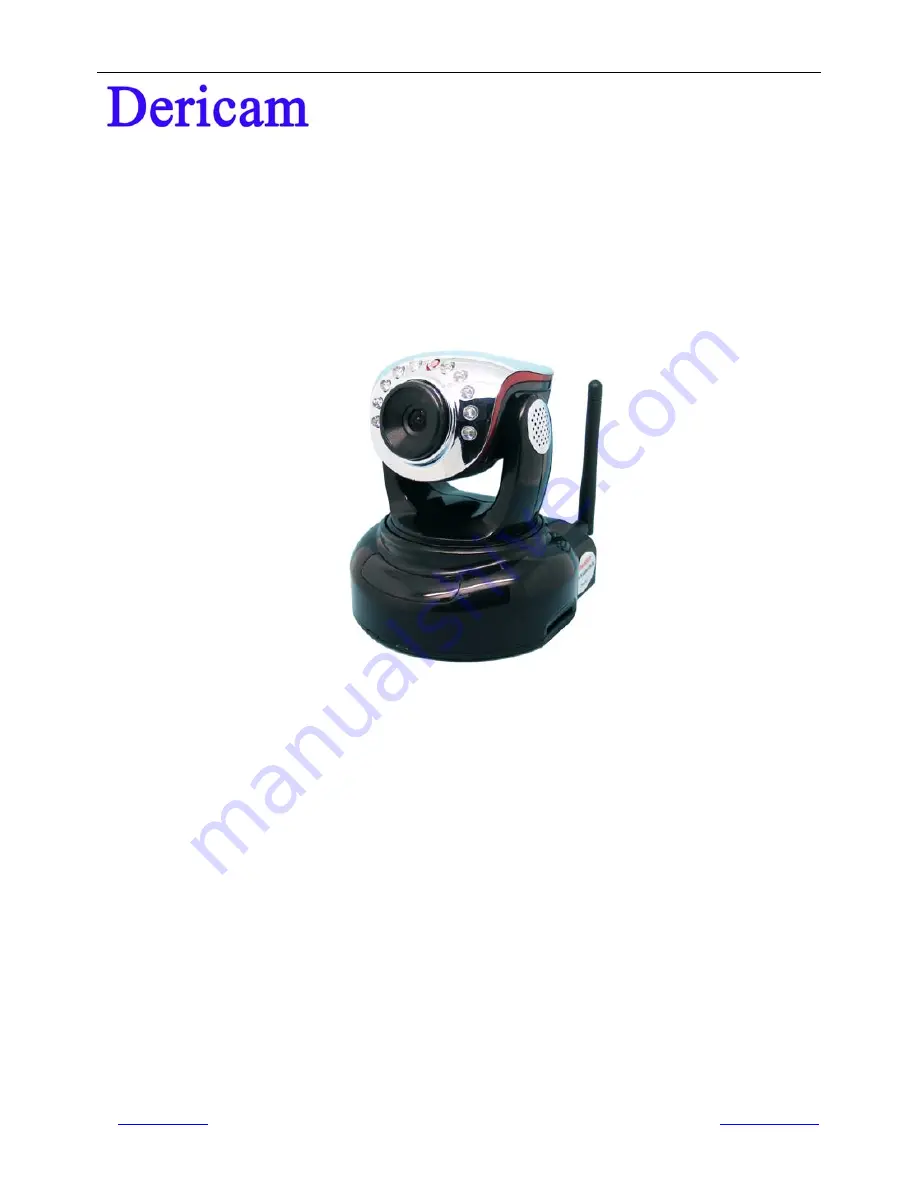
User Manual
Model: H501W
Megapixel Indoor Pan/Tilt IP Camera
-Contents-
Chapter 1. Introduction of Camera
……………………………………… 2
Chapter 2. Package Contents
…………………………………………………2
Chapter 3. Physical Descriptions
………………………………………….3
Chapter 4. Surveillance Software GUI
………………………………….5
Chapter 5. Camera Advanced Settings
………………………………..10


