Denon AVR-X2300W, Owner'S Manual
The Denon AVR-X2300W, a feature-packed AV receiver, promises an extraordinary home theater experience. To assist you in setting it up quickly, we provide a comprehensive Quick Start Manual for free download at manualshive.com. Get ready to enjoy its advanced features and superior audio quality with our helpful manual.
Share
Download


Reviews:
No comments
Related manuals for AVR-X2300W
AVH-P7490DVD
Brand: Pioneer Pages: 176
STR-DN840
Brand: Sony Pages: 5
STR-DN840
Brand: Sony Pages: 140
STR-DN840
Brand: Sony Pages: 100
MVH-AV179
Brand: Pioneer Pages: 32
sc-lx56
Brand: Pioneer Pages: 48
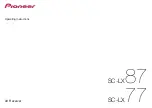
SC-LX701
Brand: Pioneer Pages: 116
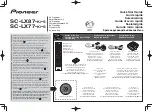
sc-lx77
Brand: Pioneer Pages: 48
sc-lx77
Brand: Pioneer Pages: 136
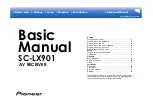
SC-LX901
Brand: Pioneer Pages: 117
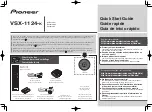
VSX-1124-K
Brand: Pioneer Pages: 32
SR6007
Brand: Marantz Pages: 10
AVR-X8500H
Brand: Denon Pages: 360

AVR-X3100W
Brand: Denon Pages: 212
AVR-S730H
Brand: Denon Pages: 148
AVR-S710W
Brand: Denon Pages: 268

AVR-X1300W
Brand: Denon Pages: 275
AVR-2113CI
Brand: Denon Pages: 156


