background image

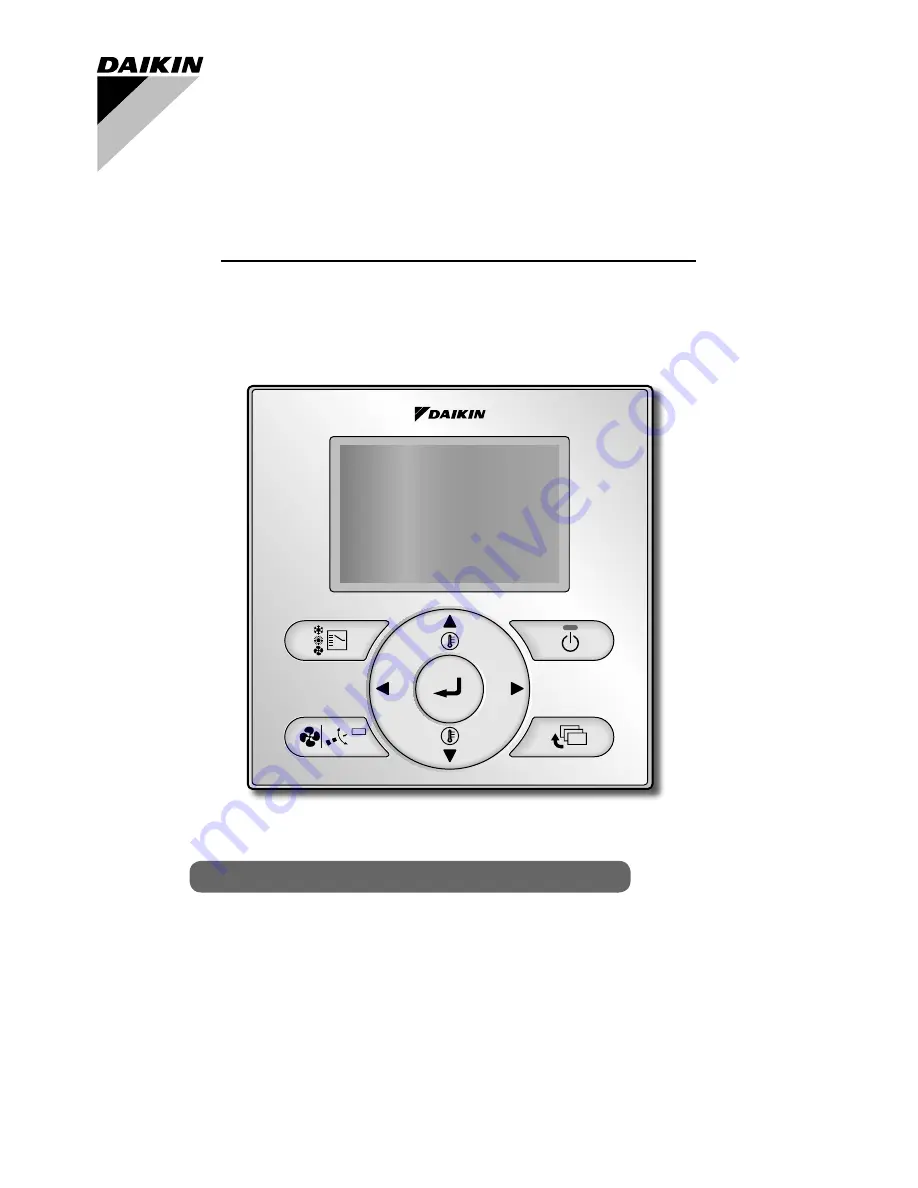
BRC1E52A7

WIRED REMOTE 

CONTROLLER 

OPERATION MANUAL


Thank you for purchasing the wired remote controller.


This manual describes safety precautions required for the use of the 
product.

Read this manual carefully and be sure you understand the 

information provided before attempting to use the product.  

Keep this manual where it is readily accessible after reading it through. 
If another user operates the product in the future, be sure to hand over 
this manual to the new user.

Proper Use for Effective Energy Saving

Summary of Contents for BRC1E52A7

Page 1: ...for the use of the product Read this manual carefully and be sure you understand the information provided before attempting to use the product Keep this manual where it is readily accessible after rea...

Page 2: ...Total Heat Exchanger 20 Setting Method of the Cooling Heating Selection Eligibility 21 Key Lock 23 Quick Reference of Main Menu Items Main Menu Items 25 Menu manipulation Manipulating the Main Menu S...

Page 3: ...result in personal injury or loss of life CAUTION Failure to observe these instructions properly may result in property damage or personal injury which may be serious depending on the circumstances T...

Page 4: ...ers etc in the air inlet or outlet Injury may result due to contact with the air conditioner s highspeed fan blades Contact professional personnel about attachment of accessories and be sure to use on...

Page 5: ...n off power to the unit and contact your local dealer Continued operation under such circumstances may result in a failure electric shocks or fire hazards Consult your local dealer regarding what to d...

Page 6: ...fire Do not use the air conditioner for purposes other than those for which it is intended Do not use the air conditioner for cooling precision instruments food plants animals or works of art as this...

Page 7: ...in parts of the indoor unit or cause water leakage Moreover malfunctions smoke generation or ignition may result if the electric parts or motor in the indoor unit is wet with detergent Do not place ob...

Page 8: ...operation items i e On Off Operation mode selector Fan speed Airflow direction and temperature settings are set from the menu screen NOTE Do not install the remote controller in places exposed to dir...

Page 9: ...xt items on the lower side will be highlighted The highlighted items will be scrolled continuously when the button is kept pressed Used to change the item selected 6 Right button Be sure to press the...

Page 10: ...ntrol 10 Changeover under control 3 Set Setback temperature display 4 Defrost Hot start Detailed display The airflow direction clock and detailed selection items appear on the detailed display screen...

Page 11: ...ing function i e the message will not appear if at least one of the indoor units is provided with the corresponding function Error Press Menu Button Warning Press Menu Button Displayed if an error or...

Page 12: ...ot displayed if the system is not provided with a function to set airflow directions 13 Clock 12 24 hours real time clock Displayed if the clock is set see page 57 If the clock is not set will be disp...

Page 13: ...BRC1E52A7 Operation manual 4PW71265 1 10 2011 12...

Page 14: ...eration button display Displays the positions of buttons to be operated Operation screen display Discribes screens that will be displayed on the remote controller in operation Preparation For mechanic...

Page 15: ...ect Air Volume or airflow direction setting press buttons 5 Low Middle High Auto A With Air Volume setting selected select the desired fan speed from Low Medium High or Auto using the buttons Two fan...

Page 16: ...Selecting Swing will cause the airflow direction blades to swing back and forth For the swing setting only all positions will be displayed When you select one of positions 0 to 4 the airflow directio...

Page 17: ...perature compared with the system in cooling operation It is recommended to start operating the system in advance by utilizing the timer Perform the following operation of the system in order to preve...

Page 18: ...the use of a circulator is recommended For details consult your Daikin dealer Program Dry Operation Preparation For mechanical protection purposes turn ON the system at least 6 hours before starting t...

Page 19: ...ill be turned OFF and the system will stop operating when On Off button is pressed again Note Do not turn power OFF soon after the system stops operating Be sure to wait for at least 5 minutes so that...

Page 20: ...ned off from a schedule event off timer This function is by default enabled in Cool mode and Heat mode This function can only be enabled disabled by the system installer For example If the room temper...

Page 21: ...e case of operating the total heat exchanger without the cooling heating between seasons 2 To change the ventilation mode setting make necessary settings from the main menu see page 35 Ventilation mod...

Page 22: ...tion eligibility If a cooling heating selection eligibility is set in the cooling heating selection remote controller all the remote controllers will display Changeover under control In this case no c...

Page 23: ...set for only the remote controller for which the cooling heating selection eligibility is set The display Auto will appear for the heating cooling simultaneous operation system only 1 The remote cont...

Page 24: ...ng fan selection eligibility in one of the remote controllers A single BS unit is connected to a number of indoor units Set the cooling heating auto fan selection eligibility in one of the remote cont...

Page 25: ...BRC1E52A7 Operation manual 4PW71265 1 10 2011 24...

Page 26: ...d to set Auto Energy Reclaim Ventilation and Bypass 35 Energy Saving Options Energy Saving Options List Validity or invalidity can be set up about the following menus 36 Setpoint Range Setting The set...

Page 27: ...alidity or invalidity of a schedule function can be changed 49 Schedule Number Settings The schedule number that must be active can be selected schedule nr 1 2 or 3 45 Holidays Convenient holiday sett...

Page 28: ...ions The default time display is 24H The clock will maintain accuracy to within 30 seconds per month If there is a power failure for a period not exceeding 48 hours the clock will continue working wit...

Page 29: ...BRC1E52A7 Operation manual 4PW71265 1 10 2011 28...

Page 30: ...Information 1 2 Main menu screen The main menu screen will appear Instructions for manipulating the buttons will appear 3 Selecting items from the main menu 1 Press buttons to select the desired item...

Page 31: ...tting Individual Setting Outlet Direction No Ind Set Outletmark Unit A Main menu screen Use buttons to select the unit and outlet mark In case of SkyAir maximum 4 units unit A B C D In case of VRV max...

Page 32: ...Set All Reset Individual Setting List Individual Setting Bring up the Air Flow Direction settings screen see page 30 Press buttons to select Individual Setting List on the Air Flow Direction screen Pr...

Page 33: ...No Press buttons to select Yes on the confirmation screen Press Menu Enter button to confirm the reset and go back to the main menu screen Quick Start SkyAir only Quick Start On 1 Return Setting Main...

Page 34: ...pear on the basic screen Quick Start is now off Quick Start Quick Start The indoor unit is automatically controlled increasing the power of the outdoor unit and quickly bringing the room to a comforta...

Page 35: ...tilation settings screen Changing the ventilation rate 1 Return Setting Ventilation Ventilation rate Ventilation mode 2 2 Bring up the ventilation settings screen see above Press buttons to select Ven...

Page 36: ...displayed 3 Cool Set to Cool 28 C Select the desired ventilation mode Pressing Menu Enter button confirms the settings and takes you back to the basic screen Pressing the Cancel button takes you back...

Page 37: ...back condition Sensing Sensor low Sensing Sensor stop Setpoint Auto Reset 1 2 Bring up the Energy Saving Options settings screen see page 36 Press buttons to select Energy Saving List on the Energy S...

Page 38: ...reen Press Menu Enter button to display the Setpoint Range Limitation settings screen 2 Return Setting Setpoint Range Set Cool 35 C Heat 15 C 30 C 2 2 20 C Pressing buttons changes the temp setting ra...

Page 39: ...s screen Press Menu Enter button to display the Set back condition settings screen 2 Return Setting Set back condition Recovery Differential Cool Heat 2 C 2 C Pressing buttons changes the temperature...

Page 40: ...g low settings screen 2 Return Setting Sensing Sensor low Adjust temp cool Adjust time cool 30 min Limit cool temp 30 C Adjust temp heat 1 0 C Adjust time heat 60 min Limit heat temp 15 C 1 0 C Pressi...

Page 41: ...s Menu Enter button to display the Sensor Setting stop settings screen 2 Return Setting Sensing Sensor Stop Absent stop on off Absent stop set time 10 hours 2 2 OFF Pressing buttons sets the saving en...

Page 42: ...on to display the Setpoint Auto Reset settings screen 2 Return Setting Setpoint Auto Reset Cool Set temp Set time 60 min Heat Set temp 20 C Set time 90 min 2 2 28 C Press buttons to set preset tempera...

Page 43: ...omatically turn off in 60 minutes Off Timer Use buttons to set the time from operation start until the unit automatically stops Selections can be made in increments of 10 minutes from 30 to 180 minute...

Page 44: ...ricity consumption settings screen 2 Return Electricity consumption Today 0 6 12 18 24 1 kWh Total 10 5 kWh Return Electricity consumption This week S M T W T F S 10 kWh Total 60 2 kWh Return Electric...

Page 45: ...chedule settings screen Clock has not been set Would you like to set it now Schedule Yes No Return Setting Date Time Year 2011 Month 01 Day 01 Tuesday 12 00 Return Setting Before setting the schedule...

Page 46: ...he Menu Enter button is pressed 2 Setting Schedule nr set Schedule Schedule nr 1 Return Press buttons to select Schedule nr 1 Schedule nr 2 or Schedule nr 3 on the Schedule number set screen The confi...

Page 47: ...settings Pressing buttons switches the setting between set and release Multiple days can be selected as holidays Note To able the schedule timer for the day selected as a holiday the holiday setting...

Page 48: ...Cool Heat 6 00 Return Setting Schedule Mon Time Act Cool Heat 6 00 Return Setting Input the time for the selected day Press buttons to move the highlighted item and press buttons to input the desired...

Page 49: ...4 C 21 C 8 00 OFF 29 C 10 C 1 7 30 ON 24 C 21 C 2 2 00 OFF 28 C 17 C Return Setting Schedule Tue Time Act Cool Heat 6 00 ON 24 C 21 C 8 00 OFF 29 C 10 C 1 7 30 ON 24 C 21 C 2 2 00 OFF 28 C 17 C Return...

Page 50: ...en 2 Return Setting Enable Disable Schedule Disable Press buttons to select Enable or Disable on the enable disable screen Press Menu Enter button after selecting the item The confirmation screen will...

Page 51: ...n menu screen See page 29 Press buttons to select Filter Auto Clean on the main menu screen and press Menu Enter button 2 Setting Filter Auto Clean Filter Auto Clean 0 00 3 00 Return Filter Auto Clean...

Page 52: ...mation Contact info 0123 456 7890 Indoor unit 000 Outdoor unit 000 The phone number for the contact address will appear at the top of the screen If you have not yet registered your product it will not...

Page 53: ...onfiguration settings screen See above Press buttons to select Draft prevention on the Configuration settings screen Press Menu Enter button to display the Draft prevention settings screen 2 Return Se...

Page 54: ...ings screen 2 Return Setting Display Display Mode Standard Display Item None Press buttons to select Display Mode on the Display settings screen Press Menu Enter button to display the Display Mode set...

Page 55: ...System Some models may not display these items even if they are selected Be sure to read the following notes regarding display of room temperature and outdoor temperature Room Temp An estimate of the...

Page 56: ...reen See page 52 Press buttons to select Contrast adjustment on the Configuration settings screen Press Menu Enter button to display the Contrast adjustment settings screen 2 Return Setting Dark Light...

Page 57: ...Setting Current Settings Ventilation rate Low Ventilation mode Auto Schedule Disable Display Mode Standard Display Item Outside Filter auto clean 00 03 A list showing the current setting status will...

Page 58: ...2H 24H Clock Return Setting Bring up the Clock Calendar settings screen See page 57 Press buttons to select Date Time on the Clock Calendar settings screen Press Menu Enter button to display the Date...

Page 59: ...onth 10 Day 07 Thursday 12 21 Return Setting Select Minute with buttons Change the minute with buttons Holding down the button causes the number to change continuously Press Menu Enter button The conf...

Page 60: ...ll appear when the Menu Enter button is pressed 2 12H 24H Clock 24H Return Setting By default the time display is set to the 24H format Press buttons to select 12H 24H on the 12H 24H Clock settings sc...

Page 61: ...menu screen See page 29 Press buttons to select Language on the main menu screen and press the Menu Enter button 2 Return Setting Language English Press buttons to select Language on the language scr...

Page 62: ...or element For details refer to the operation manual of the indoor unit 2 Reset the filter sign when the filter or element is washed cleaned or replaced Press Menu Enter button The main menu screen w...

Page 63: ...urface part of the remote controller with a dry cloth when they become dirty If the dirt on the surface cannot be removed soak the cloth in neutral detergent diluted with water squeeze the cloth tight...

Page 64: ...your Daikin dealer 1 Cool Return Setting Set to Cool 28 C Error Push Menu Button If an error occurs either one of the following items will blink in the basic screen Error Push Menu Button The operati...

Page 65: ...ollowing items Model name Date of installation Failure conditions As precise as possible Your address name and telephone number Relocation The relocation of the remote controller requires special tech...

Page 66: ......

Page 67: ......

Page 68: ...Copyright 2011 Daikin 4PW71265 1 10 2011...

Reviews: