manualshive.com logo in svg
background image

Check Your Package Contents

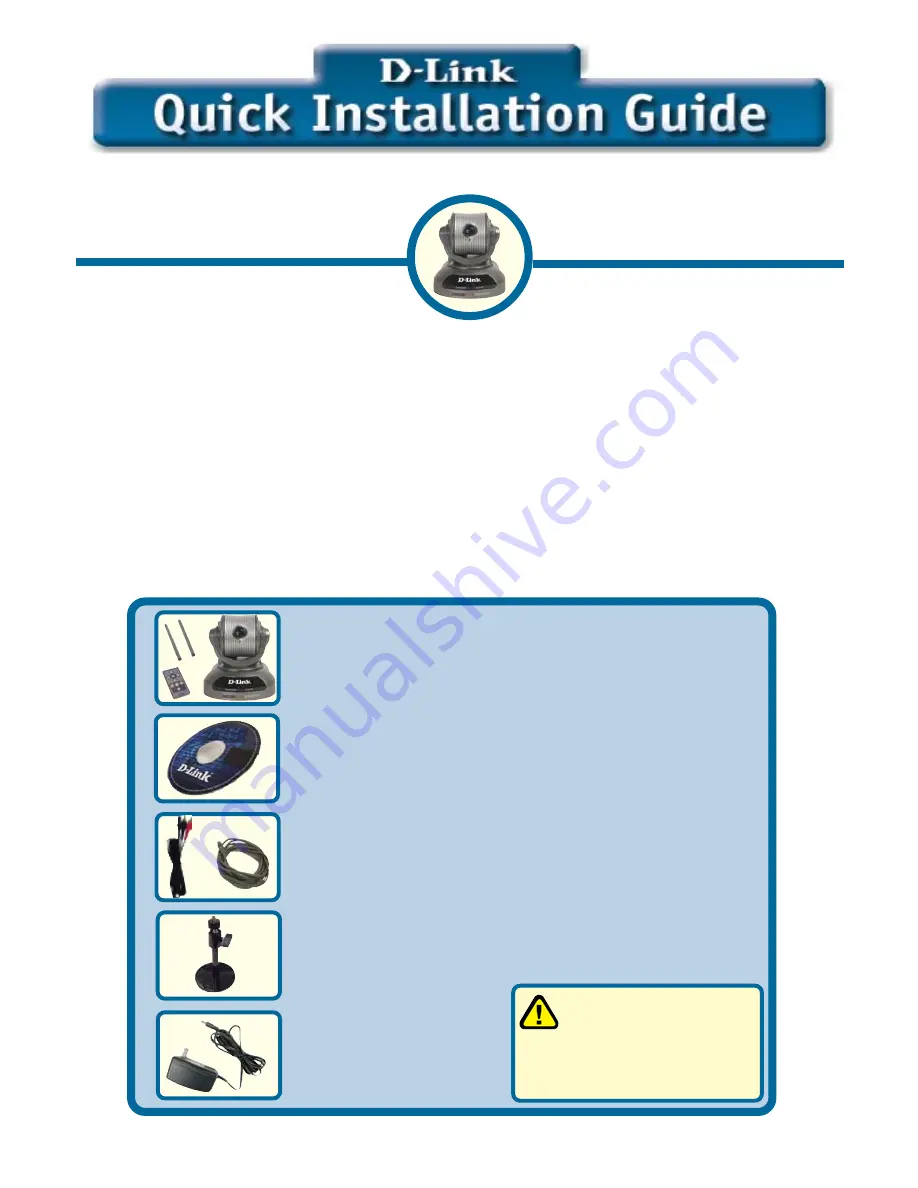
These are the items included with your purchase:

If any of the below items are missing, please contact your reseller.

Before You Begin

You must have at least the following:

•   

Windows XP/2000/ME/98SE

     •   

Wired or Wireless Ethernet Adapter

•   

CD-ROM Drive

DCS-5300W

This product can be set up
using Internet Explorer 5.x
or above

Wireless Internet Camera
       with Pan and Tilt

©2003 D-Link Systems, Inc. All rights reserved. Trademarks or registered trademarks are the property of their

respective holders. Software and specifications subject to change without notice. DCS-5300W. 12292003

DCS-5300W

 Wireless Internet Camera

with 2 detachable antennas and 1 remote
controller

12V AC Power
Adapter

One Installation CD (containing Drivers,
Software, Quick Installation Guide and
Manual)

A/V Cable

Category 5 Ethernet Cable

&

Stand & Mounting bracket

        Using a power supply
        with a different voltage
rating will damage this
product and void the warranty.

Содержание SECURICAM Network DCS-5300W

Страница 1: ...Pan and Tilt 2003 D Link Systems Inc All rights reserved Trademarks or registered trademarks are the property of their respective holders Software and specifications subject to change without notice DCS 5300W 12292003 DCS 5300W Wireless Internet Camera with 2 detachable antennas and 1 remote controller 12V AC Power Adapter One Installation CD containing Drivers Software Quick Installation Guide an...

Страница 2: ... the Ethernet cable to the network cable connector located on the Internet Camera s back panel and attach the other end to a router switch or gateway on the network Attach the Antennas to the Camera If you will be using the DCS 5300W in a wireless network attach the antennas to the back of the camera by turning the antennas in the clockwise direction until snug do not over tighten If you connect t...

Страница 3: ...off and your computer may show an intermittant loss of connectivity this is normal until you have configured your camera Attach the External Power Supply Attach the external power supply to the DC power input connector located on the Internet Camera s backpanel labeled DC 12V and connect it to an AC power outlet Attach the A V cable to the A V out connec tor if you wish to connect the DCS 5300W to...

Страница 4: ...first screen that will appear Configuring your camera with IP Installer Attach the black RCA cable to the audio connector on your TV set Click on IP Installer Insert the DCS 5300W CD into the CD ROM drive of your PC ...

Страница 5: ... go when the red LED starts to flash the second time A DHCP server is a device that supplies IP Addresses to its clients that are on the same network The IP Installer will now show a MAC address of the DCS 5300W and an IP Address which may or may not be correct depending on what you have your DCS 5300W connected to If you have a DHCP server on your network there will be a valid IP Address displaye...

Страница 6: ...If you do not know what to put in these fields please contact your System Administrator or your Internet Service Provider Leave the box titled This camera can be found by installer whenever it starts up unchecked to avoid running this install application each time you boot up the DCS 5300W Check this box if you need to change IP address the next time the DCS 5300W boots up After you click on the L...

Страница 7: ...only one needs to be filled if you will not be using the camera in another network with different encryption check the Data encryption box 16 bit requires 10 hex or 5 ASCII charactors 128 bit requires 26 hex or 13 ASCII charactors 256 bit requires 58 hex or 29ASCII charactors Preamble Type select Short or Long Preamble The Preamble Type defines the length of the CRC Cyclic Redundancy Check block f...

Страница 8: ...ble and reboot the DCS 5300W by removing and reconnecting the power supply either from the back of the unit or from the wall power outlet Enter the administrative password Click Save then X at the top right hand corner of your browser to close the page At this point we highly recommend that you click on Configuration Tools and then Admin from the Home page to set up a password for security purpose...

Страница 9: ...NOTES ...

Страница 10: ...dian customers can contact D Link Technical Support through our website or by phone Tech Support for customers within the United States D Link Technical Support over the Telephone 877 453 5465 24 hours a day seven days a week D Link Technical Support over the Internet http support dlink com email support dlink com Tech Support for customers within Canada D Link Technical Support over the Telephone...

Отзывы: