

DES-1005E
ENGLISHENGLISHENGLISH
Quick Install Guide
5-Port 10/100 Desktop Switch
Thank you for purchasing the 5-Port Desktop Switch. Follow the easy steps in this
guide to properly set up your switch. Please verify that all the package contents
listed below are available.
Package Contents
If any of the above items are missing, please contact your reseller.
Network
Before You Begin
The setup of the Switch can be performed using the following steps:
• Visually inspect the DC power jack and make sure that it is fully secured to the
power adapter.
• Do not cover the ventilation holes on the sides of the Switch, and make sure
there is adequate ventilation around it.
• Do not place heavy objects on the Switch.
• Place the Switch in a cool and dry environment.
Technical Support
Having trouble installing your new product? D-Link’s website contains the latest
user documentation and software updates for D-Link products. U.S. and Canadian
customers can contact D-Link Technical Support through our website or by phone.
United States
Telephone:
(877) 453-5465
Internet:
http://support.dlink.com
Canada
Telephone:
(800) 361-5265
Internet:
http://support.dlink.ca
Copyright ©2010 All rights reserved. D-Link and the D-Link logo are registered trademarks of D-Link Corporation or its subsidiaries. Other
trademarks are the property of their respective owners. Product specifications, size and shape are subject to change without notice, and actual
product appearance may differ from that depicted on the packaging. Visit dlink.com (US) or dlink.ca (Canada) for more details.
Version 1.20(US) | 2011/11/24 6ES1005EQ.04G
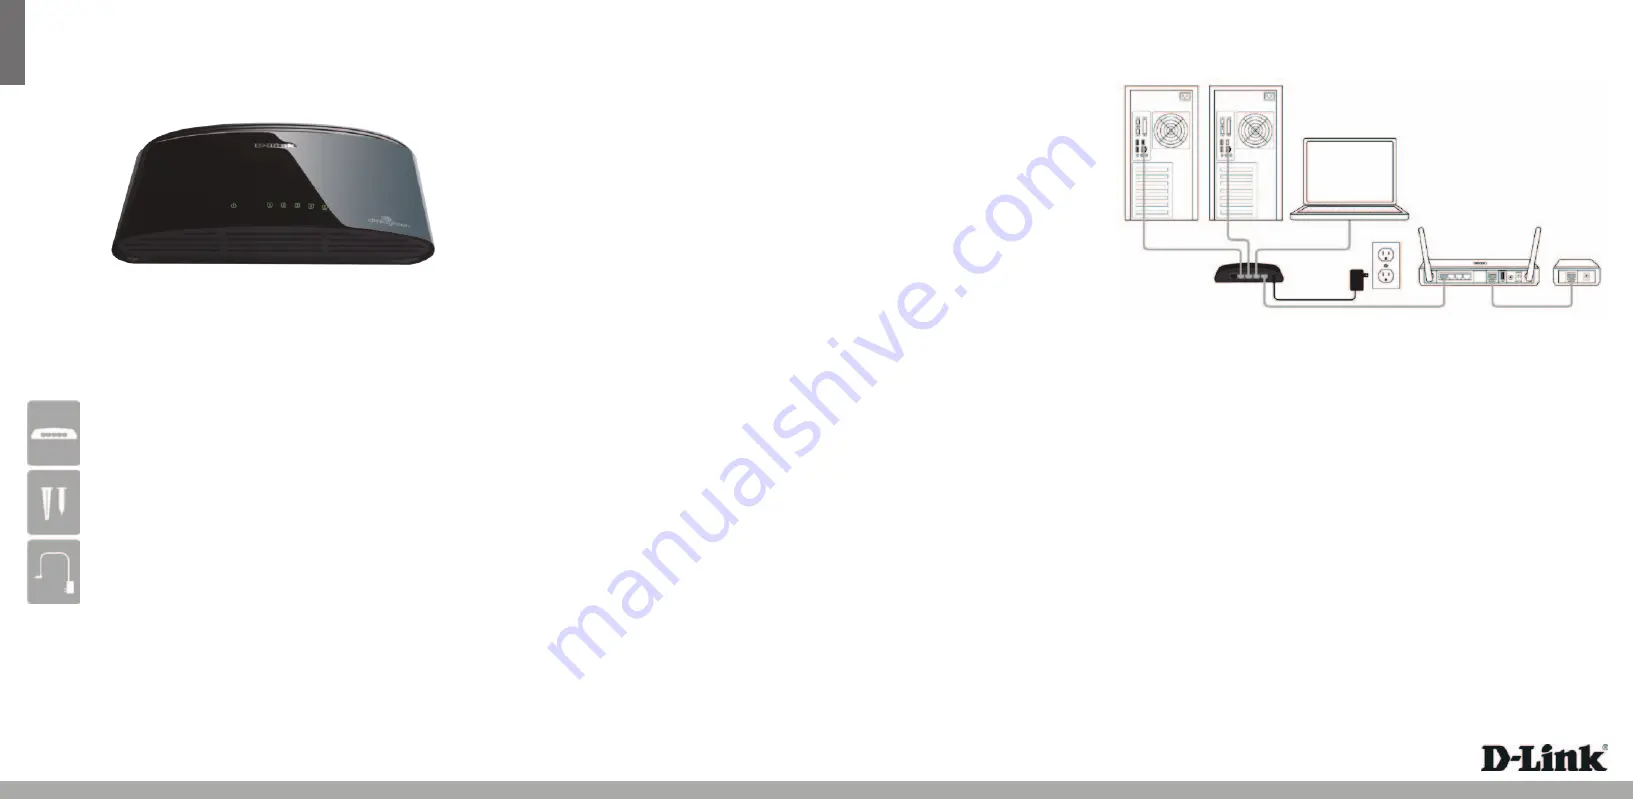
What This Product Does
Expand your home or office network with the D-Link® 5-Port Desktop Switch. This
Switch lets you network up to five devices at speeds up to 200Mbps (at full duplex)
and is compact enough to be placed virtually anywhere in your home or office.
Add a computer, gaming console (such as Xbox 360), printer, NAS storage device,
or network camera and expand the functionality of your network. You may also
connect the Switch to hubs, switches, and routers to expand your network.
DES-1005E 5-port 10/100 Desktop Switch
Wall Mount Kit
Power Adapter
Power Indicator
This green indicator light is on when the Switch is receiving power; otherwise, it is
off.
Link/Act
This LED indicator light is green when the port is successfully connected to a device.
The green indicator will blink as data is transmitted or received.
LEDs
Step 1
Plug the supplied power adapter into the Switch and the other end into a power
outlet, power strip, or surge protector (recommended). Verify the Power indicator is
lit on the Switch.
Step 2
Connect one end of an Ethernet cable in the device you want to connect to the
Switch and the other end into one of the Ethernet ports on the Switch. Check the
Link lights (LEDs) on both the Switch and the device to verify that there is a valid
connection.
Note:
Connect devices via a two-pair Category 3, 4, 5 UTP/STP Straight-Through or
Crossover Ethernet cable. A Category 5 (or higher) Ethernet cable must be used for
100Mbps operation.
Connecting the Switch
DES-1005E
• You may mount the Switch on a wall with the included mounting kit. Two
mounting slots are provided on the bottom of the Switch for this purpose.
• Magnet mounting is an optional method to mounting the Switch on a wall,
and is not included with the package contents.
Mounting


