


Wiebetech Branding
2c85m76y
PMS 711C
66c7m7y
PMS 299C
Product Name:
Univers 73 Black Extended
abcdefghijklmnopqrstuvwxyz
ABCDEFGHIJKLMNOPQRSTUVWXYZ
CRU
®
WiebeTech
®
Ditto
®
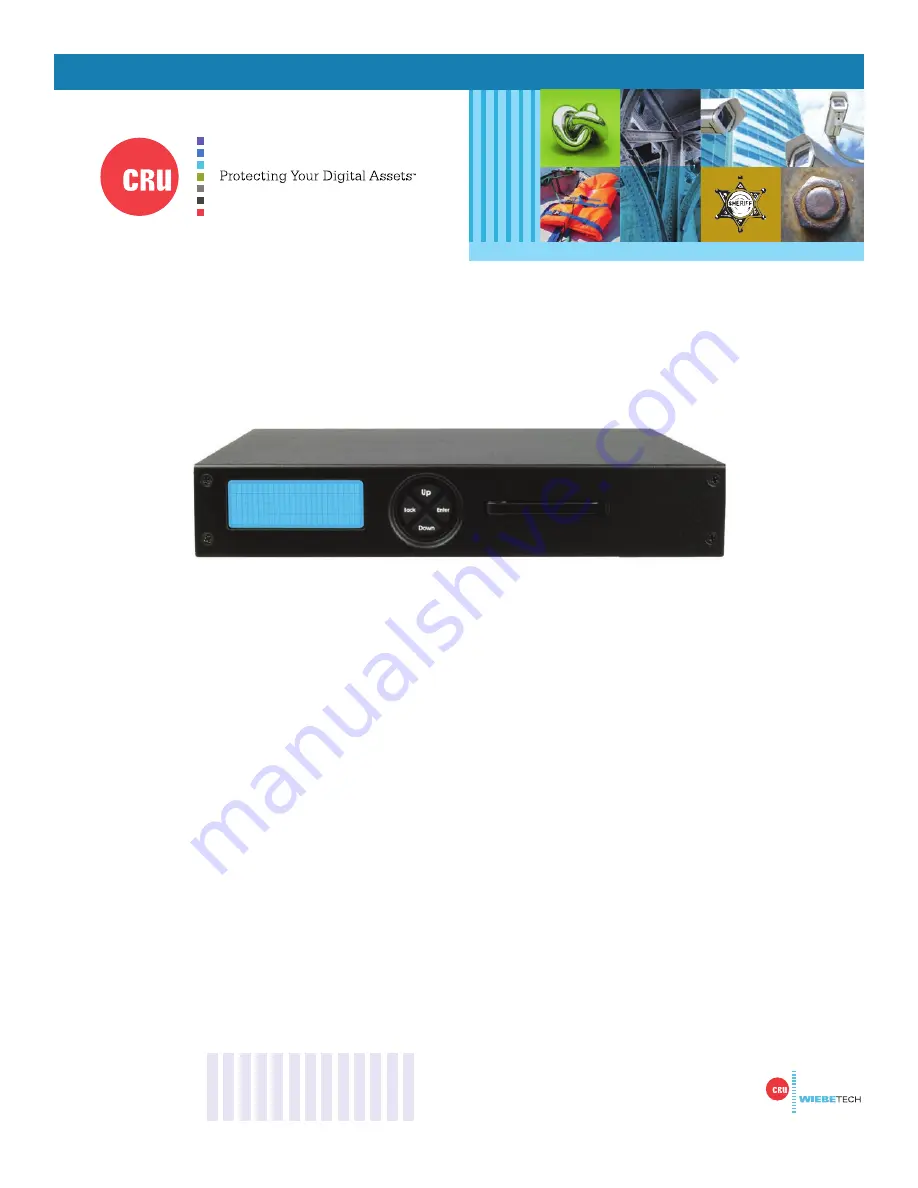
Shark
User Manual
Features
• Standalone product—operates without a PC or a Ditto Forensic FieldStation
• Captures Internet and VOIP traffi c with virtually no packet loss*
• Captures sustained 10/100 Mbps network traffi c and short burst gigabit network traffi c*
• Filter and capture network traffi c to a tcpdump/Wireshark-compatible PCAP fi le
• Optional live capture stream (rpcap) interface for Wireshark
• Removable drive carrier for data storage
• Fail-safe design continues passing through network traffi c if power is lost
• Free fi rmware updates for registered users
*Packet loss is a function of the type and saturation level of traffi c on the tapped network


