

Rugged, Reliable, Mobile, Secure
TM
1-800-260-9800
www.CRU-DataPort.com
Mounting the Frame in the Computer
1. Locate an available 3.5” bay in your computer and remove the
front bezel.
2. If your computer requires mounting rails, install the rails on the
DataPort 25 USB-to-SATA frame and slide it into the computer.
Ensure it is properly secured.
3. If your computer does not require mounting rails, slide the
DataPort 25 USB-to-SATA frame into the computer and secure
it with the provided mounting screws.
4. Locate and connect an available 4-pin molex power connector
to the power cable on the DataPort 25 USB-to-SATA frame.
5. Locate an available PCI slot and remove the PCI bracket. In-
stall the Internal USB PCI bracket. Connect the USB cable to
an available USB port on the back of your computer and then
connect it to the back of the DataPort 25USB.
Installing a hard drive in your DataPort 25 Carrier
1. Remove the two screws that hold the cover and slide the
cover off.
Note:
Do NOT use screws longer than those supplied as
the circuit board will be damaged.
2. Connect the hard drive(s) to their respective connector(s) on
the circuit board. Use the provided screws to secure the hard
drive.
3. Slide the cover back on to the carrier and secure it with the
cover screws.
4. Once the carrier has been seated in the frame the key lock
must be turned 90 degrees (horizontal) to engage the lock
and enable the power.
DataPort 25 USB-to-Dual SATA Install Guide
Operation
Setting up the drive for Windows 2000/XP or Mac OS
9.x/X
Connect the DataPort 25 USB-to-SATA to any available USB
port. No new drivers are required. The hard disk drive will be
found and a window will pop up stating that new hardware has
been detected. If the drive is formatted it will be accessible
through My Computer on PCs or from the desktop on Macs. For
best performance connect via USB 2.0.
For PCs:
• Right click on My Computer.
• Click on Manage.
• In the Storage sub-section, click on Disk Management to
display a list of all the drives connected to your com-
puter.
• If you have not used the drive before you will have to
partition it. Click on Action, select All Tasks and then
click on Create Partition.
• This will bring up the Create Partition Wizard screen.
• Follow the instructions and the drive will be ready for
use.
For Macs:
If the drive is not formatted, you will be asked to initialize
it. After initializing the drive, select the partition tab and
select the desired partitions, then click ok. The new disk
will be added to your desktop.
REMEMBER, formatting will result in loss
of all data on the hard drive.
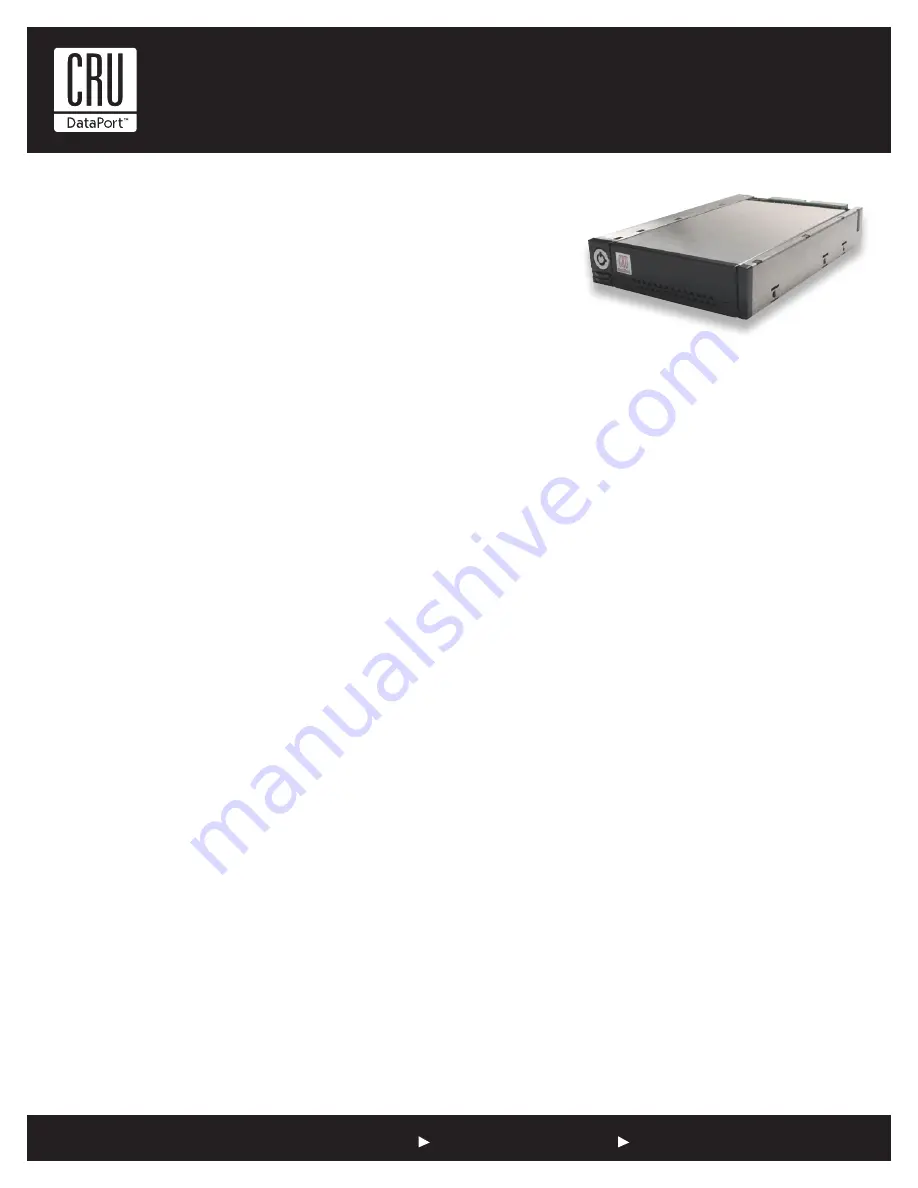
The DataPort 25 USB-to-Dual SATA enables users to hot-swap two 2.5” SATA hard
drives using the computer’s 3.5” drive bay. The DataPort 25 USB-to-Dual SATA with
two SATA hard drives combines the small size and high storage capacity of SATA
with the convenience of USB. The DataPort 25 USB-to-Dual SATA is ideal for data
backups, sharing data between computers and adding more drive space on the fly
for computers without available 5.25” drive bays or SATA ports.


