Cosmo COS-305AGC, User Manual
Get the most out of your Cosmo COS-305AGC with the comprehensive User Manual, available for free download. This manual covers everything you need to know to fully utilize this exceptional product. Find and download the manual from our website, enhancing your cooking experience with the Cosmo COS-305AGC.
Share
Download


Reviews:
No comments
Related manuals for COS-305AGC

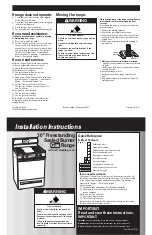
U110138 - 03
Brand: Falcon Pages: 44

790.46781900
Brand: Sears Pages: 14

MES30S2AST
Brand: Midea Pages: 96

JBC27
Brand: GE Pages: 40

15LSWGR901
Brand: GE Pages: 188
8523782
Brand: Whirlpool Pages: 9

Precision Series GSCR604GW
Brand: Capital Pages: 44

MER8800DE0
Brand: Maytag Pages: 20

CRE7500A
Brand: Maytag Pages: 28

750 Series
Brand: Maytag Pages: 76

FGF367BG
Brand: Frigidaire Pages: 12

FGF355AWG
Brand: Frigidaire Pages: 8

FGF366B
Brand: Frigidaire Pages: 12

FGF366C
Brand: Frigidaire Pages: 13

FGF366D
Brand: Frigidaire Pages: 13

FGF365A
Brand: Frigidaire Pages: 12

FGF366A
Brand: Frigidaire Pages: 13

FGF365D
Brand: Frigidaire Pages: 13


