1
HA
−
6400
Côr
t
Home Automation
Setup Using the TP
−
Link Router
Technical Supplement
SUMMARY
The following supplemental instructions will show you how to setup the Smart Starter Kit using the TP
−
Link router so that the system
will be pre
−
configured even before actual installment in the home. This setup can all be done in the convenience of your office! Once the
installer is at the customer’s home, they would just place the panel and add
−
on components in the relevant locations; and connect the
homeowner’s primary router into the TP
−
Link router using an Ethernet cable.
BENEFITS
Reduces installation time in the home so that you can focus on more time walking the homeowner through their new system that you
just installed
Build homeowner confidence with the installer since issues that may be experienced during initial system setup can be addressed in the
office versus in the home
Minimize potential service calls or a truck roll in the event the homeowner changes or modifies settings with their primary router
password
Maintains privacy of the homeowner’s Wi
−
Fi
network password since you will be using the login network of the TP
−
Link router
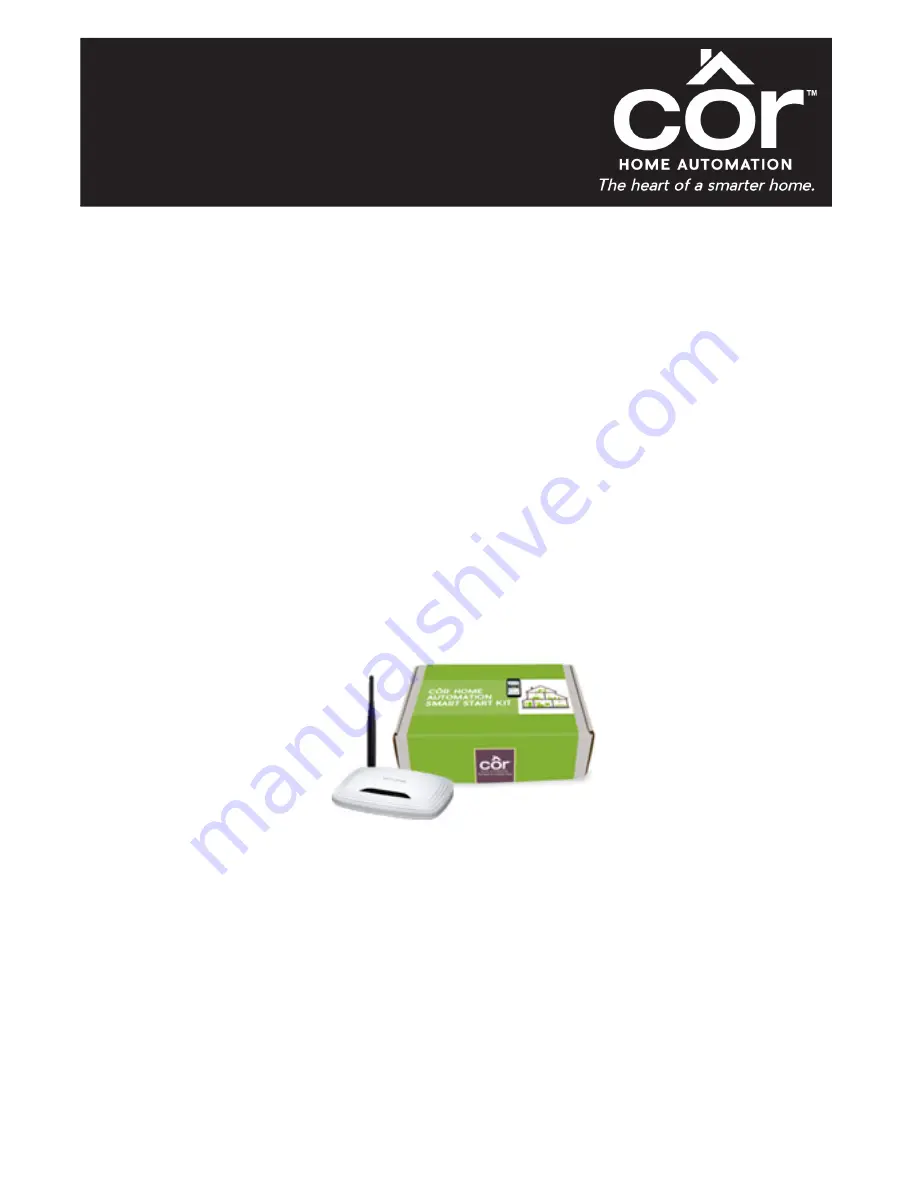
NEEDED FOR THIS SETUP
Côr Home Automation Smart Start Kit (HA
−
6400
−
KIT
−
S)
TP
−
Link router (SYSTXXXGWR01)
Connected Wi
−
Fi network router with Ethernet cable
Laptop or Desktop Computer with web browser access
PREPARE THE SENSORS AND Z
−
WAVE LIGHT DIMMER FOR INSTALLATION
(3) TX
−
E201 (previously TX
−
1012
−
01
−
1) Door/Window Sensor
Remove sensor from packaging
Use a marker or place a label on each Sensor that identifies their location i.e. Front Door
Remove the main body from the cover and gently insert the lithium battery in the battery compartment being careful not to
press the black tamper button in the middle
Leave the cover off at this time for setup in Step 7
(1) 60
−
807
−
95R Motion Sensor
Remove from packaging
(1) 60
−
744
−
95R Water Sensor (some newer Starter Kits may have the TX
−
E611)
Remove from packaging
(1) IS
−
ZW
−
LM
−
1 Z
−
Wave Light Dimmer
Plug Light Dimmer into a nearby power outlet
Other sensors or devices that will be included in the package