background image

2.5" 

XTreme Files OS & Data Backup/Restore User Manual

Please read the Instruction manual before using the XTreme Files (

X

 Series)

1. The suggested interface for your computer is USB2.0 to have better speed and compatibility. 

Please enter BIOS setup to set USB Legacy Support to Disabled in advance.

2. XTreme Files 

X

 Series supports Windows 2000 / XP. Please upgrade your OS to Windows 

2000 & Windows XP if your original OS is Win 98 SE or Win ME.

3. XTreme Files

 X

 Series does not support MAC OS & Linux…non-Windows data backup.

4. Please remove other USB or 1394 external devices when performing the OS backup & restore functions 

to assure normal operation.

5. We can regard XTreme Files 

X

 Series as a normal USB external device besides having the 

backup and restore functions.

6. To assure the stability of USB signal quality, we suggest you connect XTreme Files

 X

 Series to a USB 

slot of the motherboard close to the keyboard.

7. The XTreme Files's OS backup function can support the OS disk backup on one computer 

only. It will cause data disorder if used on another computer. 
CoolMax will not guarantee data correctness if you restore 
the backed up OS to another computer. 

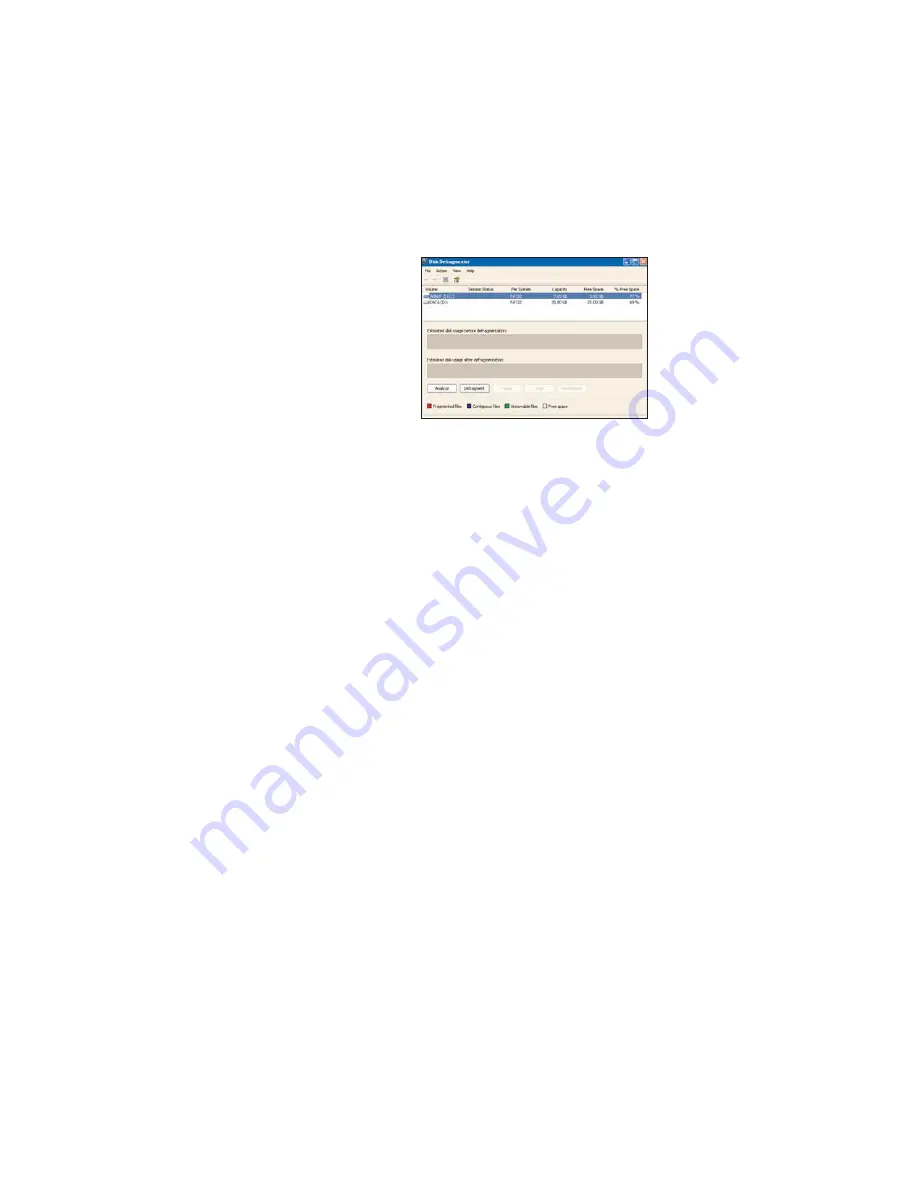
8. To increase the efficiency and assure the data backup's 

accuracy, please rearrange the computer system in advance 
before performing the OS backup.

9. XTreme Files will backup your entire C: 

Drive auto format & restore back to any HDD.

Summary of Contents for X3-B-U2

Page 1: ...ckup restore functions to assure normal operation 5 We can regard XTreme Files X Series as a normal USB external device besides having the backup and restore functions 6 To assure the stability of USB signal quality we suggest you connect XTreme Files X Series to a USB slot of the motherboard close to the keyboard 7 The XTreme Files s OS backup function can support the OS disk backup on one comput...

Page 2: ...he backup function of the software is allowed for one computer and one user CoolMax will not guarantee the integrity of the restored data if used on 2 or more computers 1 3 The software should be bundled with the hardware provided by CoolMax CoolMax will not guarantee the compatibility of this software with other storage control hardware ...

Page 3: ... 3 System Requirements 4 Outlook and Function Introduction 5 Software Installation 6 Backup and Restore Function Procedure 7 Usage Notice 8 Problem Solving Q A Appendix A Hard Drive Formatting Appendix B Remove XTreme Files Drive Steps ...

Page 4: ...t all the data in the hard disk for the total backup Windows folder and Program Files folder will be excluded automatically from backup and exclude the system files EXE COM DLL TMP etc to avoid affecting system setup and to save the hard disk space when restoring 2 6 Bough formation selection 3 way for backup hard disk folder and file 2 7 Automatically remembers the last selection for later backup...

Page 5: ...automatically or manually 3 Restore button You can select to restore all backed up data or to restore the data according to your requirements P S The restore button will restore the data to the original folders 4 USB 2 0 connector 5 Power plug 6 Power indication light 7 Disk access indication light 3 Restore Button 1 O S Backup Button 2 Data Backup Button 4 USB mini B Connector 5 DC IN 6 Power LED...

Page 6: ...the computer with hard drive installed and then proceed to format the hard drive first then install the software For details please go to the end of the manual for formatting information a Please connect your XTreme Files Drive to your computer first Then insert the bundled CD into your CD ROM Please enter the CD and left click twice on the SETUP EXE ...

Page 7: ...censing agreement and click on Yes then the software will install automatically d After the software is installed the short cut will appear automatically The software icon will also appear in the lower right corner of the screen as shown below X eme Files Tr X X ...

Page 8: ...t using the XTreme Files Drive h When executing the XTreme Files Drive application software for the first time the following image will appear asking to install the XTreme Files Drive driver Please press the Continue Anyway and wait for about 1 minute for the system to install the XTreme Files Drive driver P S This system will not support Windows ME Windows 98 SE Please upgrade your system to Wind...

Page 9: ...y which is more convenient than Ghost Remark 3 When you first press the OS backup button the system will back up the entire disk data to the Original Backup When you press the OS backup button again for the second time the system will back up the data of the boot disk to the Latest Backup The third operation will replace the data of the second backup The XTreme Files Drive will keep 2 backups Orig...

Page 10: ...to DOS remark 2 backing up the OS of the hard disk together with the data of the system disk remark3 remark4 If the used disk space of the system disk is larger than the free disk space of the USB HDD the backup will fail due to insufficient disk space We suggest you delete unnecessary files so that the free disk space of the USB HDD is larger than or equal to the used space of the system disk ...

Page 11: ...ackup occurs at USB 2 0 speed 1 Unplug or power down all other USB devices 2 After clicking on OK to have the system rebooted into DOS as soon as the PC powers down from Windows and begins booting please unplug the USB Cable ...

Page 12: ...system requests permission to reboot The above procedure worked reliably most of the time on the various systems Once in a while the OS backup procedure in DOS would indicate successful completion without any backup activity having been done Simply repeating the OS Backup after the system rebooted into Windows would usually work Upon reboot after the OS Backup procedure you will find a few new fil...

Page 13: ...Please wait patiently Remark 2 The main function of this product is to back up all the data inside the computer created by the user for example Office file MP3 audio video files etc but not the system files so it will not back up the system folder Windows folder and Program Files folder Furthermore it will automatically exclude the system files for example exe Remark 3 dll ini tmp etc from the bac...

Page 14: ...a that needs to be backed up and then start to the function Remark 4 When you select the selective backup the next time the system will remember the latest selection If your selection is unchanged please press the start button directly The system will automatically back up to the external XTreme Files Drive according to the last selection 6 3 Restore button When pressing the restore button the sys...

Page 15: ...ording to the backup time shown on the screen The restore process is shown below 6 3 2 Data restore 6 3 2 1 Selective restore When selecting Selective Files and pressing the browse button next to Selective Files he system will search the data that have been backed up in the XTreme Files Drive and display on the screen ...

Page 16: ...nd restore them to the original folders 6 4 The repair of the computer due to the damage of the computer hard disk or computer viruses D 1 When the computer can t boot because of the hard disk damage or computer viruses or if it is necessary to change the hard drive due to insufficient capacity please put the rescue CD provided by the XTreme Files Drive into the CD drive and restart the system The...

Page 17: ...id any unexpected error that will affect the execution of the system 3 This product is applicable to Microsoft Windows 2000 XP only 4 Please don t delete any data they are probably the record files of this product in the backup folder of the XTreme Files Drive when using it to back up or restore to avoid any mistake that can t be rescued 5 If you find the external hard drive very noisy or without ...

Page 18: ...Why can t the 3 buttons on the Xtreme Files Drive function after connecting the USB cable the indicator is normal and the computer has detected this device A 1 Please check if the installation has been done If not the XTreme Files Drive is only an external storage device Please install first refer to the steps of the original installation The buttons can t work if noinstallation is performed 2 Ple...

Page 19: ...es Drive is not installed the buttons can t be used on other computers even if the computers have been installed with the XTreme Files Drive This special design is to assure data secrecy Q Why can t the XTreme Files Drive back up the data of other languages as error information is displayed A The problem is that your computer has not installed that language s software The computer will not back up...

Page 20: ...S pqi file exists under the backup folder of the USB disk You have to install the OS again if you don t have the above file Please continue if you have the file 2 Change the first boot disk to the CD CDRW device in BIOS 3 Insert the installation CD 4 Restart 5 Please strike any key to execute the disk restore if the message of Strike a key when ready is displayed Q What should I do when nothing ha...

Page 21: ...e please set the BIOS USB Legacy Support or USB Keyboard and USB Mouse to Disabled Q I have set the BIOS Legacy USB Support or USB Keyboard and USB Mouse to Disabled but the DOS tableau displays the message below when executing the OS backup restore function What should I do now A The reason The DOS USB 2 0 driver can t detect the USB disk drive The solution Please unplug the USB cable and plug in...

Page 22: ...ormatted please refer to the following steps Under Windows 2000 XP 1 Right click on My Computer select Manage to enter Computer Management 2 Then select Disk Management Please click on the right button of the mouse in the blank space of Disk 1 in the lower right corner ...

Page 23: ...or NTFS mode Click on Next to continue Remark FAT32 can be only format the disk partition under 32 GB 4 It may take a little while to format your drive depending on your hard drive s capacity After it is finished you can proceed to the software installation of the XTreme Files Drive ...

Page 24: ... click on the icon to stop the software b Then right click on the icon of plug and play on the lower right corner to remove the drive Please select stop as shown below or click on the left button of the mouse and select Safely Remove USB Disk c After the computer has confirmed it is safe to remove the drive just remove the cable X ...

Reviews: