

2 – Controlling HTP Channels
Before doing anything else, you must reserve an
adequate number of desk channels for HTP usage. The
minimum (and default) is 24 and the maximum is 240.
+
Press the soft function buttons — [Setup] followed
by [Defaults] — located below the Main LCD, to
call-up the Default Set-up Screen 1.
+
Set the Number of HTP chans field value as required.
The bank of 24 faders in the top-left corner of the console
control one ‘page’ of HTP Channels at a time.
+
Select the required Channel Page by pressing one of
the buttons marked
1-24
,
25-48
,
49-72
,
73-96
or
97-120
(located below the Channel Faders).
Use these buttons in conjunction with the
shift
button to
choose Channels 121 thru 240.
3 – Setting up a Lamp
+
Press the
lamp
entity button (on the Main Keypad
on the right-hand side of the console), then specify
the Lamp number(s) that you want to define.
+
Press the
next
button; Lamp Entity Screen 1 will
now appear on the Main LCD. For example, pressing
lamp 2 5 next
will give:
Lamp:25
Type: Goldenscan 3 HPE
Chan:0
DMX:0
Auto Group:No Position
Point:0 Deg Up
Screen Pos:A-01
[Patch]
Defining the Lamp Type
+
Ensure that the value in the Type field is flashing
(if not, use the
cursor
buttons), then rotate the
select
wheel to choose the required Lamp Type.
+
Press the
enter
button to confirm the selection.
Patching the Lamp to Desk Channels
+
Either, press the [Patch] button (soft function 3) to
automatically patch the Lamp,
Or, manually specify a ‘start’ Channel number using
the Chan field. (Remember that complex light units
will occupy a range of subsequent Channels).
Patching Desk Channels to DMX Channels
+
Return to the Root Menu on the Main LCD screen
(by pressing the
exit
button), then press the
dim
entity button followed by the
next
button; the Dimmer
Patch Screen will now appear on the Main LCD:
Dimmer Patch Screen
Dimmer: 1
Patch @ 100
Channel: 1
@ 0
[View]
[Set 1:1] [CLEAR]
+
Press the [Set 1:1] button (soft function 2) to create a
default 1 to 1 patch:
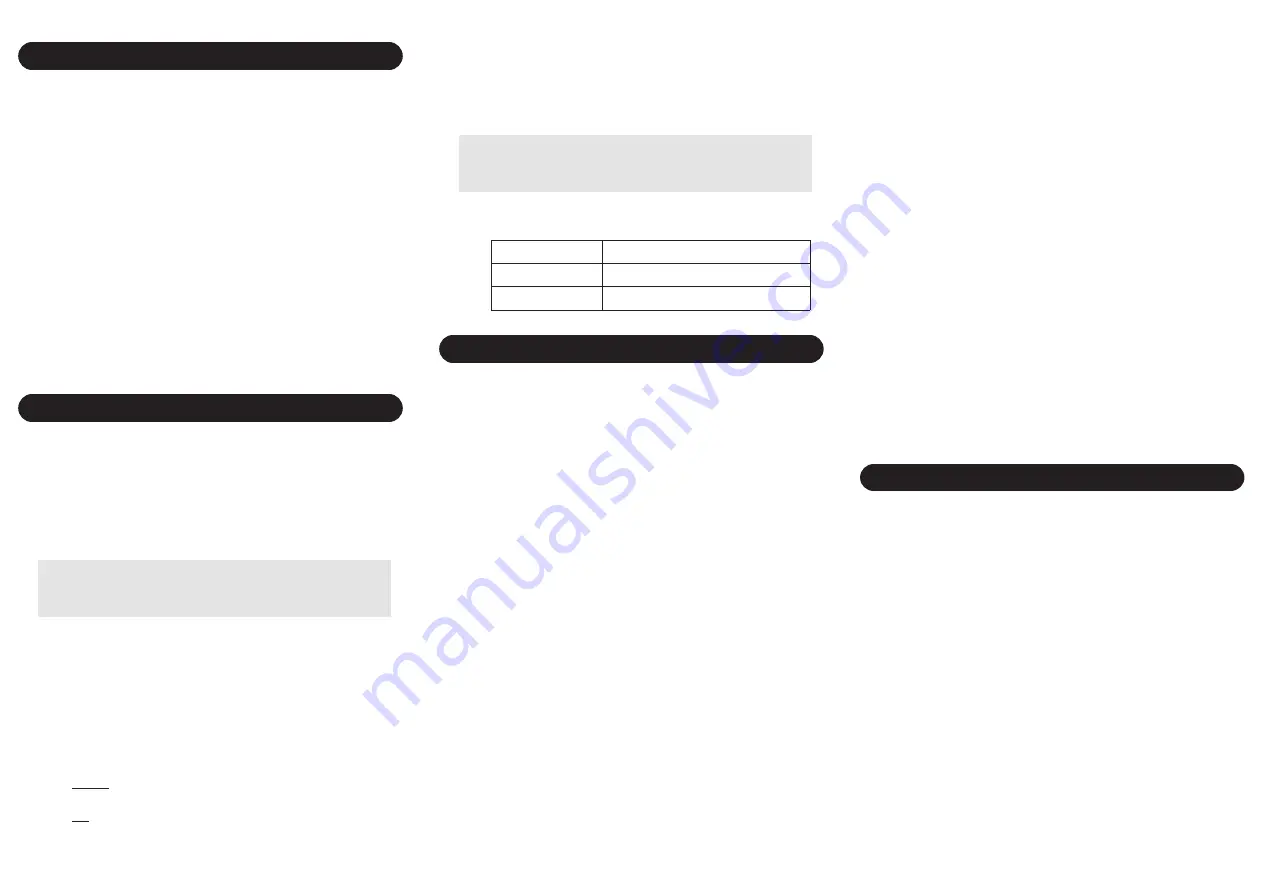
Desk Channels
Dimmer Channels
1 – 512
DMX network 1, channels 1 – 512
513 – 1024
DMX network 2, channels 1 – 512
4 – Selecting/Controlling a Lamp
+
Select the required Lamp Page by pressing one of
the buttons marked
1-20
,
21-40
,
41-60
,
61-80
or
81-100
(located in the top right-hand corner of the
console).
The corresponding range of Lamps are mapped to the 20
Lamp Select buttons on the
lamps
keypad.
+
Select a Lamp(s) by pressing the corresponding
button(s) on the
lamps
keypad. There are three
possible states as indicated by the button LED:
•
Deselected
(LED off)
•
Controlled Mode (LED bright)
•
Included Mode
(LED dim)
Repeated presses will step through the different states.
+
To control a Lamp, you must select it with
Controlled Mode
Applying a Colour and/or Beam
+
Choose a pre-defined option by pressing the buttons
in the
colour
and/or
beam
keypads. Available
options are indicated by dimly-lit button LEDs; the
selected option will have a brightly-lit LED.
+
To manually change the Colour and/or Beam
Attributes, use the four colour-coded control
wheels.
The function of each wheel varies according to the Lamp
Type — the present functions are indicated on the
primary HUD screen. If there are more than four
functions, press the
next function
button to reveal them.
+
To store a new setting in memory, press and hold
down the desired button on the
colour
or
beam
keypad, then press the
store lamps
button.
Positioning a Lamp
+
To manually move the Lamp to a new position,
rotate the
pan
and/or
tilt
control wheels.
+
To store a new position in memory, press and hold
down the desired button on the
position
keypad,
then press the
store lamps
button.
+
To recall a pre-defined option, press a button on the
position
keypad. Available options are indicated by
dimly-lit button LEDs.
Setting the Intensity
+
Move the
intensity
digital fader to set the required
level, or press the
full
or
off
buttons.
5 – Creating a Cue
+
Select the Lamp(s) to be stored in a Cue and set-up
the required Colour, Beam, Position and Intensity.
All Lamps that are ‘selected’ (in Controlled or Included
Mode) can be stored in a Cue. Use Included Mode if you
don’t want the current settings for a Lamp to be changed.
+
Set the level of any HTP Channels to be stored.
+
Ensure that the Cue to be programmed is assigned
to one of the 18 Cue Playbacks (located in the lower
centre of the console).
Cue numbers appear on the LCD screens above the
Faders. If the required number is not displayed, try
choosing a different Cue Page using the
page
keypad
(located to the left of the Cue Playback controls).
+
Press and hold down the
preview
button for the
required Cue — this is called Cue Preview mode.


