


INSTRUCTIONS
6
8
11
16
21
25
2
For Customer Use:
Enter below the Model No. and Serial
No. which are located on the rear,
bottom or side of the cabinet. Retain
this information for future reference.
Model No.
Serial No.
Digital Direct Progressive Scan
14
26
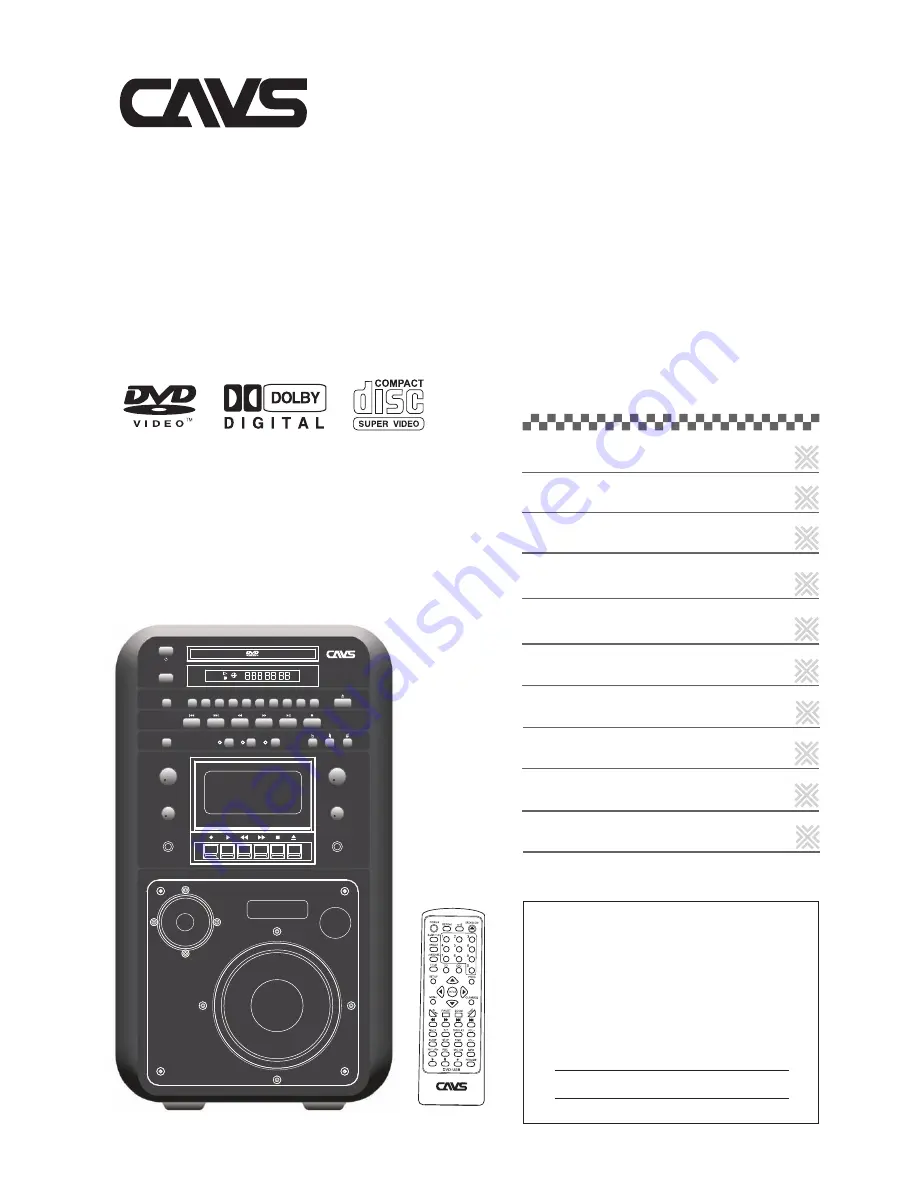
DVD-305G usb
DVD-305G usb
Super CD+G KARAOKE System
MP3
VCD
DVD
MPEG4
SCDG
1 2 3 4 5 6 7 8 9 0
DVD-305G USB
Karaoke Player
USB IN
D/U
VOCAL
MIC ECHO
MUSIC VOL
MIC 1 VOL
Min
Max
Min
Max
MIC 2 VOL
Min
Max
Min
Max
MIC 1
MIC 2
AUX
DVD
TAPE
DVD, MPEG-4
Super CD+G, INX, INX2
CD+Graphics
18
Preparations
DVD - Basic operatons
DVD - Advanced operations
DVD - Audio/Video files
DVD - Changing the initial settings
TAPE and AUX functions
Before operation
DVD - Karaoke operations
Additional information
LIMITED WARRANTY
DVD - USB memory device operations


