background image


Q

Q

u

u

i

i

c

c

k

k


S

S

e

e

t

t


U

U

p

p


G

G

u

u

i

i

d

d

e

e


T

T

E

E

-

-

4

4

0

0

0

0

0

0

/

/

4

4

5

5

0

0

0

0


S

S

h

h

a

a

r

r

e

e

d

d


C

C

h

h

e

e

c

c

k

k


T

T

r

r

a

a

c

c

k

k

i

i

n

n

g

g


F

F

l

l

o

o

a

a

t

t

i

i

n

n

g

g


C

C

l

l

e

e

r

r

k

k


&

&


S

S

h

h

a

a

r

r

e

e

d

d


K

K

i

i

t

t

c

c

h

h

e

e

n

n


P

P

r

r

i

i

n

n

t

t

i

i

n

n

g

g


N

N

o

o

v

v

e

e

m

m

b

b

e

e

r

r


2

2

0

0

0

0

3

3


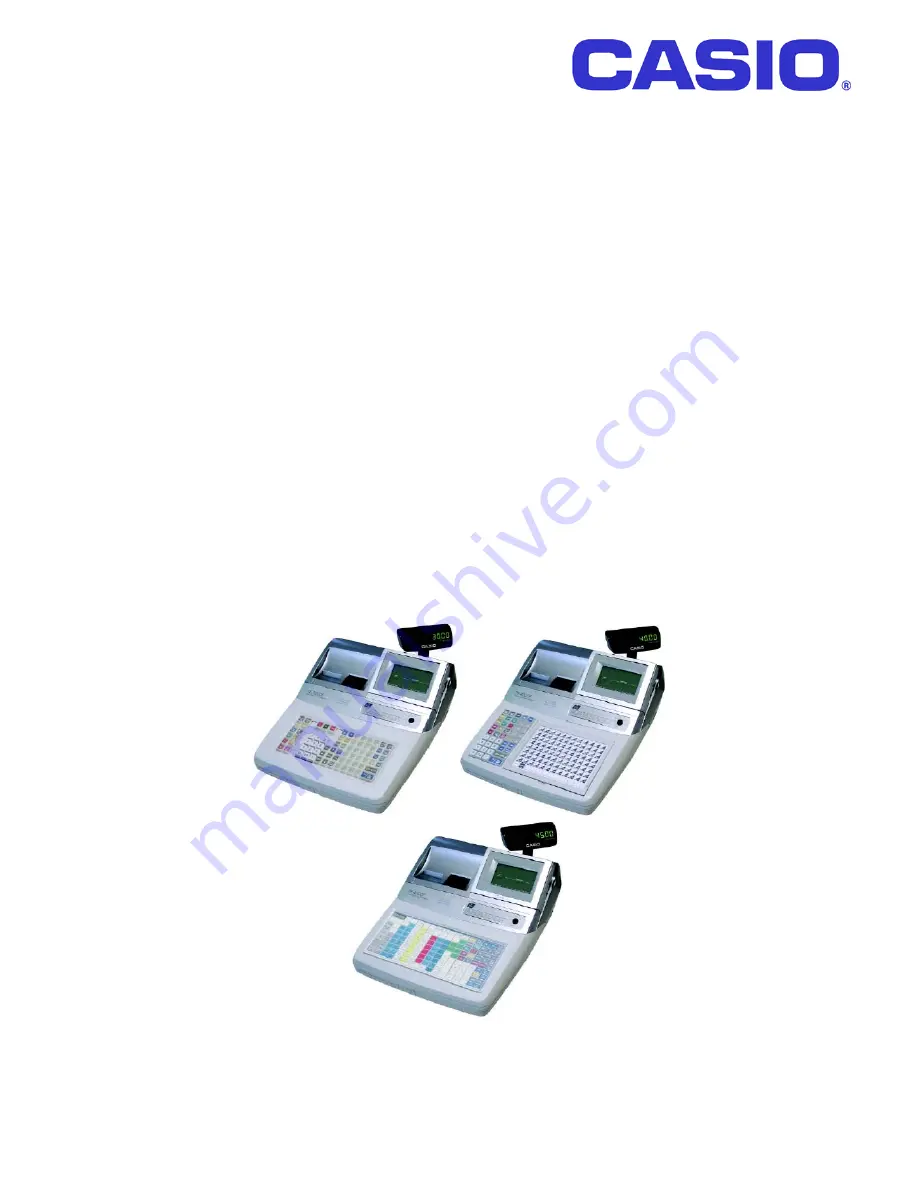
Summary of Contents for TE-4000

Page 1: ...d de e T TE E 4 40 00 00 0 4 45 50 00 0 S Sh ha ar re ed d C Ch he ec ck k T Tr ra ac ck ki in ng g F Fl lo oa at ti in ng g C Cl le er rk k S Sh ha ar re ed d K Ki it tc ch he en n P Pr ri in nt ti in ng g N No ov ve em mb be er r 2 20 00 03 3 ...

Page 2: ...pter 4 Memory Allocation Chapter 5 Function Keys Chapter 6 Setting up the In line network Chapter 7 Setting up shared check tracking Chapter 8 Setting up floating clerk Chapter 9 Setting up shared printing Chapter 10 Simple time and Attendance Chapter 11 Downloading graphic logo s Chapter 12 CF Card functions and In line send and receive Chapter 13 Dallas key set up ...

Page 3: ...C CH HA AP PT TE ER R 1 1 H HA AR RD DW WA AR RE E C CO ON NF FI IG GU UR RA AT TI IO ON N 3 ...

Page 4: ...pes of In line cables that can be used 1 Casio In line ARCNET Selector switch 1 2 Cat 5A Selector switch 2 The type of cable being used is decided via the In line selector switch located on the bottom of the terminal ARCNET Specification 4 ...

Page 5: ...5 ...

Page 6: ...6 ...

Page 7: ...Hardware Specification This diagram shows the hardware options for the TE 4000 4500 The shared items are all optional 7 ...

Page 8: ...2 RS232 Laplink cable 1 Load the IPL file to the CF card 2 Initialise the Terminal with 44449999 Sub Total 0 Sub total 3 Insert the CF card into the front of the terminal 4 Enter 20 Sub Total The IPL will now be loaded to your terminal The next pages will show in detail the procedure of loading the IPL via both a CF card and via PC ...

Page 9: ...Loading the IPL via the CF card to the terminal Go to the dealer companion CD Double click on the TE 3000 4000 4500 IPL folder Copy the file below to the CF card using a PC On the cash register 9 ...

Page 10: ... via PC Plug your PRL CB2 RS 232 standard lap link cable in to Com 1 Wiring diagram Load CV 10 to your PC This file can be found on your Dealer Companion CD Go in to the CV 10 folder and double click on C_comw Icon 10 ...

Page 11: ... Set the Com direction to IPL 2 Set Communication line to online 3 Select profile name TE 4000 ini 4 Select the dos file name to TE30_45 ipl 5 Press the add key the screen should look the same as the above On the cash register 11 ...

Page 12: ...minal Hold down the journal feed key Switch the power switch on at the side of the terminal Keep holding down the journal key until you see 10 zero s Enter 10820 clerk buttons or 10830 secret numbers sub total Enter zero sub total or sub total by itself if the terminal is In line The next pages will show you in detail the initialisation process of the TE 4000 4500 Range of terminals 12 ...

Page 13: ...How to Initialises the cash register in detail 13 ...

Page 14: ...ush down buttons Enter 10830 for clerk secret numbers Press sub total to detect machine number automatically Or Enter machine number sub total to choose the machine number To reprogram the terminal ID after initialisation 14 ...

Page 15: ...ing and shared printing This allocation will give you 20 clerks and 100 tables Enter 07 then enter 20 Enter 11 then enter 200 Enter 15 then enter 100 Enter 35 then enter 800 Enter 49 then enter 800 Enter 60 then enter 1500 Enter 93 then enter 7 This completes the simple set up of check tracking files The next pages will explain the memory allocation in detail 15 ...

Page 16: ... the file code 1 2 3 4 5 before the file number The new files in the memory allocation File 019 Time and Attendance File 061 Employee File File 027 Dallas Key ID File 035 Printer Buffer for Remote Shared Printer File 069 LCD Colour Control File 16 ...

Page 17: ...Memory Allocation sheets System files Check files Clerk files Scanning files 17 ...

Page 18: ...Program Buffer files 18 ...

Page 19: ...ng New Old Check key Enter 93 then press the key position New Balance Key Enter 06 then press the key position Covers Key Enter 43 then press the key position Table Number key Enter 58 then press the key position Table Transfer Enter 14 then press the key position Add Check Enter 94 then press the key position Separate check Enter 95 then press the key position The next few pages will explain the ...

Page 20: ...Assigning Function Keys 20 ...

Page 21: ...Keyboard Worksheet New Function Key CLOCK IN OUT which is used for the time and attendance function 21 ...

Page 22: ...e keys Clerk transfer Key 13 This Function allows you to transfer a balance from one clerk to another Operation of clerk transfer Sign on clerk Enter Clerk number you want to transfer from and hit the clerk transfer key Enter the clerk number you want to transfer to and hit the operator number key Press the clerk transfer key Customer number key 43 This function allows you to enter the number of c...

Page 23: ...duce post and guest receipts Price shift 070 This function allows you to have a second price for PLU s This is usually used for half pints and doubles Separate Check 095 This function is used to split a bill in to the number of people sitting at a table or the amount of people paying for the meal Each Item of the bill can be separated into another temporary check table for payment Table Number Key...

Page 24: ...be used to transfer sub total balances for simple hotel specifications Text Recall 010 This function allows you to register pre determined text Tray Total 074 This function allows you to get a sub total of each tray in a canteen application Notes If you want to use clerk interrupt please make sure you have a NB key on the keyboard If you want to use a Slip printer please make sure you have a Slip ...

Page 25: ...QUICK SET UP GUIDE 5 This set up is designed for four terminals Make sure all terminals have the correct Terminal ID s after initialisation Master terminal 0191 1100 1200 1200 1200 Send In Line connection table to all terminals Command code 091 Your network is now configured to allow shared check tracking 25 ...

Page 26: ...at 5 board In line cable Master Add the second cash register and plug the In line cable into the white Casio connector or the IN port of the Cat 5 board Initialise the cash register and check that the terminal has been recognised in the In line network by checking that the MC number is MC 02 In line Master Satellite Add the third cash register to the network and plug the In line cable into the whi...

Page 27: ...C 4 You need to program the system connection table in each terminal to tell each machine what job it will be doing Master Slave Program the records for each cash register on the master terminal Please follow the procedure on the following page 27 ...

Page 28: ...fter programming these records make sure you flag Mac the Master terminal Sending the In line connection table across the network Follow the procedure below to send the In line connection table across the network Command code 091 Your network is now configured to allow shared check tracking and floating clerk interrupt Please read the next three chapters to set up the flags to allow the use of Flo...

Page 29: ... Check Tracking master This type of system allows you to float checks and clerks and share printers Self Master System Self Master Self Master Self Master In this type of system the check tracking detail is kept in each cash register terminal This type of system still allows you to consolidate sales figures at the end of the day but does not allow the floating of Checks and Clerks 29 ...

Page 30: ... CK K T TR RA AC CK KI IN NG G QUICK SET UP GUIDE 6 Make sure files 15 and 60 are allocated in memory allocation Make sure you have at least a New Old Check key and a New Balance function on the keyboard Setting the terminal up for Table Tracking Turn the key to program 2622 100000 30 ...

Page 31: ...w the procedures below In order to open a check you must first remove the clerk interrupt buffers from the clerks you wish to open checks Please note that clerks who can open checks can not do clerk Interrupt For the UK style of check tracking please change the 2622 code digit 6 to the table tracking method 1 31 ...

Page 32: ...Turn the key to program 2622 100000 Master recovery procedure to reconnect the network Note MGR Mode is X position Busy check reset procedure 32 ...

Page 33: ...f drinks to a table or check The Table Check can then be recalled by a Table Clerk A clerk with no interrupt buffer In order to do this operation you have to make sure that the table clerk has the presetting that he she can open checks that belong to or have been opened by other clerks Please follow the procedure below in order to program the table clerks to pick up tables checks 33 ...

Page 34: ...o program Enter Clerk Number Record Number followed by 07 then enter 67 Sub total for the address code Make sure digit 5 1 Allow clerks to open other peoples checks Press the cash key to finish the procedure To Program to a range of clerks Turn the key to program 34 ...

Page 35: ... once To be able to add to an occupied or used check you must set the Table Transfer key status digit 7 1 Use the procedure below to program the table transfer key Turn the key to program Enter 1000000 and hit the Table Transfer key 35 ...

Page 36: ...ET TT TI IN NG G U UP P F FL LO OA AT TI IN NG G C CL LE ER RK K I IN NT TE ER RR RU UP PT T QUICK SET UP 7 Setting up the 2722 code to allow clerk interrupt Switch the terminal to the program position 2722 1000000000 2622 100000 36 ...

Page 37: ...ork from the above notes Also please make sure that you have not removed the clerk interrupt buffers Enable Clerk Interrupt in the 2722 code Switch to the program position 2722 1000000000 If you need to assign the Clerk Interrupt buffers use the worksheet below Note MGR Mode is X position 37 ...

Page 38: ...r to a clerk key This setting is very Important when using floating clerk interrupt When using clerk interrupt you must change to the table method of Check tracking Changing the 2622 code digit 6 to table tracking method Switch to the program position 2622 100000 If you are using clerk interrupt and check tracking together please read pages 32 33 and 34 38 ...

Page 39: ...ated 35 remote printer buffer 800 records 49 Local printer buffer 800 records 93 Printer connection table 7 records Programming of the printer connection table Record number for setting up Order Kitchen Printer 4 Enter 0493 2001010100 Flag Mac the terminal The next pages will show in detail how to set up the shared printing options and back up s 39 ...

Page 40: ...e connecting a remote receipt printer If you are adding a kitchen Order printer please use record number 4 93 Example to set up a Kitchen Order printer on terminal number 1 And you are using External printer number 1 and the back up printer is terminal number 1 s internal receipt printer You would program this Program 3 4 93 2001010100 40 ...

Page 41: ... Program 0298 for Com 2 Program 0398 for Com 3 External printer 1 To set up an Epsom TM T88 you need to enter 008010 To set up an Epsom TM U210 you need to enter 018020 External printer 2 To set up an Epsom TM T88 you need to enter 008110 To set up an Epsom TM U210 you need to enter 018120 41 ...

Page 42: ...nce file File 61 is the employee file Maximum number of records is 99 for both files Assign a clock In Out key to the keyboard 108 clock in out press the function key Assigning employee numbers 0161 Employee Number Operation Press clock IN OUT key Enter employee number and press the clock IN OUT key Press the cash key The next few pages will show you how to set up time and attendance in detail 42 ...

Page 43: ...Time and attendance in detail First program the employee file from the worksheet below Turn the key to program Operation of time and attendance 43 ...

Page 44: ...Clock In Out function worksheet To take the time and attendance report 44 ...

Page 45: ...S S Go to the dealer companion CD Double click on the QT TE Range Graphic Logo s folder Double click the new TE 4000 Logo Watermark folder Copy the Casio and Thank logo s to the logo folder of the store you have created for your customer in CV 10 Double click the store you have just created 45 ...

Page 46: ...ee the following files Double click the logo folder Paste the Casio graphic logo and the Thank watermark files to the logo folder Go back to your CV 10 folder and double click on the icon below The CV 10 program will now be loaded and you should see the following screen 46 ...

Page 47: ...ck on the OK button on the data maintenance screen Click on the OK button on the user maintenance screen You should now see this screen Double click on the Graphic Logo Icon And proceed to the next page 47 ...

Page 48: ...n to the cash register File 47 External printer logo File 67 Internal printer graphic logo File 68 Watermark logo Double click the logo you wish to send This logo will then be sent to the cash register terminal To download the logo from the Cash Register to an External printer follow procedure below Turn the key to program 48 ...

Page 49: ...C CH HA AP PT TE ER R 1 12 2 C CF F C CA AR RD D O OP PT TI IO ON NS S 49 ...

Page 50: ...In Line send and receive 50 ...

Page 51: ...C CH HA AP PT TE ER R 1 13 3 D DA AL LL LA AS S K KE EY YS S Dallas key Installation Dallas key programming For Non magnetic Dallas keys you don t need to do any more programming 51 ...

Page 52: ...For magnetic Dallas keys you need to program two more options Follow the two procedures below To enable auto new balance for magnetic Dallas keys Turn to program mode 2622 300000 52 ...

Page 53: ...To allow use of magnetic Dallas keys Turn to program mode 2722 1100000000 53 ...

Page 54: ...C CH HA AP PT TE ER R 1 14 4 E ER RR RO OR R C CO OD DE ES S 54 ...

Page 55: ...55 ...

Reviews: