78
PLAYBACK
PLAYBACK
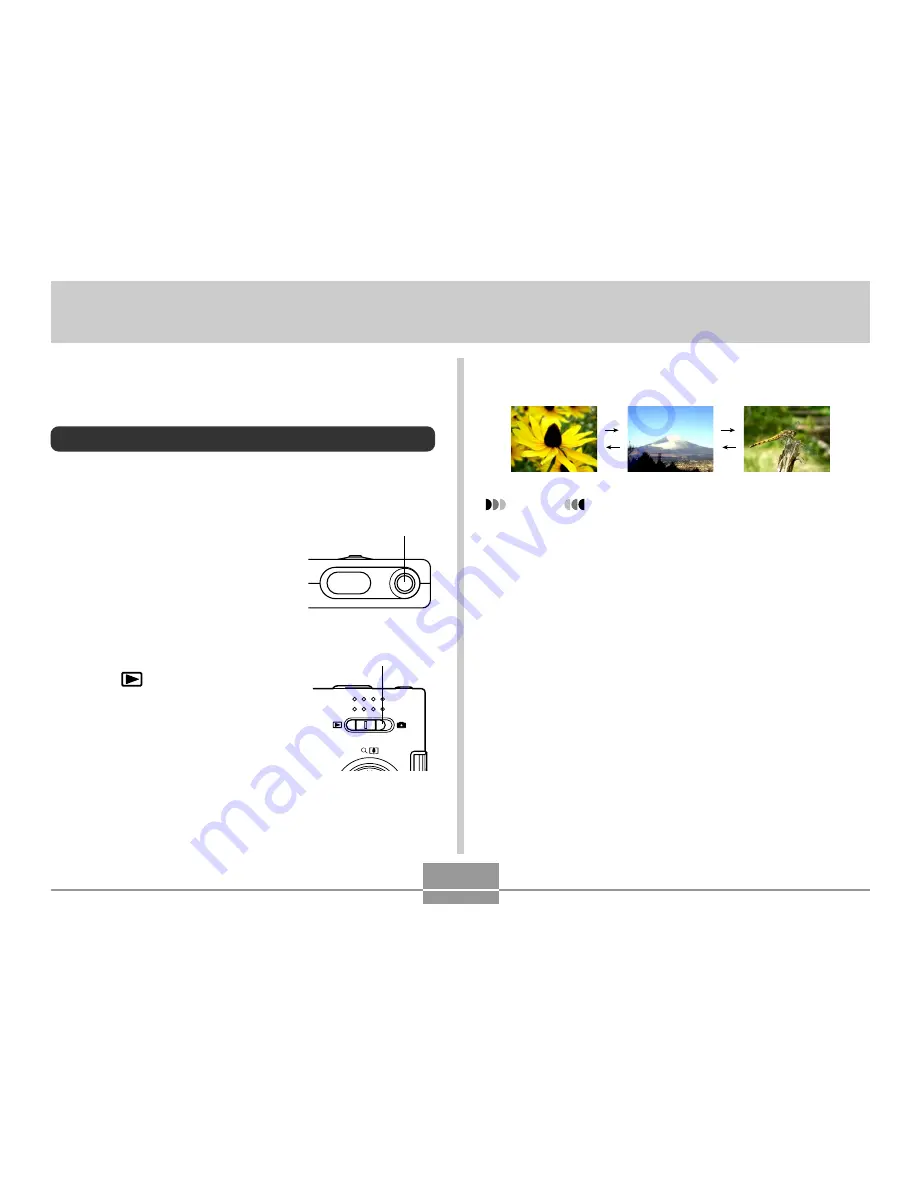
3.
Use [
] (forward) or [
] (back) to scroll
through files on the monitor screen.
NOTES
• Holding down [
] or [
] scrolls images at high
speed.
• In order to allow for faster playback image scrolling,
the image that initially appears on the monitor screen
is a preview image, which is of somewhat lower
quality than the actual display image. The actual
display image appears a short while after the preview
image. This does not apply to images copied from
another digital camera.
You can use the camera’s built-in monitor screen to view
images after you record them.
Basic Playback Operation
Use the following procedure to scroll through files stored in
the camera’s memory.
1.
Press the power button
to turn on the camera.
• This causes an image or a
message to appear on the
monitor screen.
2.
Align the mode selector
with “
” (PLAY).
• This enters the PLAY
mode.
Power button
Mode selector
ON/OFF